Homemade vanilla pudding is a delightful treat that brings back fond memories of childhood for many of us. There’s something incredibly comforting about a creamy, smooth dessert that melts in your mouth, and this recipe captures that essence perfectly. Originating from the classic French dessert known as “crème pâtissière,” vanilla pudding has evolved into a beloved staple in kitchens around the world. People adore this dish not only for its rich, velvety texture but also for its versatility; it can be enjoyed on its own, layered in desserts, or even used as a filling for pastries.
What makes homemade vanilla pudding truly special is the ability to customize it to your taste. Whether you prefer it with a hint of nutmeg or a splash of almond extract, the possibilities are endless. Plus, making it from scratch allows you to control the ingredients, ensuring a fresher and more flavorful experience than store-bought alternatives. Join me as we dive into the simple yet rewarding process of creating your very own homemade vanilla pudding that will surely impress family and friends alike!
Ingredients:
- 2 cups whole milk
- 1/2 cup granulated sugar
- 1/4 cup cornstarch
- 1/4 teaspoon salt
- 2 large egg yolks
- 2 tablespoons unsalted butter
- 1 tablespoon pure vanilla extract
Preparing the Base
1. **Gather Your Ingredients**: Start by measuring out all your ingredients. This will make the process smoother and more enjoyable. You’ll need whole milk, granulated sugar, cornstarch, salt, egg yolks, unsalted butter, and pure vanilla extract. 2. **Mix Dry Ingredients**: In a medium-sized saucepan, combine the granulated sugar, cornstarch, and salt. Whisk them together until they are well blended. This step is crucial as it helps to prevent lumps from forming later on. 3. **Add Milk**: Gradually pour in the 2 cups of whole milk while continuously whisking the dry mixture. This will help to dissolve the cornstarch and sugar, creating a smooth base for your pudding. 4. **Heat the Mixture**: Place the saucepan over medium heat. Stir the mixture constantly with a wooden spoon or a whisk. It’s important to keep stirring to prevent the mixture from sticking to the bottom of the pan and burning. 5. **Watch for Thickening**: As the mixture heats up, you’ll notice it starting to thicken. This usually takes about 5-7 minutes. Keep stirring until it reaches a gentle boil. Once it starts bubbling, continue to cook for an additional 1-2 minutes until it’s thick enough to coat the back of a spoon.Incorporating the Egg Yolks
6. **Prepare the Egg Yolks**: While the milk mixture is heating, separate the egg yolks from the whites. You only need the yolks for this recipe. Place the yolks in a small bowl and whisk them lightly. 7. **Temper the Egg Yolks**: To prevent the yolks from scrambling when added to the hot mixture, you need to temper them. Slowly ladle about 1/2 cup of the hot milk mixture into the bowl with the egg yolks while whisking constantly. This gradually raises the temperature of the yolks. 8. **Combine Yolks with Mixture**: Once the yolks are tempered, pour the yolk mixture back into the saucepan with the remaining milk mixture. Stir well to combine.Final Cooking Steps
9. **Cook Until Thickened**: Continue to cook the pudding over medium heat, stirring constantly. You’ll notice it thickening even more. This should take about 2-3 minutes. Once it’s thick enough to hold its shape, remove it from the heat. 10. **Add Butter and Vanilla**: Stir in the 2 tablespoons of unsalted butter and 1 tablespoon of pure vanilla extract. This will add richness and flavor to your pudding. Mix until the butter is fully melted and incorporated. 11. **Taste and Adjust**: At this point, I like to taste the pudding to see if it needs any adjustments. If you want a stronger vanilla flavor, feel free to add a bit more vanilla extract.Cooling and Serving
12. **Transfer to Serving Dishes**: Pour the pudding into individual serving dishes or a large bowl. If you prefer a smooth top, you can use a spatula to level it out. 13. **Prevent a Skin from Forming**: To prevent a skin from forming on the surface of the pudding as it cools, place a piece of plastic wrap directly on top of the pudding. Make sure it touches the surface to avoid any air exposure. 14. **Chill in the Refrigerator**: Allow the pudding to cool at room temperature for about 30 minutes, then transfer it to the refrigerator. Let it chill for at least 2 hours, or until it’s completely set. 15. **Serve and Enjoy**: Once the pudding is chilled and set, it’s time to serve! You can enjoy it plain, or top it with whipped cream, fresh fruit, or chocolate shavings for an extra treat.Storage Tips
16. **Store Leftovers**: If you have any leftovers (which is rare because it’s so delicious!), cover the pudding with plastic wrap or transfer it to an airtight container. It can be stored in the refrigerator for up to 3 days. 17. **Reheating**: If you prefer your pudding warm, you can gently reheat it in the microwave. Just be sure to stir it well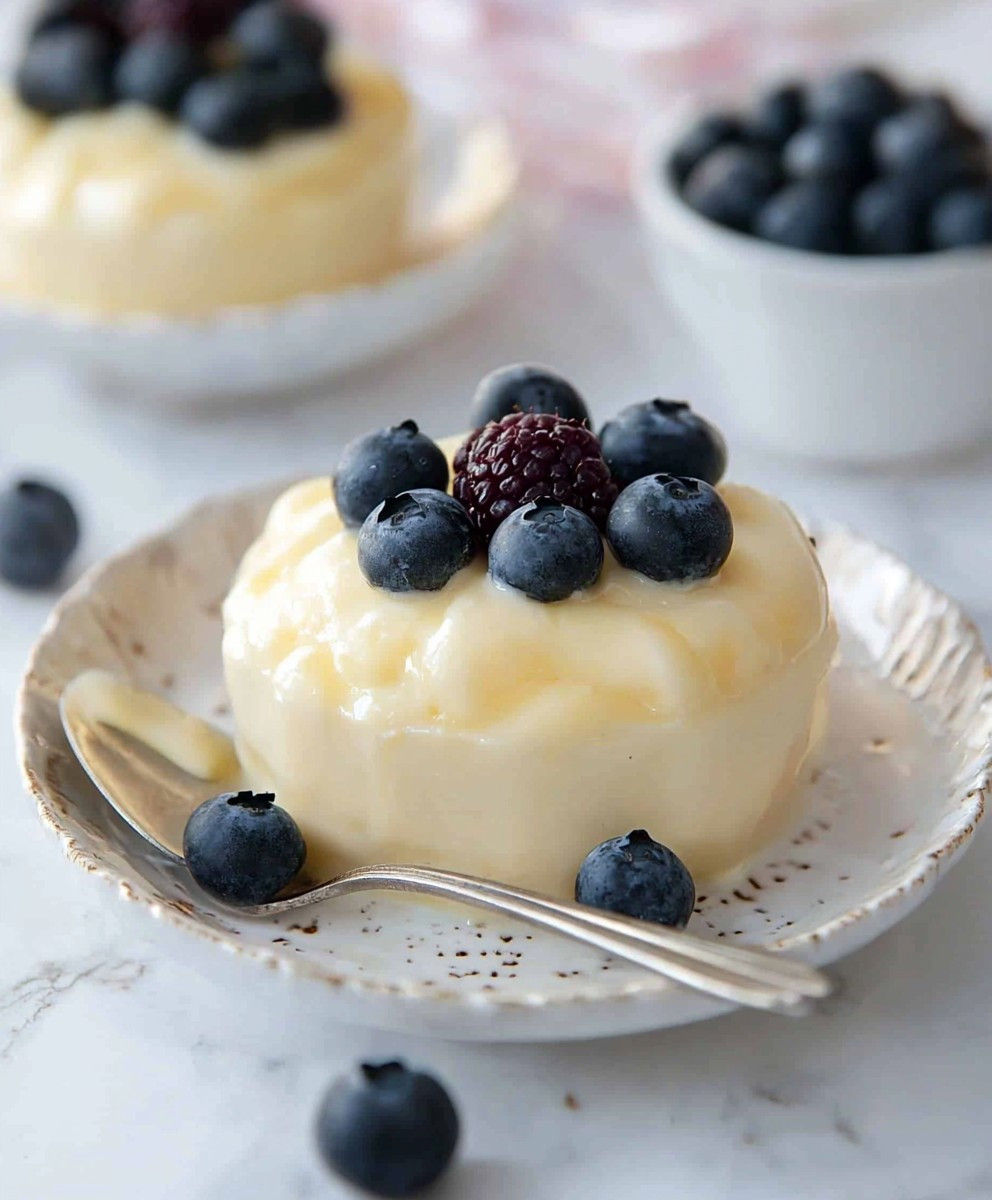
Conclusion:
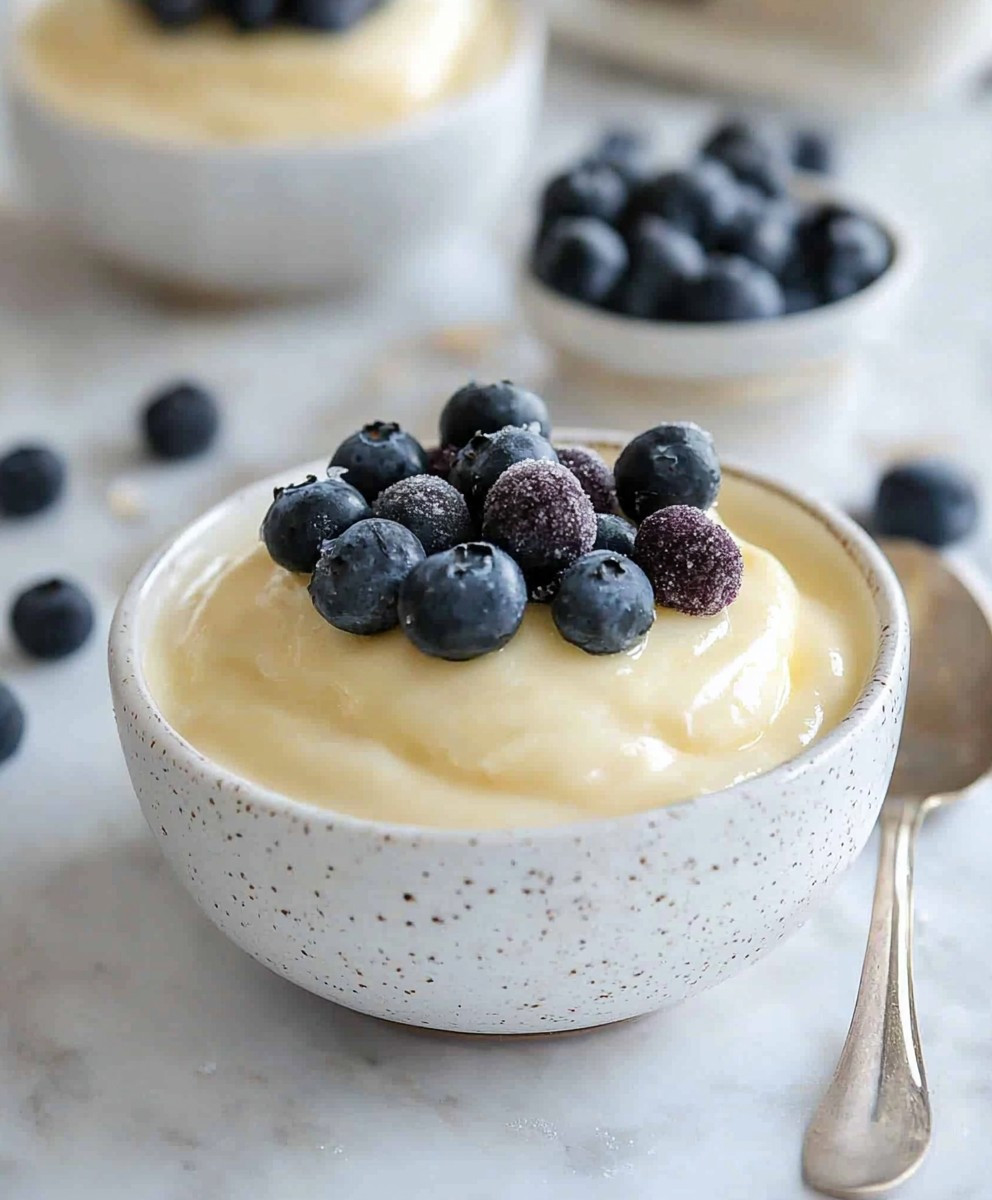
In summary, this homemade vanilla pudding is an absolute must-try for anyone who appreciates the simple joys of a classic dessert. Its creamy texture and rich vanilla flavor make it a delightful treat that can be enjoyed on its own or as a versatile base for other desserts. Whether you choose to serve it in individual cups topped with fresh berries, layer it in a trifle with whipped cream and cake, or even use it as a filling for pastries, the possibilities are endless! I encourage you to give this recipe a go and experience the satisfaction of creating something so delicious from scratch. Trust me, once you taste this homemade vanilla pudding, you’ll never want to reach for the store-bought version again. Plus, it’s a fantastic way to impress family and friends at your next gathering. Don’t forget to share your experience with me! I’d love to hear how your pudding turned out and any creative variations you tried. Did you add a hint of chocolate, or perhaps a splash of almond extract? Whatever your twist, your feedback is always welcome. So roll up your sleeves, gather your ingredients, and let’s make some homemade vanilla pudding that will surely become a favorite in your household! Print
Homemade Vanilla Pudding: A Simple and Delicious Recipe to Try Today
- Total Time: 150 minutes
- Yield: 4 servings 1x
Description
Enjoy a delightful homemade vanilla pudding that’s creamy and rich, perfect for dessert or a sweet snack. Made with simple ingredients, this classic treat is sure to satisfy your cravings!
Ingredients
- 2 cups whole milk
- 1/2 cup granulated sugar
- 1/4 cup cornstarch
- 1/4 teaspoon salt
- 2 large egg yolks
- 2 tablespoons unsalted butter
- 1 tablespoon pure vanilla extract
Instructions
- Gather Your Ingredients: Start by measuring out all your ingredients. This will make the process smoother and more enjoyable.
- Mix Dry Ingredients: In a medium-sized saucepan, combine the granulated sugar, cornstarch, and salt. Whisk them together until well blended.
- Add Milk: Gradually pour in the 2 cups of whole milk while continuously whisking the dry mixture.
- Heat the Mixture: Place the saucepan over medium heat. Stir constantly with a wooden spoon or whisk to prevent sticking.
- Watch for Thickening: As the mixture heats, it will start to thicken (about 5-7 minutes). Once it reaches a gentle boil, continue cooking for an additional 1-2 minutes until thick enough to coat the back of a spoon.
- Prepare the Egg Yolks: Separate the egg yolks from the whites and whisk them lightly in a small bowl.
- Temper the Egg Yolks: Slowly ladle about 1/2 cup of the hot milk mixture into the bowl with the egg yolks while whisking constantly.
- Combine Yolks with Mixture: Pour the tempered yolk mixture back into the saucepan and stir well.
- Cook Until Thickened: Continue cooking over medium heat, stirring constantly, until thickened (about 2-3 minutes). Remove from heat.
- Add Butter and Vanilla: Stir in the unsalted butter and pure vanilla extract until fully melted and incorporated.
- Taste and Adjust: Taste the pudding and adjust the vanilla flavor if desired.
- Transfer to Serving Dishes: Pour the pudding into individual serving dishes or a large bowl.
- Prevent a Skin from Forming: Place plastic wrap directly on top of the pudding to avoid air exposure.
- Chill in the Refrigerator: Allow to cool at room temperature for about 30 minutes, then refrigerate for at least 2 hours until set.
- Serve and Enjoy: Serve chilled, plain or topped with whipped cream, fresh fruit, or chocolate shavings.
- Store Leftovers: Cover with plastic wrap or transfer to an airtight container. Store in the refrigerator for up to 3 days.
- Reheating: Gently reheat in the microwave if you prefer warm pudding, stirring well.
Notes
- Der Teig darf während der Ruhezeit nicht bewegt werden.
- Für ein intensiveres Knoblaucharoma können mehr Zehen verwendet werden.
- Prep Time: 15 minutes
- Cook Time: 15 minutes