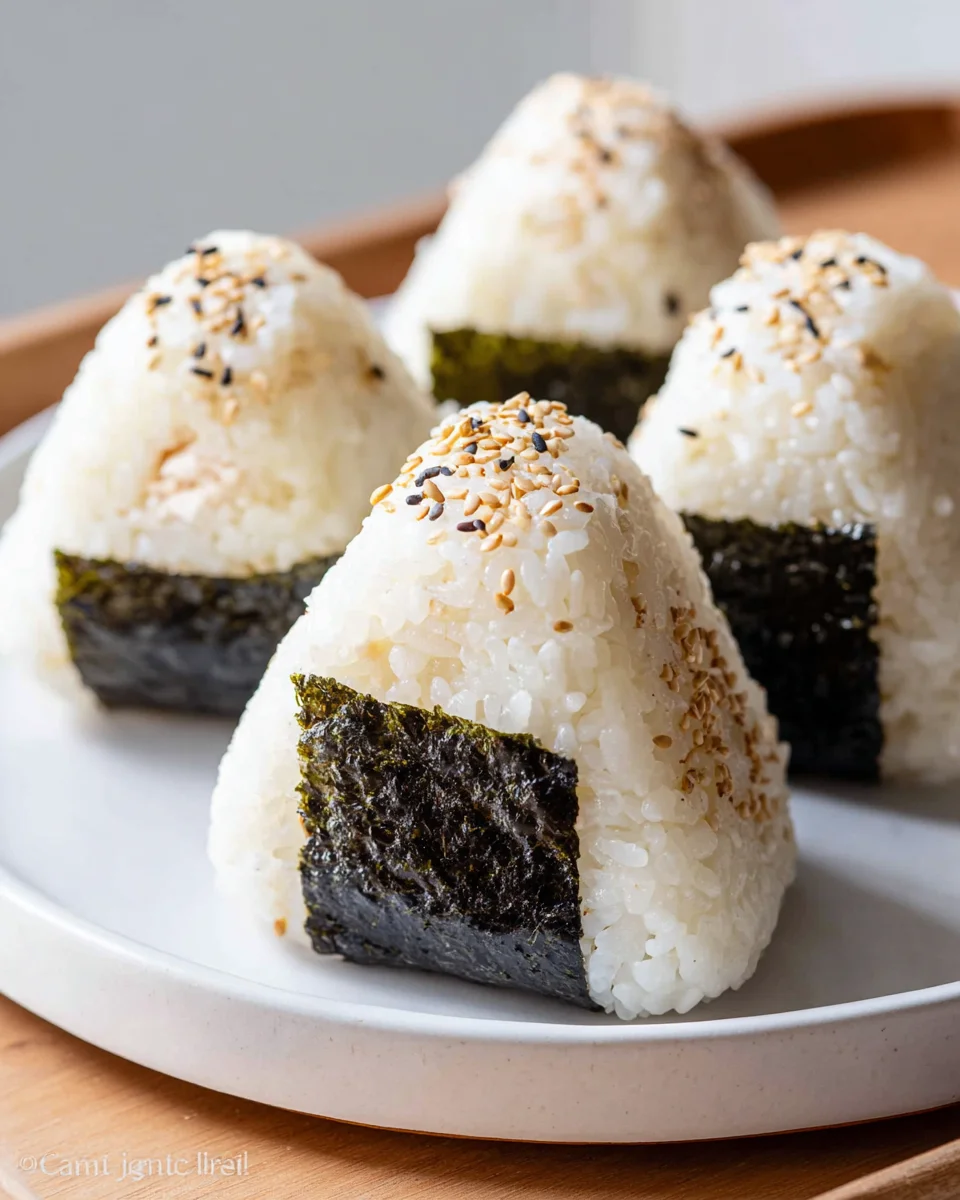
Japanese Tuna Onigiri is more than just a simple rice ball; it’s a beloved staple of Japanese cuisine that offers both comfort and convenience in every delightful bite. Imagine a perfectly seasoned parcel of rice, soft yet firm, encasing a savory, umami-rich filling that transports you straight to the bustling streets of Tokyo or a peaceful picnic under cherry blossoms. This isn’t just a snack; it’s a culinary hug.
From ancient times, when onigiri served as a portable meal for travelers, farmers, and even samurai, to its modern-day ubiquity in convenience stores and homemade bento boxes, its cultural significance is deeply woven into the fabric of Japanese life. It symbolizes practicality, nourishment, and heartfelt care. I personally find immense joy in crafting them, knowing I’m participating in a long-standing tradition.
People worldwide adore this dish for a multitude of reasons. Its incredible convenience makes it the ideal grab-and-go snack, a lunchbox hero, or a satisfying light meal. The textural harmony of fluffy, slightly sticky rice with the flaky, flavorful tuna filling is simply irresistible. The subtle tang of the rice seasoning perfectly complements the savory richness of the tuna, creating a balanced and deeply satisfying taste experience. Learning to make your own Japanese Tuna Onigiri at home is a wonderfully rewarding experience, allowing you to tailor the flavors to your exact preference and enjoy a truly fresh, homemade treat. I promise, once you master this simple recipe, you’ll wonder how you ever lived without this delightful dish in your culinary repertoire.

Ingredients:
- For the Rice:
- 2 cups (approximately 360g) Japanese short-grain rice (sushi rice)
- 2 ¼ cups water (for cooking rice, adjust according to rice cooker instructions)
- ½ teaspoon fine sea salt (for seasoning cooked rice)
- For the Tuna Mayo Filling:
- 1 (5-ounce / 142g) can tuna in oil or water, thoroughly drained
- 3 tablespoons Japanese mayonnaise (like Kewpie mayo, for superior creaminess)
- 1 teaspoon soy sauce
- ½ teaspoon toasted sesame oil
- ¼ teaspoon black pepper, freshly ground (or to taste)
- For Assembling:
- Small bowl of water (for wetting hands)Extra fine sea salt (for salting hands)
- 2-3 sheets of nori (dried seaweed), cut into strips or small rectangles (approximately 2×4 inches)
- Plastic wrap or a dedicated onigiri mold (optional, but highly recommended for beginners)
Phase 1: Preparing the Perfect Onigiri Rice
- Washing the Rice: Start by placing your Japanese short-grain rice into a large bowl. Cover the rice with cold water. Swirl the rice gently with your hand for about 20-30 seconds, observing how the water turns cloudy with excess starch. Carefully drain this cloudy water. Repeat this washing and draining process at least 3-4 times, or until the water runs mostly clear. This step is absolutely crucial for achieving the ideal sticky yet distinct grain texture for your Japanese Tuna Onigiri and preventing it from becoming too mushy.
- Soaking the Rice: Once the rice is clean, cover it with fresh cold water and let it soak for at least 30 minutes, or up to an hour. Soaking allows the rice grains to absorb water evenly, resulting in more uniform cooking and a better texture. If you’re using a rice cooker, you can often soak the rice directly in the cooking pot with the measured amount of water.
- Cooking the Rice: After soaking, drain the rice if it was in a separate bowl, then transfer it to your rice cooker pot. Add 2 ¼ cups of fresh water. Follow your rice cooker’s instructions for cooking white rice. If you’re cooking on the stovetop, place the drained, soaked rice and water in a heavy-bottomed pot with a tight-fitting lid. Bring to a boil over medium-high heat, then immediately reduce heat to the lowest setting. Simmer, covered, for 15-20 minutes, or until all the water is absorbed. Resist the urge to lift the lid during this time, as it will release steam essential for proper cooking.
- Resting the Rice: Once cooked, whether by rice cooker or stovetop, let the rice rest, still covered, for another 10-15 minutes. This resting period allows the steam to redistribute throughout the rice, resulting in fluffy, perfectly cooked grains. This step is vital for the texture of your Japanese Tuna Onigiri.
- Seasoning the Rice: Transfer the hot cooked rice to a large, shallow bowl (preferably non-metallic, like a wooden hangiri or glass bowl). Sprinkle ½ teaspoon of fine sea salt evenly over the rice. Using a rice paddle or spatula, gently cut and fold the rice to mix the salt in. Be careful not to mash the rice; you want to separate the grains and allow the salt to distribute without crushing the rice. Allow the rice to cool slightly until it’s warm enough to handle comfortably, but not cold. This is the ideal temperature for shaping Japanese Tuna Onigiri.
Phase 2: Crafting the Flavorful Tuna Mayo Filling
- Prepare the Tuna: If you’re using canned tuna in oil, drain it exceptionally well by pressing out excess oil with the back of a spoon against a sieve. If using tuna in water, drain it similarly. Thoroughly draining the tuna is key to preventing your Japanese Tuna Onigiri filling from becoming watery and compromising the rice’s integrity. Once drained, flake the tuna into a medium-sized mixing bowl.
- Mix the Filling: Add the Japanese mayonnaise, soy sauce, toasted sesame oil, and freshly ground black pepper to the flaked tuna. Using a fork, mix all the ingredients thoroughly until well combined. The mixture should be creamy and consistent. Taste a small amount and adjust seasonings if necessary – you might want a touch more soy sauce or pepper depending on your preference. The quality of your mayonnaise truly makes a difference here; Japanese mayonnaise offers a richer, tangier flavor profile that complements the tuna perfectly in Japanese Tuna Onigiri. Set the filling aside.
Phase 3: Shaping Your Delicious Japanese Tuna Onigiri
-
Prepare Your Hands and Workspace:
Set up your shaping station. You’ll need the warm, seasoned rice, the tuna mayo filling, your small bowl of water, extra salt, and the nori strips. If using plastic wrap, tear off a piece about 12×12 inches and lay it flat on your clean work surface. Lightly dampen your hands with water from the small bowl. This prevents the sticky rice from adhering to your hands. Sprinkle a pinch of the extra fine sea salt onto your wet palms and rub them together lightly. This seasons the outer layer of the rice, adding a subtle flavor and helping to preserve the Japanese Tuna Onigiri.
-
Portion the Rice:
Take about ½ cup of the warm, seasoned rice. Gently cup it in one palm, forming a loose, slightly rounded base. The key is to use enough rice to form a substantial onigiri but not so much that it’s difficult to handle.
-
Create a Well for the Filling:
Using your thumb, make a shallow indentation in the center of the rice in your palm. This “well” will hold the tuna filling. Ensure the well is deep enough to hold a good amount of filling but doesn’t go all the way through the bottom or sides of the rice.
-
Add the Tuna Filling:
Spoon approximately 1 to 1 ½ tablespoons of the tuna mayo filling into the well. Don’t overfill, as it will make sealing the Japanese Tuna Onigiri difficult.
-
Top with More Rice:
Take another small amount of rice (about ¼ cup) and gently place it over the tuna filling, completely covering it. Press down very lightly to seal the filling inside.
-
Shape the Onigiri (Triangle Method):
Now for the fun part: shaping your Japanese Tuna Onigiri! There are several common shapes, but the triangle is iconic and easy to achieve.
- Using Your Hands: Cup the rice gently between your two palms. Form your hands into a ‘V’ shape, almost like a triangle, with your thumbs meeting at the base of the rice and your index fingers angled upwards. Gently but firmly squeeze the rice into a triangular shape, rotating it slightly after each squeeze to create even sides. Apply even pressure; too light and it will fall apart, too firm and it will be dense. Focus on creating three distinct flat sides and pointed corners. Repeat this shaping and rotating motion 3-4 times until you have a compact, well-defined triangular Japanese Tuna Onigiri.
- Using Plastic Wrap (Recommended for Beginners or Consistency): Place the assembled rice (with filling inside) onto the center of your prepared plastic wrap. Gather the corners of the plastic wrap around the rice, twisting the top to form a tight ball. Now, use your hands over the plastic wrap to press and shape the rice into a triangle, similar to the hand method. The plastic wrap provides excellent grip and prevents sticking, making it easier to get a uniform shape. The plastic wrap also allows you to apply firm pressure without crushing the delicate rice grains. Once shaped, unwrap the plastic.
-
Attach the Nori Wrapper:
Take one strip or small rectangle of nori. Wrap it around the base of your newly shaped Japanese Tuna Onigiri. The natural moisture from the rice will help the nori adhere. You can choose to wrap it fully around the bottom, or just partially cover one or two sides. The nori serves not only as a garnish but also as a convenient way to hold the Japanese Tuna Onigiri without getting your hands sticky. For best results, attach the nori right before serving, as it can become soggy if left on the rice for too long.
-
Repeat for Remaining Onigiri:
Continue the shaping process with the remaining rice and tuna filling. You should be able to make approximately 6-8 Japanese Tuna Onigiri from this recipe, depending on the size you make them. Remember to re-wet and re-salt your hands between each onigiri as needed to prevent sticking and ensure consistent seasoning.
Phase 4: Serving and Storage Tips for Japanese Tuna Onigiri
-
Serving Your Fresh Japanese Tuna Onigiri:
Japanese Tuna Onigiri is best enjoyed while the rice is still warm or at room temperature. This allows the subtle saltiness of the rice and the rich creaminess of the tuna mayo filling to shine through. The nori should be crisp at this point, providing a delightful textural contrast. You can arrange them attractively on a platter for a snack, pack them in bento boxes for lunch, or serve them as a light meal with miso soup and pickled ginger. These little rice balls are incredibly versatile!
-
Storing Leftover Japanese Tuna Onigiri:
If you have any leftover Japanese Tuna Onigiri, the best way to store them is by wrapping each one individually in plastic wrap immediately after shaping (before adding nori). This prevents the rice from drying out and maintains its texture. Refrigeration is generally not recommended for more than a day for onigiri, as the rice tends to harden and lose its soft, pliable texture when cold. If you must refrigerate, remove them from the fridge about 30 minutes before eating to allow them to come closer to room temperature. The nori should always be added just before eating, especially if you plan to store them, to prevent it from becoming chewy and unpleasant. For longer storage (up to a month), you can freeze individually wrapped Japanese Tuna Onigiri. To reheat, simply microwave for 30-60 seconds until warm, or steam gently. Again, add fresh nori after reheating.
-
Tips for Perfect Japanese Tuna Onigiri Every Time:
- Don’t over-compress the rice: While you need to apply firm pressure to shape the onigiri, avoid squeezing it too tightly. The goal is a compact shape that holds together, not a dense, hard ball. A light, fluffy texture is desirable.
- Keep your hands damp and salted: This is the most important technique for mess-free and perfectly seasoned Japanese Tuna Onigiri. Re-dampen and re-salt as needed.
- Experiment with shapes: While the triangle is traditional, you can also make round balls or cylinder shapes. An onigiri mold can be very helpful for consistent shapes and sizes, especially if you’re making a large batch.
- Variety is the spice of life: Once you’ve mastered this classic Japanese Tuna Onigiri with tuna mayo, feel free to experiment with other fillings like grilled salmon, umeboshi (pickled plum), kombu (kelp), or even fried chicken!
- Freshness matters: Japanese Tuna Onigiri is at its peak flavor and texture shortly after it’s made. Plan to enjoy them promptly for the best experience.
Conclusion:
Well, there you have it, my friends! We’ve reached the end of our delicious journey, and I truly hope you’re feeling inspired and ready to roll up your sleeves – quite literally – to make this incredible recipe. This isn’t just about preparing a meal; it’s about crafting a delightful experience, a burst of fresh flavors, and the undeniable satisfaction of creating something both wholesome and incredibly tasty right in your own kitchen. I can’t emphasize enough how much of a game-changer this recipe will be for your snack rotation, your lunchbox dilemmas, or even your casual entertaining. The combination of perfectly seasoned sushi rice, the rich, savory filling, and the crisp embrace of nori creates a symphony for your taste buds that’s utterly irresistible.
What makes this particular dish a must-try is its remarkable balance of simplicity and profound flavor. You might think preparing something so authentically Japanese would be daunting, but I promise you, it’s wonderfully straightforward. The joy comes from seeing fresh, high-quality ingredients transform into a compact, convenient, and utterly delicious bite. It’s the ultimate grab-and-go meal that never compromises on taste or satisfaction. Imagine the convenience of having a batch of these ready for a quick breakfast, a desk lunch that feels like a treat, or a healthy after-school snack for the kids. It’s also incredibly economical compared to buying them pre-made, and the freshness you achieve at home is simply unparalleled. You control every ingredient, ensuring the best possible outcome for your palette and your peace of mind.
Now, let’s talk about making this recipe truly your own. While the classic preparation is divine, part of the fun is experimenting! When it comes to serving, these delightful rice balls are fantastic on their own, but they also pair beautifully with a few complementary dishes. A warm bowl of miso soup acts as the perfect counterpoint, its savory depth cleansing your palate between bites. For a refreshing side, a simple cucumber sunomono (Japanese cucumber salad) or a light, crisp green salad with a sesame dressing adds a lovely textural contrast. And of course, don’t forget a little dish of soy sauce for dipping, perhaps with a touch of wasabi mixed in for those who enjoy a bit of heat. A sprinkle of shichimi togarashi (Japanese seven-spice blend) on top just before serving can also introduce a fantastic aromatic kick and a touch of visual flair. For a truly authentic experience, enjoy your rice balls with a cup of hot green tea – it’s a match made in culinary heaven.
But the customization doesn’t stop there! Think about variations. While the tuna filling is incredibly popular and for good reason, you can easily swap it out to suit your preferences or what you have on hand. How about a spicy tuna filling, mixing your canned tuna with a dollop of sriracha and Japanese mayonnaise? Or perhaps flaked salmon, cooked and seasoned, for a different oceanic flavor? For vegetarian options, you could try savory kombu tsukudani (simmered kelp), salty-sour umeboshi (pickled plum), or even a mixture of pan-fried shiitake mushrooms. Don’t be afraid to mix in some furikake (Japanese rice seasoning) directly into your rice before shaping, adding an extra layer of umami and texture. You can also play with the rice itself; while traditional sushi rice is king, brown rice can be a healthier alternative, and some adventurous cooks even use cauliflower rice for a low-carb twist. The shapes can vary too – from classic triangles to neat cylinders or even simple spheres. The possibilities are truly endless, limited only by your imagination!
So, I implore you, don’t just read about it – make it! Take the leap and discover the profound satisfaction of crafting your very own Japanese Tuna Onigiri. I promise you, the moment you bite into that perfectly seasoned rice, savory filling, and crisp seaweed, you’ll understand why this humble rice ball has captured hearts around the world. It’s a rewarding culinary adventure that is accessible to everyone, regardless of your cooking skill level. Once you’ve made them, don’t keep your delicious creations to yourself! I would absolutely love to hear about your experience. Did you stick to the classic recipe, or did you put your own unique spin on it? What fillings did you try? Did you share them with family and friends, and what was their reaction? Please, share your stories, your photos, and your tips in the comments below or on your favorite social media platforms. Your culinary journey inspires me, and I can’t wait to celebrate your homemade onigiri triumphs. Happy cooking!
Authentic Japanese Tuna Onigiri: Delicious Rice Snack Recipe
Japanese Tuna Onigiri is more than just a simple rice ball; it’s a beloved staple of Japanese cuisine that offers both comfort and convenience in every delightful bite. Imagine a perfectly seasoned parcel of rice, soft yet firm, encasing a savory, umami-rich filling that transports you straight to the bustling streets of Tokyo or a peaceful picnic under cherry blossoms. This isn’t just a snack; it’s a culinary hug. People worldwide adore this dish for its incredible convenience, making it the ideal grab-and-go snack, a lunchbox hero, or a satisfying light meal.
Ingredients
Instructions
Important Information
Nutrition Facts (Per Serving)
It is important to consider this information as approximate and not to use it as definitive health advice.
Allergy Information
Please check ingredients for potential allergens and consult a health professional if in doubt.