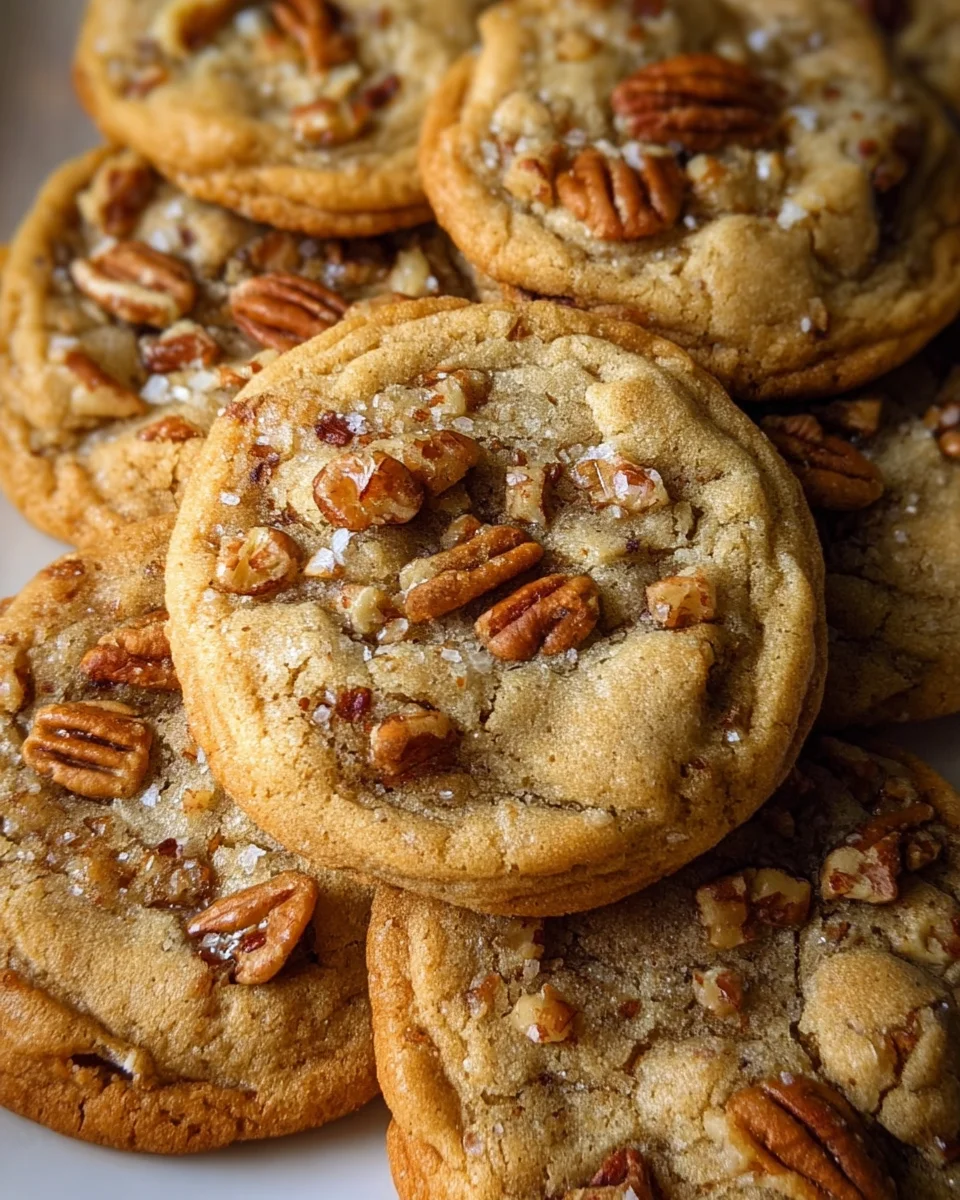
Butter Pecan Cookies are a timeless delight that instantly transports you to a cozy kitchen, filled with the comforting aroma of toasted nuts and sweet butter. Few treats capture the essence of home and tradition quite like these, embodying a flavor profile that has captivated palates for generations. The pecan, a proud native of North America, has long been a cherished staple in Southern cuisine, and the beloved butter pecan flavor itself boasts a rich heritage, celebrated in everything from classic ice creams to decadent pies. It is a taste that speaks volumes about comfort, warmth, and culinary tradition.
Why We Love Butter Pecan Cookies So Much
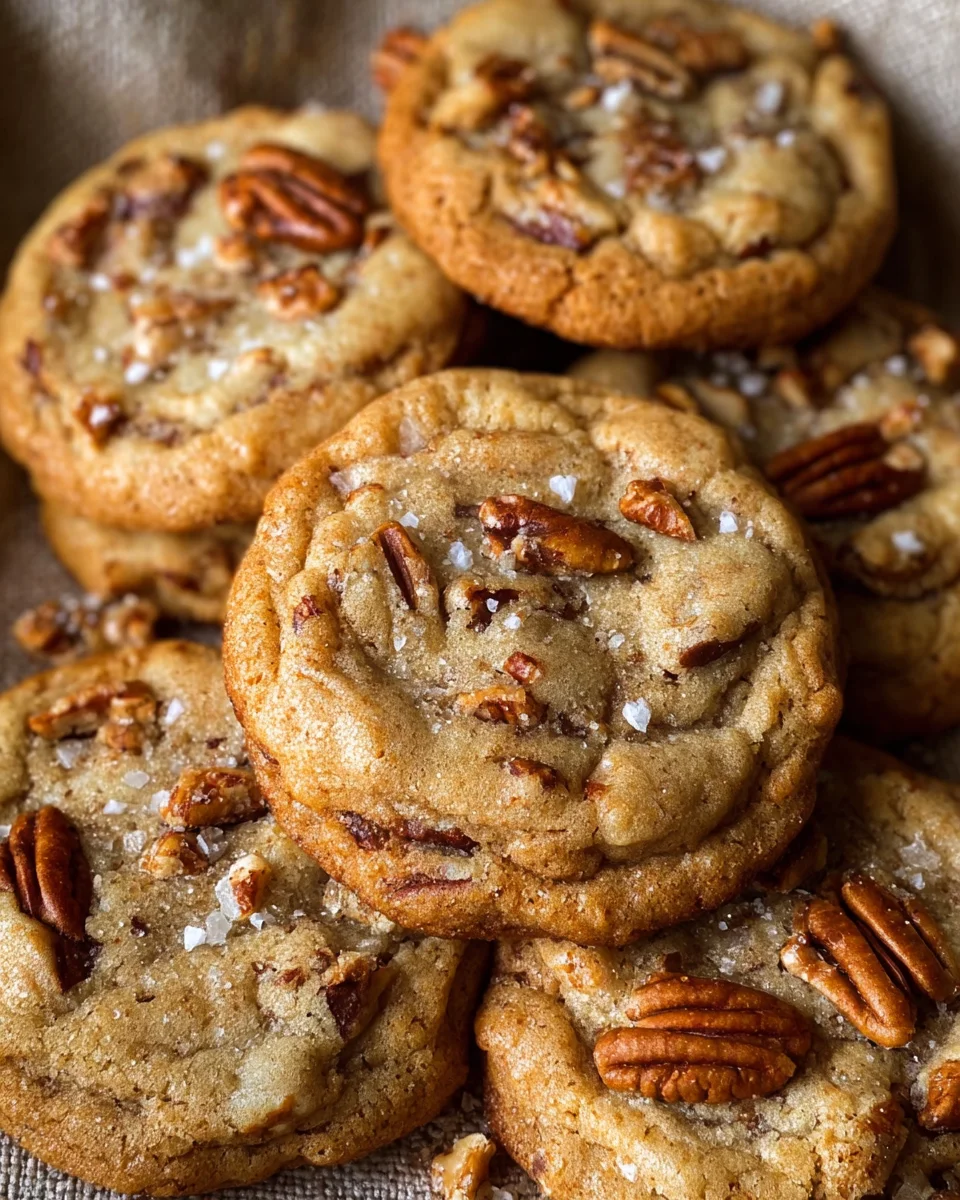
What truly sets these cookies apart is their incredible balance of flavors and textures. Each exquisite bite offers the satisfying crunch of beautifully toasted pecans, perfectly complemented by the rich, creamy notes of butter, all wrapped in a wonderfully tender, melt-in-your-mouth cookie. They are not just a simple treat; they are a sophisticated experience, offering a nuanced sweetness that appeals to all ages. I believe you’ll find that crafting these homemade Butter Pecan Cookies will bring immense joy and an unparalleled taste sensation to your table, becoming an instant favorite for any occasion.
Ingredients:
- For the Butter Pecan Cookies:
- 2 ½ cups (300g) all-purpose flour, spooned and leveled
- 1 teaspoon baking soda
- ½ teaspoon salt
- 1 cup (226g) unsalted butter, softened to room temperature
- ¾ cup (150g) granulated sugar
- ¾ cup (160g) packed light brown sugar
- 2 large eggs, room temperature
- 1 teaspoon pure vanilla extract
- ½ teaspoon butter extract (optional, but highly recommended for intense butter pecan flavor)
- 1 ½ cups (170g) pecans, roughly chopped
- For the Optional Butter Pecan Glaze:
- 1 cup (120g) powdered sugar, sifted
- 2 tablespoons unsalted butter, melted
- 2-3 tablespoons milk or heavy cream, as needed
- ½ teaspoon pure vanilla extract
- ¼ teaspoon butter extract (optional, for extra richness)
- Pinch of salt
Preparing the Pecans for Maximum Flavor
- Preheat Oven and Prepare Pecans: To begin our journey to the perfect Butter Pecan Cookies, we first need to unlock the full potential of our pecans. Preheat your oven to 350°F (175°C). Spread your roughly chopped pecans in a single layer on a baking sheet.
- Toast the Pecans: Place the baking sheet with pecans into the preheated oven. Toast for about 5-8 minutes, keeping a very close eye on them. You’ll know they’re ready when they become fragrant and slightly darker in color. Be careful not to burn them, as burned pecans can lend a bitter taste to your delicious Butter Pecan Cookies. The toasting process brings out their natural oils and deepens their nutty flavor, which is absolutely crucial for these cookies. Once toasted, immediately remove them from the hot baking sheet and transfer them to a plate or bowl to cool completely. This stops the cooking process and prevents them from over-toasting. Cool pecans are essential before folding them into the dough.
Creaming the Wet Ingredients
- Combine Dry Ingredients: While your pecans are cooling, in a medium bowl, whisk together the all-purpose flour, baking soda, and salt. Make sure these dry ingredients are thoroughly combined. This ensures even distribution of the leavening agent and salt throughout the cookie dough, leading to consistent texture and flavor in every bite of your Butter Pecan Cookies. Set this bowl aside for now.
- Cream Butter and Sugars: In the bowl of a stand mixer fitted with the paddle attachment, or using a large bowl with a handheld electric mixer, cream together the softened unsalted butter, granulated sugar, and light brown sugar. Beat on medium speed for about 3-5 minutes, or until the mixture is light, fluffy, and pale in color. This step is vital for the texture of your Butter Pecan Cookies. Proper creaming incorporates air into the butter and sugar, which helps create a tender, chewy cookie. Scrape down the sides of the bowl frequently with a spatula to ensure everything is evenly combined. You’ll notice the texture transforming from dense and yellowish to airy and almost ivory.
- Add Eggs and Extracts: Once the butter and sugars are beautifully creamed, add the eggs one at a time, beating well after each addition until fully incorporated. After the eggs, stir in the pure vanilla extract and, if you’re using it, the butter extract. The butter extract truly amplifies that signature butter pecan flavor we’re aiming for in these cookies. Continue to beat on medium speed for another minute, making sure everything is well combined and the mixture is smooth and emulsified. Again, scrape down the sides of the bowl to catch any unincorporated ingredients. The mixture should look rich and slightly glossy at this stage.
Combining Dry and Wet Ingredients
- Gradually Add Dry to Wet: With the mixer on low speed, gradually add the dry ingredients (flour mixture) to the wet ingredients (butter mixture) in two or three additions. Mix only until just combined. It’s crucial not to overmix the dough at this stage. Overmixing can develop the gluten in the flour too much, resulting in tough, dry Butter Pecan Cookies rather than the soft, chewy texture we desire. Stop mixing as soon as you no longer see streaks of dry flour. A few small lumps are perfectly fine.
- Fold in Toasted Pecans: Remove the bowl from the mixer and, using a rubber spatula, gently fold in the cooled, toasted pecans. Distribute them evenly throughout the dough. The goal is to incorporate them without crushing them too much, ensuring lovely chunks of nutty flavor in every bite of your Butter Pecan Cookies. Make sure to scrape the bottom of the bowl to ensure all the dough and pecans are thoroughly mixed.
Forming and Chilling the Cookie Dough
- Chill the Dough: This step is non-negotiable for superior Butter Pecan Cookies. Cover the bowl with plastic wrap and refrigerate the cookie dough for at least 1 hour, or preferably 2-3 hours. For the absolute best flavor development and to prevent the cookies from spreading too much during baking, chilling for up to 24 hours is highly recommended. The flavors meld beautifully, the butter solidifies, and the dough becomes much easier to handle. This rest period allows the flour to fully hydrate, resulting in a more tender and flavorful cookie.
Baking the Perfect Butter Pecan Cookies
- Prepare for Baking: When you’re ready to bake your Butter Pecan Cookies, preheat your oven to 375°F (190°C). Line two large baking sheets with parchment paper or silicone baking mats. This prevents sticking and ensures even baking and easy cleanup.
- Scoop the Dough: Use a 1.5-2 tablespoon cookie scoop (or just roll by hand) to portion out the chilled cookie dough. Place the dough balls about 2 inches apart on the prepared baking sheets. They will spread, so give them adequate space. If your dough is very cold, you might need to let it sit for a few minutes at room temperature to make it easier to scoop.
- Bake the Cookies: Bake one sheet at a time in the preheated oven for 9-12 minutes. Baking time can vary depending on your oven, so watch them closely. The edges should be lightly golden brown and set, while the centers still look slightly soft. Do not overbake your Butter Pecan Cookies! They will continue to set up as they cool. Overbaking is the quickest way to end up with dry, crumbly cookies instead of delightfully chewy ones.
- Cool on Baking Sheets: Once baked, remove the baking sheets from the oven and let the cookies cool on the sheets for about 5 minutes. This allows them to firm up slightly before you move them.
- Transfer to Wire Rack: After 5 minutes, carefully transfer the warm Butter Pecan Cookies to a wire rack to cool completely. Cooling on a wire rack allows air to circulate around them, preventing the bottoms from becoming soggy. If you plan to glaze them, ensure they are completely cool before proceeding, otherwise, the glaze will melt right off.
Optional: Butter Pecan Glaze (for extra indulgence)
- Prepare the Glaze: If you’re opting for the extra layer of deliciousness, in a medium bowl, whisk together the sifted powdered sugar, melted butter, vanilla extract, optional butter extract, and a pinch of salt. Gradually add 2-3 tablespoons of milk or heavy cream, one tablespoon at a time, until you reach your desired drizzling consistency. The glaze should be smooth, slightly thick, and pourable, but not too watery. If it’s too thick, add a tiny bit more milk; if too thin, add a little more sifted powdered sugar. The melted butter provides a rich, buttery base that complements the cookies perfectly, enhancing the “butter” aspect of our Butter Pecan Cookies.
- Glaze the Cooled Cookies: Once your Butter Pecan Cookies are completely cool, drizzle the glaze over them using a spoon or by dipping the tops of the cookies into the glaze. You can create a simple zigzag pattern or fully coat the top.
- Allow Glaze to Set: Let the glazed Butter Pecan Cookies sit at room temperature for at least 30 minutes, or until the glaze has fully set. This will give them a lovely, slightly crisp top layer and seal in even more flavor. The glaze adds an additional layer of sweetness and a beautiful presentation, making these Butter Pecan Cookies truly irresistible for any occasion.
Conclusion:
As we wrap up our delightful journey through this recipe, I truly hope you’re feeling as excited as I am about the prospect of baking these incredible treats. I honestly believe that every home baker deserves a go-to recipe that consistently delivers pure joy, and for me, these have absolutely become one of those cherished staples. They aren’t just any ordinary baked good; they embody a perfect symphony of flavors and textures that dance on your palate, leaving a lasting impression long after the last crumb is gone. This recipe isn’t just about mixing ingredients; it’s about crafting a moment of pure, buttery bliss that transcends the everyday. It’s an experience, a tradition waiting to be born in your kitchen, and a simple pleasure that reminds us of the magic of homemade delights.
What makes this particular recipe an absolute must-try? It’s the impeccable balance. Imagine the rich, nutty aroma of toasted pecans mingling with the deep, caramel notes of browned butter – that’s the foundation of what makes these so irresistible. The tender chewiness of the cookie itself, with just the right amount of crispness at the edges, creates a textural masterpiece that is profoundly satisfying. Each bite is a testament to the simple elegance of well-chosen ingredients expertly combined. They strike that delicate balance between a comforting classic and something truly special, making them suitable for any occasion, from a quiet afternoon tea to a festive holiday gathering. Trust me, once you experience that first bite, you’ll understand exactly why I rave about them so much; they truly are a game-changer in your baking repertoire. This isn’t just a cookie; it’s a hug in edible form, a little piece of comfort that speaks directly to the soul.
Serving Suggestions for Maximum Enjoyment
While these cookies are undeniably fantastic on their own, warm from the oven, I have a few suggestions to elevate your experience even further. Picture this: a stack of these golden beauties alongside a steaming mug of artisanal coffee or a fragrant cup of Earl Grey tea. The slight bitterness of the coffee or the subtle astringency of the tea provides a wonderful counterpoint to the cookie’s sweetness, creating a harmonious pairing. For a more decadent dessert, try pairing them with a scoop of creamy vanilla bean ice cream; the warm cookie melting slightly into the cold ice cream creates an unforgettable sensation of hot and cold, soft and firm. A drizzle of warm caramel sauce over the top would also not go amiss, enhancing those inherent buttery notes and adding another layer of luxurious sweetness. For a refreshing twist on a summer evening, consider crumbling one over a bowl of peach sorbet – unexpected, but absolutely divine! Don’t underestimate the power of a simple glass of cold milk either; it’s a timeless combination for a reason, refreshing the palate between each glorious bite.
Exciting Variations to Experiment With
Part of the fun of baking is making a recipe your own, and this one is wonderfully adaptable, inviting your creative spirit to play. If you’re feeling adventurous, consider folding in a handful of white chocolate chips for an added layer of sweetness and creaminess, or a sprinkle of flaky sea salt on top before baking to really make those buttery flavors pop and provide a delightful salty contrast. For an autumnal twist, a tiny pinch of cinnamon or a dash of maple extract can truly transform the profile, evoking cozy, fireside feelings that are perfect for cooler weather. You could even experiment with different types of nuts – walnuts or macadamia nuts could offer their own unique charm, though I confess, the pecans hold a very special place in my heart for this recipe due to their distinct flavor and texture. Another fun idea is to turn them into elegant cookie sandwiches by filling two cookies with a delicate cream cheese frosting or a simple vanilla buttercream – perfect for parties or as a thoughtful gift. The possibilities are truly endless, limited only by your imagination!
Your Baking Journey Starts Now!
Now, it’s your turn. I wholeheartedly encourage you to roll up your sleeves, gather your ingredients, and immerse yourself in the delightful process of baking these incredible treats. There’s an immense sense of satisfaction that comes from creating something so utterly delicious with your own hands, and I promise you, the aroma alone as they bake will be reward enough! Don’t be afraid to embrace the process; baking should be a joy, not a chore. Even if you’re a beginner, this recipe is designed to bring you success and happiness. Once you’ve pulled your golden beauties from the oven, perhaps after letting them cool just enough to handle, take that first glorious bite. I am confident that these Butter Pecan Cookies will quickly become a cherished favorite in your household, just as they have in mine. And when you do bake them, please, please share your experience! Tag me, send me a message, or simply tell your friends and family how much you loved them. Your feedback, your photos, and your own creative twists inspire not only me but countless other home bakers looking for that next perfect recipe. Share the joy, spread the deliciousness, and let’s celebrate the simple magic of homemade cookies together. Happy baking, my friends!
Best Butter Pecan Cookies – Melt-in-Your-Mouth Recipe
Butter Pecan Cookies are a timeless delight that instantly transports you to a cozy kitchen, filled with the comforting aroma of toasted nuts and sweet butter. Few treats capture the essence of home and tradition quite like these, embodying a flavor profile that has captivated palates for generations.
Ingredients
Instructions
Important Information
Nutrition Facts (Per Serving)
It is important to consider this information as approximate and not to use it as definitive health advice.
Allergy Information
Please check ingredients for potential allergens and consult a health professional if in doubt.