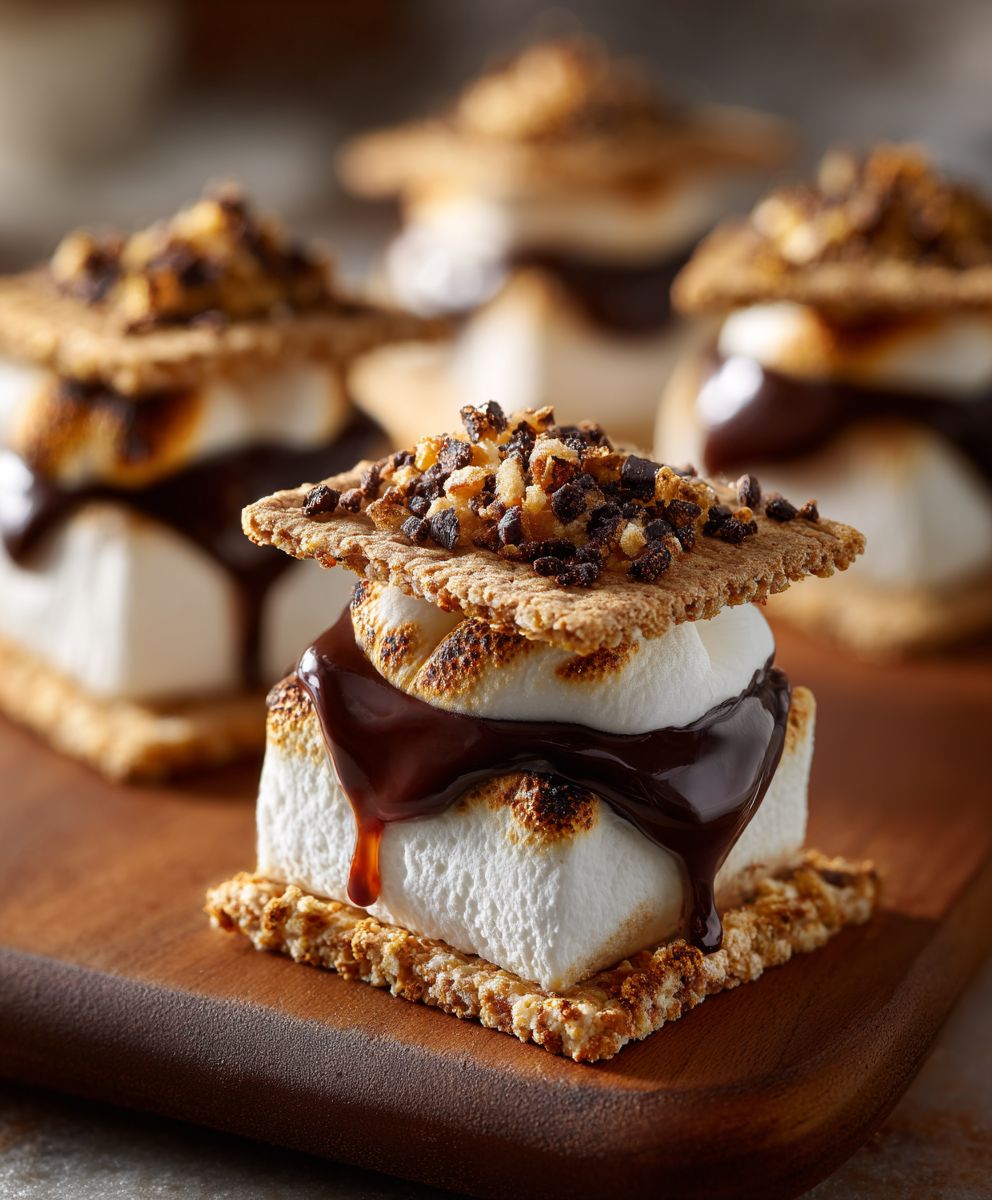
Campfire Marshmallow Cones: the ultimate sweet treat that brings out the kid in everyone! Imagine this: a crackling campfire, the scent of woodsmoke in the air, and the gooey, toasted perfection of a marshmallow melting into a crisp sugar cone. Are you ready to elevate your next outdoor adventure with a dessert that’s as fun to make as it is to eat?
While the exact origins of the Campfire Marshmallow Cones are shrouded in the mists of backyard barbecues and family camping trips, their appeal is timeless. They represent the simple joys of gathering around a fire, sharing stories, and indulging in something utterly delicious. Think of them as a deconstructed s’more, offering a delightful textural contrast between the crunchy cone, the soft marshmallow, and the optional additions of chocolate chips, sprinkles, or even crushed graham crackers.
What makes these cones so irresistible? It’s the combination of factors. They’re incredibly easy to prepare, requiring minimal ingredients and effort. The taste is a nostalgic blend of sweetness and toasted goodness that evokes memories of childhood summers. Plus, they’re portable and self-contained, making them the perfect mess-free dessert for enjoying under the stars. So, ditch the complicated recipes and embrace the simplicity of Campfire Marshmallow Cones – your taste buds (and your inner child) will thank you!
Ingredients:
- 1 box (12-16 count) waffle cones
- 1 bag (10-12 oz) semi-sweet chocolate chips
- 1 jar (7 oz) marshmallow creme
- 1/4 cup milk
- 1/4 cup butter
- Assorted sprinkles, optional
- Chopped nuts (pecans, walnuts, almonds), optional
- Crushed graham crackers, optional
- Mini chocolate chips, optional
Preparing the Chocolate Coating
Okay, let’s get started with the most important part – the chocolate! This is what’s going to hold everything together and make these cones absolutely irresistible. We’re going for a smooth, glossy chocolate coating that’s easy to work with.
- Melt the Chocolate: In a microwave-safe bowl, combine the semi-sweet chocolate chips, milk, and butter. Microwave in 30-second intervals, stirring well after each interval, until the chocolate is completely melted and smooth. Be careful not to overheat the chocolate, as it can seize up and become grainy. If you prefer, you can melt the chocolate in a double boiler over simmering water. Just make sure the bottom of the bowl doesn’t touch the water.
- Check the Consistency: The melted chocolate should be easily pourable and have a nice, glossy sheen. If it seems too thick, add a teaspoon of milk at a time until you reach the desired consistency. If it’s too thin, you can add a few more chocolate chips and melt them in.
Coating the Cones
Now for the fun part! We’re going to dip those waffle cones into the luscious melted chocolate, creating a delicious base for all the marshmallow goodness to come.
- Dip the Cones: Hold a waffle cone upside down and dip the top portion (about 2-3 inches) into the melted chocolate. Rotate the cone to ensure it’s evenly coated. You can use a spoon to help spread the chocolate if needed.
- Remove Excess Chocolate: Gently tap the cone against the side of the bowl to remove any excess chocolate. This will prevent the chocolate from dripping everywhere and creating a mess.
- Add Sprinkles (Optional): If you’re using sprinkles, chopped nuts, crushed graham crackers, or mini chocolate chips, now’s the time to add them! Sprinkle them generously over the wet chocolate coating. The chocolate will act as the “glue” to hold them in place.
- Set the Cones: Place the dipped cones upside down on a baking sheet lined with parchment paper or wax paper. This will allow the chocolate to harden without sticking to the surface.
- Chill the Cones: Place the baking sheet in the refrigerator for about 15-20 minutes, or until the chocolate is completely set. This will make the cones easier to handle and prevent the marshmallow creme from melting the chocolate later.
Preparing the Marshmallow Filling
This is where the magic happens! We’re going to fill those chocolate-covered cones with a generous dollop of fluffy, sweet marshmallow creme. This is what makes these treats so reminiscent of campfire marshmallows.
- Soften the Marshmallow Creme: If your marshmallow creme is very thick, you can soften it slightly by microwaving it for a few seconds. Be careful not to overheat it, as it can become runny. You just want it to be a little easier to spread.
- Fill the Cones: Once the chocolate has set, remove the cones from the refrigerator. Using a spoon or piping bag, fill each cone with marshmallow creme. You can fill them all the way to the top or leave a little space, depending on your preference. I like to use a piping bag for a cleaner, more even filling, but a spoon works just fine too!
- Create a Swirl (Optional): For a more decorative look, you can create a swirl on top of the marshmallow creme using a spoon or spatula. This also helps to prevent the marshmallow creme from sticking to anything when you store the cones.
Adding the Final Touches
We’re almost there! Now it’s time to add any final touches to make these Campfire Marshmallow Cones truly special. This is where you can get creative and customize them to your liking.
- Add More Sprinkles (Optional): If you want to add even more sprinkles, now’s the time! You can sprinkle them over the marshmallow creme for an extra pop of color and texture.
- Drizzle with Chocolate (Optional): For an extra decadent treat, you can drizzle the cones with melted chocolate. Simply melt a small amount of chocolate and drizzle it over the marshmallow creme using a spoon or piping bag.
- Add a Graham Cracker Crumble (Optional): For that authentic campfire flavor, sprinkle some crushed graham crackers over the marshmallow creme. This adds a nice crunch and a hint of cinnamon.
- Add Mini Marshmallows (Optional): For an extra marshmallowy treat, top the marshmallow creme with mini marshmallows. You can even toast the mini marshmallows with a kitchen torch for a truly campfire-inspired flavor. Be very careful when using a kitchen torch and follow all safety precautions.
Setting and Storing the Cones
The final step is to let the marshmallow creme set slightly and then store the cones properly to keep them fresh and delicious.
- Let the Marshmallow Creme Set: Place the filled cones back on the baking sheet lined with parchment paper or wax paper. Allow the marshmallow creme to set for about 10-15 minutes at room temperature. This will help prevent it from being too sticky.
- Store the Cones: Once the marshmallow creme has set, you can store the cones in an airtight container at room temperature for up to 2-3 days. If you live in a warm climate, you may want to store them in the refrigerator to prevent the marshmallow creme from melting.
- Enjoy! Now it’s time to enjoy your delicious Campfire Marshmallow Cones! These are perfect for parties, picnics, or just a fun treat on a warm summer evening.
Tips and Tricks for the Best Campfire Marshmallow Cones
Here are a few extra tips and tricks to help you make the best Campfire Marshmallow Cones possible:
- Use High-Quality Chocolate: The better the quality of the chocolate, the better the flavor of the cones. I recommend using semi-sweet chocolate chips, but you can also use milk chocolate or dark chocolate, depending on your preference.
- Don’t Overheat the Chocolate: Overheating the chocolate can cause it to seize up and become grainy. Microwave the chocolate in short intervals and stir well after each interval.
- Use Parchment Paper or Wax Paper: Lining the baking sheet with parchment paper or wax paper will prevent the cones from sticking to the surface.
- Get Creative with Toppings: Don’t be afraid to experiment with different toppings! You can use any kind of sprinkles, nuts, candies, or cookies that you like.
- Make Them Ahead of Time: These cones can be made ahead of time and stored in an airtight container at room temperature or in the refrigerator.
- Customize for Dietary Needs: You can easily adapt this recipe to meet dietary needs. Use gluten-free waffle cones for a gluten-free version. Use dairy-free chocolate and marshmallow creme for a dairy-free version.
Variations on the Classic Campfire Marshmallow Cone
Want to mix things up a bit? Here are some fun variations you can try:
- Peanut Butter Cup Cones: Add a layer of peanut butter to the inside of the chocolate-covered cone before filling it with marshmallow creme.
- S’mores Cones: Add a layer of crushed graham crackers to the inside of the chocolate-covered cone and top the marshmallow creme with mini marshmallows. Toast the mini marshmallows with a kitchen torch for a truly s’mores-inspired flavor.
- Mint Chocolate Chip Cones: Use mint chocolate chips instead of semi-sweet chocolate chips for the coating. Add a few drops of peppermint extract to the marshmallow creme for an extra minty flavor.
- Caramel Cones: Drizzle the cones with caramel sauce after filling them with marshmallow creme. Sprinkle with sea salt for a sweet and salty treat.
- Birthday Cake Cones: Use white chocolate chips for the coating and add rainbow sprinkles to the chocolate and marshmallow creme.
Troubleshooting Common Issues
Sometimes things don’t go exactly as planned.
Conclusion:
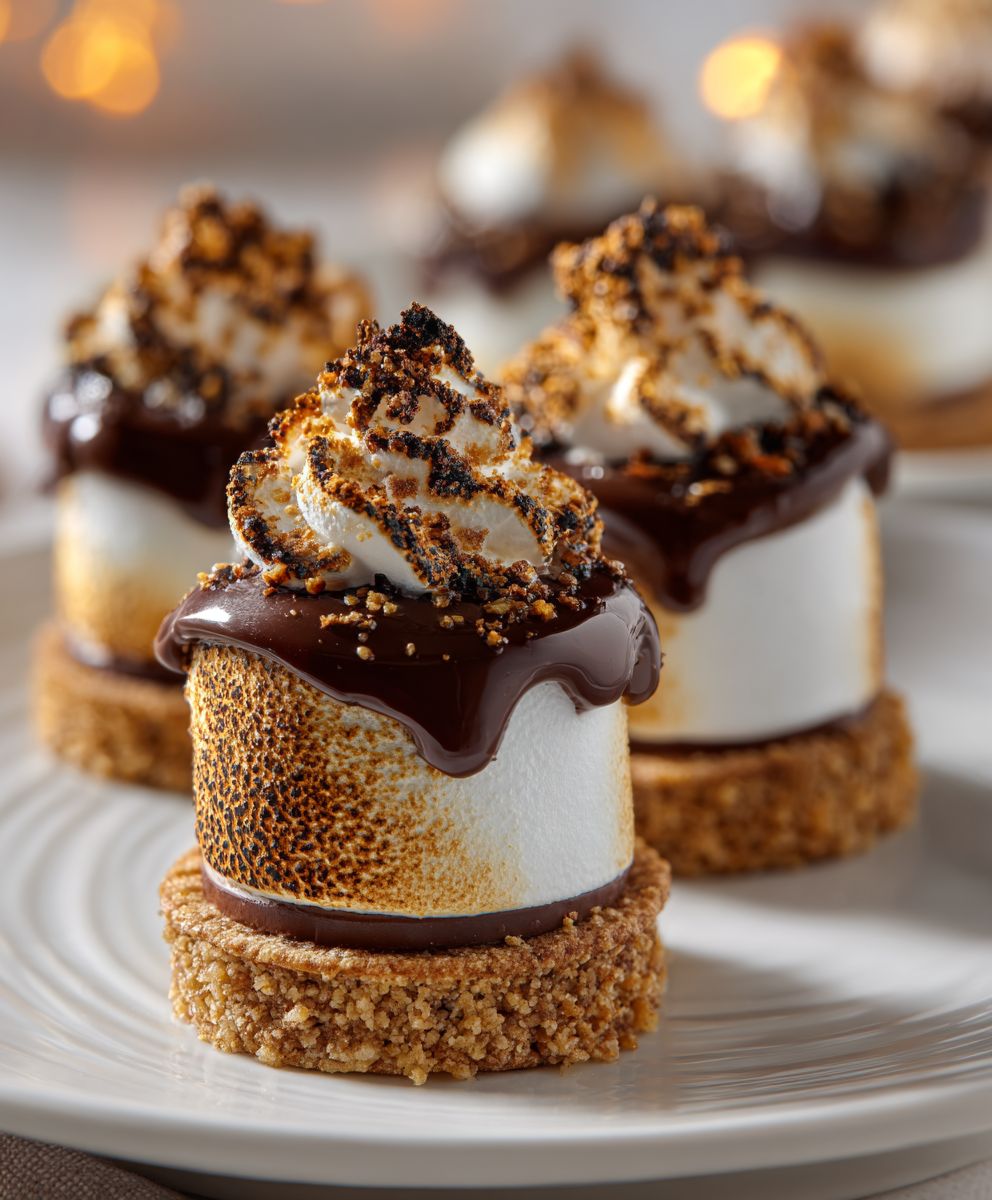
So, there you have it! These Campfire Marshmallow Cones are more than just a dessert; they’re a memory waiting to be made. I truly believe this is a must-try recipe for anyone looking to add a little magic to their outdoor adventures or even just a cozy night in. The simplicity of the ingredients combined with the sheer joy of eating a warm, gooey, chocolatey cone is simply irresistible. It’s a recipe that’s guaranteed to bring smiles to faces of all ages, and honestly, who doesn’t need more of that in their life?
But the fun doesn’t stop there! Think of this recipe as a blank canvas for your culinary creativity. Want to elevate your cone game? Consider adding a sprinkle of chopped nuts like pecans or walnuts for a delightful crunch. Or, for a burst of fruity flavor, toss in some dried cranberries or chopped cherries before wrapping the cone in foil. If you’re feeling particularly decadent, a drizzle of caramel sauce after baking will take these cones to a whole new level of deliciousness. For the adults, a dash of your favorite liqueur, like amaretto or coffee liqueur, mixed into the marshmallow filling can add a sophisticated twist. And for the truly adventurous, try using different flavored marshmallows – strawberry, vanilla bean, or even toasted coconut marshmallows would be amazing!
Serving these cones is just as versatile as the recipe itself. They’re perfect straight from the campfire, still warm and gooey. But they’re also fantastic cooled down a bit, making them easier to handle for little hands. Serve them with a scoop of vanilla ice cream for an extra special treat, or pair them with a cup of hot cocoa on a chilly evening. They’re also a great addition to any party or gathering, especially if you’re looking for a fun and interactive dessert option. Imagine setting up a “cone bar” with all sorts of toppings and letting your guests create their own personalized Campfire Marshmallow Cones! The possibilities are truly endless.
I’m so excited for you to try this recipe and experience the joy of these Campfire Marshmallow Cones for yourself! I know you’ll love how easy they are to make and how incredibly delicious they taste. Don’t be afraid to experiment with different variations and make them your own. After all, cooking should be fun and a chance to express your creativity.
And now for the most important part: I want to hear all about your experience! Did you try any of the variations I suggested? Did you come up with your own unique twist? What did your family and friends think? Share your photos, stories, and feedback in the comments below. I can’t wait to see what you create! Let’s spread the love and share the joy of these amazing cones with the world. Happy cone-making!
Remember, the best recipes are the ones that are shared and enjoyed with loved ones. So gather your ingredients, light your campfire (or preheat your oven!), and get ready to create some unforgettable memories with these delightful Campfire Marshmallow Cones. You won’t regret it!
Campfire Marshmallow Cones: The Ultimate Guide to Delicious Campfire Treats
Chocolate-dipped waffle cones filled with fluffy marshmallow creme and your favorite toppings! A fun and easy treat that tastes like a campfire classic.
Ingredients
- 1 box (12-16 count) waffle cones
- 1 bag (10-12 oz) semi-sweet chocolate chips
- 1 jar (7 oz) marshmallow creme
- 1/4 cup milk
- 1/4 cup butter
- Assorted sprinkles, optional
- Chopped nuts (pecans, walnuts, almonds), optional
- Crushed graham crackers, optional
- Mini chocolate chips, optional
Instructions
- Melt the Chocolate: In a microwave-safe bowl, combine the semi-sweet chocolate chips, milk, and butter. Microwave in 30-second intervals, stirring well after each interval, until the chocolate is completely melted and smooth. Be careful not to overheat the chocolate. Alternatively, melt in a double boiler.
- Check Consistency: The melted chocolate should be pourable and glossy. Add milk (teaspoon at a time) if too thick, or more chocolate chips if too thin.
- Dip the Cones: Hold a waffle cone upside down and dip the top portion (2-3 inches) into the melted chocolate. Rotate to coat evenly.
- Remove Excess: Gently tap the cone against the side of the bowl to remove excess chocolate.
- Add Toppings (Optional): Sprinkle with sprinkles, chopped nuts, crushed graham crackers, or mini chocolate chips while the chocolate is wet.
- Set the Cones: Place the dipped cones upside down on a baking sheet lined with parchment paper or wax paper.
- Chill the Cones: Refrigerate for 15-20 minutes, or until the chocolate is completely set.
- Soften Marshmallow Creme: If the marshmallow creme is very thick, microwave it for a few seconds to soften it slightly. Be careful not to overheat it.
- Fill the Cones: Remove the cones from the refrigerator. Using a spoon or piping bag, fill each cone with marshmallow creme.
- Create a Swirl (Optional): For a more decorative look, you can create a swirl on top of the marshmallow creme using a spoon or spatula.
- Add More Sprinkles (Optional): If you want to add even more sprinkles, now’s the time! You can sprinkle them over the marshmallow creme for an extra pop of color and texture.
- Drizzle with Chocolate (Optional): For an extra decadent treat, you can drizzle the cones with melted chocolate. Simply melt a small amount of chocolate and drizzle it over the marshmallow creme using a spoon or piping bag.
- Add a Graham Cracker Crumble (Optional): For that authentic campfire flavor, sprinkle some crushed graham crackers over the marshmallow creme. This adds a nice crunch and a hint of cinnamon.
- Add Mini Marshmallows (Optional): For an extra marshmallowy treat, top the marshmallow creme with mini marshmallows. You can even toast the mini marshmallows with a kitchen torch for a truly campfire-inspired flavor. Be very careful when using a kitchen torch and follow all safety precautions.
- Let the Marshmallow Creme Set: Place the filled cones back on the baking sheet lined with parchment paper or wax paper. Allow the marshmallow creme to set for about 10-15 minutes at room temperature. This will help prevent it from being too sticky.
- Store the Cones: Once the marshmallow creme has set, you can store the cones in an airtight container at room temperature for up to 2-3 days. If you live in a warm climate, you may want to store them in the refrigerator to prevent the marshmallow creme from melting.
- Enjoy! Now it’s time to enjoy your delicious Campfire Marshmallow Cones! These are perfect for parties, picnics, or just a fun treat on a warm summer evening.
Notes
- Use high-quality chocolate for the best flavor.
- Don’t overheat the chocolate.
- Lining the baking sheet with parchment paper or wax paper will prevent the cones from sticking to the surface.
- Get creative with toppings!
- These cones can be made ahead of time.
- Customize for dietary needs (gluten-free cones, dairy-free chocolate/marshmallow creme).
- Variations: Peanut Butter Cup, S’mores, Mint Chocolate Chip, Caramel, Birthday Cake.

