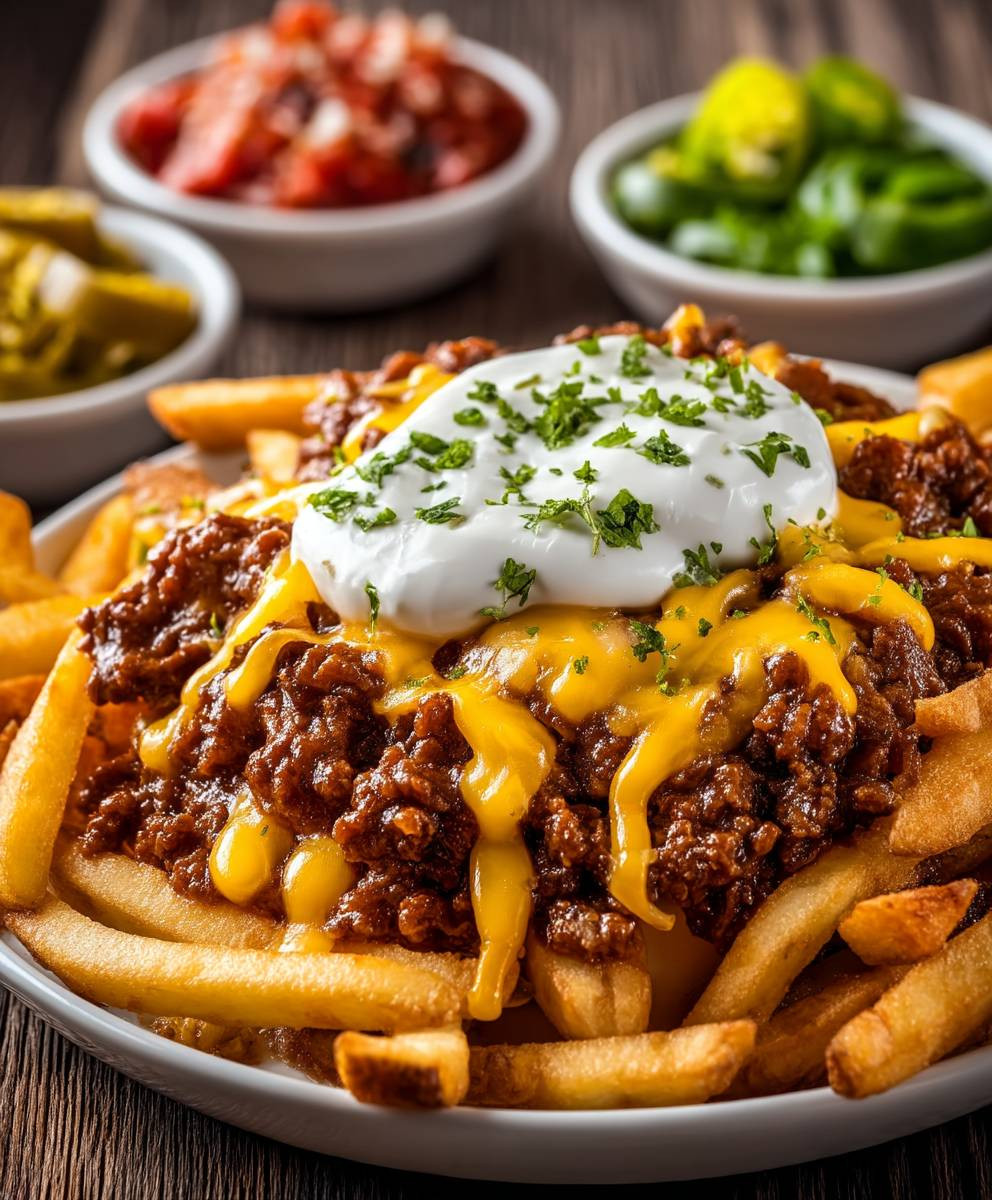
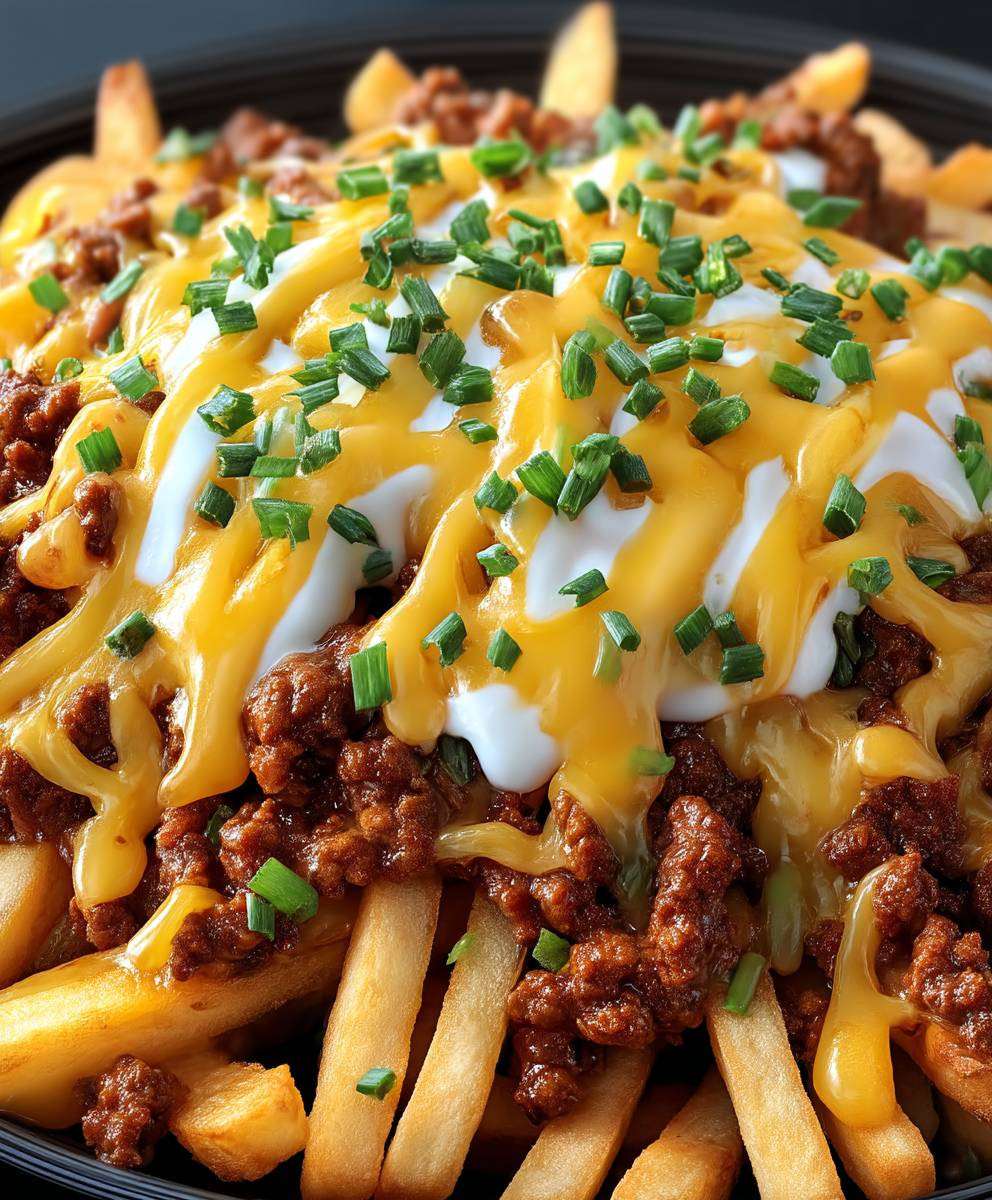
Chili Cheese Fries: Is there anything more comforting and satisfying than a mountain of crispy fries smothered in savory chili and gooey, melted cheese? I think not! This iconic dish is the ultimate indulgence, perfect for game day, a casual get-together, or simply a night in when you crave something truly special.
While the exact origins of chili cheese fries are debated, their popularity exploded in the mid-20th century, likely evolving from the classic chili dog and the growing popularity of fast-food French fries. It’s a true American creation, born from a love of bold flavors and convenient comfort food. Think of it as a celebration of textures and tastes – the salty crunch of the fries, the rich warmth of the chili, and the creamy, melty cheese all coming together in perfect harmony.
People adore chili cheese fries for so many reasons! Beyond the incredible taste, they’re incredibly versatile. You can customize them with your favorite chili recipe, choose your preferred cheese (cheddar, Monterey Jack, pepper jack – the possibilities are endless!), and add toppings like sour cream, onions, or jalapeños for an extra kick. Plus, let’s be honest, they’re just plain fun to eat! So, are you ready to dive into this irresistible classic? Let’s get cooking!
Ingredients:
- 1 large russet potato per person (or more, if you’re feeling hungry!)
- Vegetable oil, for frying (canola or peanut oil work well too)
- 1 pound ground beef
- 1 large onion, chopped
- 2 cloves garlic, minced
- 1 (15 ounce) can tomato sauce
- 1 (15 ounce) can diced tomatoes, undrained
- 1 (15 ounce) can kidney beans, rinsed and drained
- 1 (15 ounce) can chili beans, undrained
- 1 tablespoon chili powder
- 1 teaspoon cumin
- 1/2 teaspoon smoked paprika
- 1/4 teaspoon cayenne pepper (or more, to taste)
- 1/2 teaspoon dried oregano
- 1/4 teaspoon salt
- 1/4 teaspoon black pepper
- 8 ounces shredded cheddar cheese (or a blend of cheddar and Monterey Jack)
- Optional toppings: sour cream, chopped green onions, pickled jalapeños
Preparing the Chili:
Okay, let’s get started with the heart of this dish – the chili! I like to make my chili from scratch because it just tastes so much better, but you can definitely use canned chili if you’re short on time. Just skip ahead to the “Assembling the Chili Cheese Fries” section if you go that route.
- Brown the Ground Beef: In a large skillet or Dutch oven, brown the ground beef over medium-high heat. Break it up with a spoon as it cooks. Drain off any excess grease. Nobody wants greasy chili!
- Sauté the Aromatics: Add the chopped onion to the skillet with the browned beef and cook until softened, about 5 minutes. Then, add the minced garlic and cook for another minute until fragrant. Be careful not to burn the garlic! Burnt garlic is a sad garlic.
- Add the Tomato Base: Pour in the tomato sauce and diced tomatoes (undrained). Stir to combine everything. The diced tomatoes add a nice texture to the chili.
- Introduce the Beans: Add the kidney beans and chili beans to the mixture. Give it a good stir to incorporate them. I like to use both kidney and chili beans for a variety of textures and flavors.
- Spice it Up: Now for the fun part – the spices! Add the chili powder, cumin, smoked paprika, cayenne pepper, dried oregano, salt, and pepper. Stir well to distribute the spices evenly. This is where you can really customize the flavor to your liking. If you like it spicier, add more cayenne pepper!
- Simmer, Simmer, Simmer: Bring the chili to a simmer, then reduce the heat to low, cover, and let it simmer for at least 30 minutes, or even longer if you have the time. The longer it simmers, the more the flavors will meld together. I usually let mine simmer for at least an hour. Stir occasionally to prevent sticking.
- Taste and Adjust: After simmering, taste the chili and adjust the seasonings as needed. Maybe it needs a little more salt, a pinch more chili powder, or a dash of cayenne pepper. This is your chance to make it perfect!
Preparing the Fries:
While the chili is simmering away, let’s get those fries ready! I prefer to make my fries from scratch, but frozen fries are a perfectly acceptable shortcut, especially if you’re in a hurry. If you’re using frozen fries, just follow the package directions. If you’re making them from scratch, here’s how I do it:
- Prep the Potatoes: Wash and scrub the russet potatoes. You can peel them if you prefer, but I like to leave the skin on for extra texture and nutrients. Cut the potatoes into fries, about 1/2 inch thick. Try to make them as uniform in size as possible so they cook evenly.
- Soak the Fries (Optional but Recommended): Place the cut fries in a large bowl of cold water and let them soak for at least 30 minutes, or even up to a few hours. This helps to remove excess starch, which will result in crispier fries. Change the water a couple of times during the soaking process.
- Dry the Fries Thoroughly: After soaking, drain the fries well and pat them completely dry with paper towels. This is a crucial step! Any excess moisture will prevent them from getting crispy.
- First Fry (Low Temperature): Heat about 2-3 inches of vegetable oil in a large, heavy-bottomed pot or deep fryer to 325°F (160°C). Carefully add the fries to the hot oil in batches, making sure not to overcrowd the pot. Overcrowding will lower the oil temperature and result in soggy fries. Fry for about 5-7 minutes, or until the fries are softened but not browned.
- Remove and Cool: Remove the fries from the oil with a slotted spoon and place them on a wire rack lined with paper towels to drain. Let them cool completely. This is another important step for achieving crispy fries. The cooling process allows the moisture to escape and the fries to firm up.
- Second Fry (High Temperature): Increase the oil temperature to 375°F (190°C). Carefully add the fries back to the hot oil in batches and fry for another 2-3 minutes, or until they are golden brown and crispy.
- Drain and Season: Remove the fries from the oil with a slotted spoon and place them back on the wire rack lined with paper towels to drain. Immediately season them with salt.
Assembling the Chili Cheese Fries:
Alright, we’ve got the chili simmering and the fries perfectly crispy. Now it’s time to put it all together! This is the best part, in my opinion.
- Arrange the Fries: Spread the fries evenly on a large platter or individual plates.
- Top with Chili: Spoon a generous amount of the chili over the fries. Don’t be shy! We want every fry to be covered in delicious chili.
- Cheese, Please!: Sprinkle the shredded cheddar cheese (or your cheese blend of choice) over the chili-covered fries.
- Melt the Cheese (Optional): If you want the cheese to be extra melty, you can place the platter of fries under the broiler for a minute or two, until the cheese is melted and bubbly. Watch it carefully so it doesn’t burn! Alternatively, you can microwave the fries for a short time to melt the cheese.
- Add Toppings (Optional): Now for the final touches! Top the chili cheese fries with your favorite toppings, such as sour cream, chopped green onions, and pickled jalapeños. I personally love a dollop of sour cream and a sprinkle of green onions.
- Serve Immediately: Serve the chili cheese fries immediately and enjoy! They’re best when they’re hot and the cheese is melty.
Tips and Variations:
- Spice Level: Adjust the amount of cayenne pepper in the chili to control the spice level. If you’re sensitive to heat, start with a small amount and add more to taste.
- Cheese Options: Feel free to experiment with different types of cheese. Monterey Jack, pepper jack, or even a blend of cheddar and mozzarella would be delicious.
- Meat Options: You can use ground turkey or ground chicken instead of ground beef in the chili.
- Vegetarian Option: For a vegetarian version, omit the ground beef and add more beans or vegetables to the chili, such as corn, bell peppers, or zucchini.
- Sweet Potato Fries: Use sweet potatoes instead of russet potatoes for a sweeter and healthier twist.
- Air Fryer Fries: If you have an air fryer, you can use it to make the fries. Air frying is a healthier alternative to deep frying.
- Make Ahead: The chili can be made ahead of time and stored in the refrigerator for up to 3 days. The fries are best when made fresh, but you can prep them ahead of time by cutting and soaking the potatoes.
Enjoy your homemade Chili Cheese Fries! I hope you love them as much as I do!

Conclusion:
Okay, friends, let’s be honest – if you’ve made it this far, you’re already halfway to experiencing the pure, unadulterated joy that is this recipe. But seriously, these Chili Cheese Fries are more than just a snack; they’re a comfort food experience, a party in your mouth, and a guaranteed crowd-pleaser all rolled into one glorious, cheesy, chili-laden package. I truly believe this is a must-try recipe for anyone who loves bold flavors and satisfying textures.
Why? Because it’s customizable! You control the spice level of the chili, the type of cheese, and even the fries themselves. Want a healthier option? Swap out regular fries for sweet potato fries. Feeling adventurous? Try adding some crumbled bacon or a dollop of sour cream. The possibilities are truly endless!
But beyond the customization, it’s the sheer simplicity and deliciousness that makes this recipe a winner. It’s quick enough for a weeknight dinner, impressive enough for a weekend gathering, and satisfying enough to cure even the worst case of the munchies. Trust me, once you’ve tasted these homemade Chili Cheese Fries, you’ll never go back to the frozen kind again.
Serving Suggestions and Variations:
* Game Day Glory: Serve these fries in individual bowls for easy snacking during the big game. Add some chopped green onions and a sprinkle of cilantro for a fresh, vibrant touch.
* Date Night Delight: Okay, maybe not a *first* date, but for a cozy night in, these fries are perfect for sharing. Dim the lights, put on some music, and enjoy this indulgent treat together.
* Loaded Baked Potato Fries: Instead of regular fries, bake some large russet potatoes until soft. Cut them into wedges, top with the chili and cheese, and bake for a few more minutes until the cheese is melted and bubbly.
* Spicy Fiesta Fries: Add a pinch of cayenne pepper to the chili for an extra kick. Top with some pickled jalapeños and a drizzle of hot sauce for a truly fiery experience.
* Veggie-Loaded Fries: Sauté some diced bell peppers, onions, and mushrooms and add them to the chili for a more nutritious and flavorful twist.
I’ve poured my heart and soul (and a whole lot of cheese) into perfecting this recipe, and I’m confident that you’ll love it as much as I do. But the real magic happens when you make it your own. Don’t be afraid to experiment with different ingredients and flavors to create your perfect version of these Chili Cheese Fries.
So, what are you waiting for? Head to the kitchen, gather your ingredients, and get ready to embark on a culinary adventure that will leave you feeling happy, satisfied, and maybe just a little bit messy.
And most importantly, I want to hear about your experience! Did you try a variation? Did you add a secret ingredient? Did you make them for a special occasion? Share your photos and stories in the comments below. I can’t wait to see what you create! Happy cooking, and enjoy every cheesy, chili-filled bite! I’m sure you’ll agree that this is the best Chili Cheese Fries recipe you’ve ever tried.
Chili Cheese Fries: The Ultimate Guide to Making Perfect Loaded Fries
Crispy homemade fries smothered in a rich, flavorful chili and topped with melted cheese and your favorite toppings. The ultimate comfort food!
Ingredients
Instructions
Recipe Notes
- Adjust the amount of cayenne pepper in the chili to control the spice level. If you’re sensitive to heat, start with a small amount and add more to taste.
- Feel free to experiment with different types of cheese. Monterey Jack, pepper jack, or even a blend of cheddar and mozzarella would be delicious.
- You can use ground turkey or ground chicken instead of ground beef in the chili.
- For a vegetarian version, omit the ground beef and add more beans or vegetables to the chili, such as corn, bell peppers, or zucchini.
- Use sweet potatoes instead of russet potatoes for a sweeter and healthier twist.
- If you have an air fryer, you can use it to make the fries. Air frying is a healthier alternative to deep frying.
- The chili can be made ahead of time and stored in the refrigerator for up to 3 days. The fries are best when made fresh, but you can prep them ahead of time by cutting and soaking the potatoes.
- For best results, soak the fries for at least 30 minutes to remove excess starch.
- Make sure the fries are completely dry before frying to ensure crispiness.
- Don’t overcrowd the pot when frying the fries. Fry them in batches to maintain the oil temperature.


