Crispy dill chicken sandwich, oh, where do I even begin? Imagine sinking your teeth into a symphony of textures: the satisfying crunch of a perfectly golden-brown crust giving way to juicy, tender chicken infused with the bright, herbaceous notes of fresh dill. This isn’t just a sandwich; it’s an experience, a culinary hug that will leave you craving more.
While the exact origins of the chicken sandwich are debated, its rise to popularity is undeniable. From humble beginnings as a simple Southern staple, it has evolved into a global phenomenon, with countless variations and interpretations. But what makes this particular crispy dill chicken sandwich so special? It’s the harmonious blend of flavors and textures, a testament to the power of simple ingredients combined with a touch of culinary creativity.
People adore this dish for its incredible taste and satisfying crunch. The dill adds a refreshing twist, elevating the classic chicken sandwich to new heights. It’s also incredibly convenient – perfect for a quick lunch, a picnic in the park, or a satisfying weeknight dinner. Plus, let’s be honest, who can resist the allure of a perfectly crispy, golden-brown chicken sandwich? Get ready to discover your new favorite way to enjoy chicken!

Ingredients:
- For the Chicken:
- 2 large boneless, skinless chicken breasts (about 6-8 ounces each)
- 1 cup buttermilk
- 2 tablespoons dill pickle juice (from your favorite dill pickles!)
- 1 large egg
- 1 teaspoon salt
- 1/2 teaspoon black pepper
- 1/2 teaspoon garlic powder
- 1/4 teaspoon paprika
- For the Dredge:
- 2 cups all-purpose flour
- 1/2 cup cornstarch
- 2 tablespoons dried dill weed
- 1 tablespoon garlic powder
- 1 tablespoon onion powder
- 1 tablespoon paprika
- 1 teaspoon salt
- 1/2 teaspoon black pepper
- 1/2 teaspoon cayenne pepper (optional, for a little kick!)
- For Frying:
- 4 cups vegetable oil (or canola oil) for frying
- For the Dill Aioli:
- 1/2 cup mayonnaise
- 2 tablespoons finely chopped fresh dill
- 1 tablespoon lemon juice
- 1 clove garlic, minced
- 1/4 teaspoon salt
- 1/8 teaspoon black pepper
- For the Sandwich:
- 2 brioche buns (or your favorite sandwich buns)
- 4 dill pickle slices per sandwich
- Lettuce leaves (optional)
- Tomato slices (optional)
Preparing the Chicken:
- Pound the Chicken: Place each chicken breast between two sheets of plastic wrap. Use a meat mallet or rolling pin to pound the chicken to an even thickness of about 1/2 inch. This helps the chicken cook evenly and makes it more tender.
- Marinate the Chicken: In a medium bowl, whisk together the buttermilk, dill pickle juice, egg, salt, pepper, garlic powder, and paprika. Add the pounded chicken breasts to the buttermilk mixture, ensuring they are fully submerged. Cover the bowl and refrigerate for at least 30 minutes, or up to 4 hours. The longer the chicken marinates, the more flavorful and tender it will become.
Preparing the Dredge:
- Combine Dry Ingredients: In a large, shallow dish, whisk together the all-purpose flour, cornstarch, dried dill weed, garlic powder, onion powder, paprika, salt, pepper, and cayenne pepper (if using). The cornstarch helps create a crispier coating.
Dredging and Frying the Chicken:
- Heat the Oil: Pour the vegetable oil into a large, heavy-bottomed pot or Dutch oven. Heat the oil over medium-high heat until it reaches a temperature of 350°F (175°C). Use a deep-fry thermometer to monitor the temperature. Maintaining the correct oil temperature is crucial for achieving crispy, golden-brown chicken. If the oil is too cold, the chicken will be greasy. If it’s too hot, the chicken will burn on the outside before it’s cooked through on the inside.
- Dredge the Chicken: Remove one chicken breast from the buttermilk marinade, allowing any excess marinade to drip off. Dredge the chicken in the flour mixture, pressing firmly to ensure it is fully coated. Shake off any excess flour. Repeat the dredging process one more time for an extra crispy coating. This double dredging is key!
- Fry the Chicken: Carefully lower the dredged chicken breast into the hot oil. Fry for about 5-7 minutes per side, or until the chicken is golden brown and cooked through. The internal temperature of the chicken should reach 165°F (74°C). Use a meat thermometer to check for doneness.
- Drain the Chicken: Remove the fried chicken from the oil and place it on a wire rack lined with paper towels to drain excess oil. This helps keep the chicken crispy.
- Repeat: Repeat the dredging and frying process with the remaining chicken breast. Make sure to allow the oil to return to 350°F (175°C) between batches.
Making the Dill Aioli:
- Combine Ingredients: In a small bowl, whisk together the mayonnaise, fresh dill, lemon juice, minced garlic, salt, and pepper until well combined. Taste and adjust seasonings as needed. You can add a little more lemon juice for extra tang or more dill for a stronger dill flavor.
- Chill (Optional): For best flavor, cover the dill aioli and refrigerate for at least 30 minutes to allow the flavors to meld.
Assembling the Crispy Dill Chicken Sandwich:
- Toast the Buns (Optional): Lightly toast the brioche buns (or your preferred buns) for a warmer, slightly crispier texture. This is optional, but I find it enhances the overall sandwich experience.
- Spread the Aioli: Spread a generous amount of dill aioli on both the top and bottom buns.
- Add the Chicken: Place a fried chicken breast on the bottom bun.
- Add Toppings: Top the chicken with dill pickle slices, lettuce leaves (if using), and tomato slices (if using).
- Top and Serve: Place the top bun on the sandwich and serve immediately. Enjoy your delicious, crispy dill chicken sandwich!
Tips for the Perfect Crispy Dill Chicken Sandwich:
- Don’t overcrowd the pan: Fry the chicken breasts one at a time to maintain the oil temperature and ensure even cooking.
- Use a thermometer: A deep-fry thermometer is essential for maintaining the correct oil temperature. A meat thermometer is crucial for ensuring the chicken is cooked through.
- Double dredge for extra crispiness: The double dredging process creates a thicker, crispier coating that holds up well to the sauce and toppings.
- Adjust the seasonings to your liking: Feel free to adjust the amount of dill, garlic, or cayenne pepper to suit your personal preferences.
- Make it ahead: You can prepare the dill aioli and marinate the chicken ahead of time. Just store them separately in the refrigerator until you’re ready to cook.
- Keep it warm: If you’re making multiple sandwiches, keep the fried chicken warm in a preheated oven (200°F) until ready to assemble.
Variations:
- Spicy Chicken Sandwich: Add more cayenne pepper to the dredge or use a spicy mayonnaise instead of dill aioli.
- Honey Mustard Chicken Sandwich: Use honey mustard instead of dill aioli.
- BBQ Chicken Sandwich: Use your favorite BBQ sauce instead of dill aioli and add some coleslaw for extra flavor and texture.
- Add Cheese: Add a slice of cheddar, pepper jack, or provolone cheese to the sandwich for extra richness.
Conclusion:
This Crispy Dill Chicken Sandwich isn’t just another recipe; it’s a flavor explosion waiting to happen! From the satisfying crunch of the perfectly breaded chicken to the bright, herbaceous dill notes dancing on your tongue, this sandwich is a guaranteed crowd-pleaser. I truly believe you’ll find yourself making this again and again.
But why is it a must-try? It’s simple: the combination of textures and tastes is simply irresistible. The juicy, tender chicken breast, coated in a crispy, seasoned breading, is elevated by the fresh dill and creamy sauce. It’s a symphony of flavors that will leave you wanting more. Plus, it’s surprisingly easy to make! Forget those long lines at the fast-food drive-thru; you can create a restaurant-quality sandwich right in your own kitchen.
And the best part? This recipe is incredibly versatile! Feel free to experiment with different toppings and sauces to create your own signature version.
Serving Suggestions and Variations:
* Classic Combo: Serve your Crispy Dill Chicken Sandwich with a side of crispy fries and a creamy coleslaw for the ultimate comfort food experience.
* Spice It Up: Add a pinch of cayenne pepper to the breading for a little kick. You could also incorporate some sriracha into the dill sauce for an extra layer of heat.
* Go Green: Top your sandwich with some fresh avocado slices and sprouts for a healthier twist.
* Bun Options: While I love using a toasted brioche bun, feel free to experiment with other options like pretzel buns, sourdough rolls, or even lettuce wraps for a low-carb alternative.
* Dill Sauce Variations: If you’re not a fan of mayonnaise, try using Greek yogurt or sour cream as a base for the dill sauce. You can also add a squeeze of lemon juice for extra brightness.
* Cheese, Please!: A slice of melted provolone, Swiss, or pepper jack cheese would be a delicious addition to this sandwich.
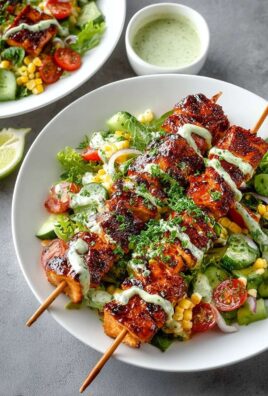
* Make it a Salad: Slice the crispy dill chicken and serve it on top of a bed of mixed greens with your favorite vegetables and a light vinaigrette for a lighter meal.
I’m confident that this Crispy Dill Chicken Sandwich will become a new favorite in your household. It’s perfect for a quick weeknight dinner, a weekend lunch, or even a fun party snack. The possibilities are endless!
So, what are you waiting for? Gather your ingredients, fire up your stove, and get ready to create a truly unforgettable sandwich experience. I’m so excited for you to try this recipe!
And most importantly, I want to hear about your experience! Did you make any modifications? What were your favorite toppings? What did your family and friends think? Please share your thoughts and photos in the comments below. Your feedback is invaluable, and I can’t wait to see your creations. Happy cooking, and enjoy your delicious Crispy Dill Chicken Sandwich! I hope you find this recipe as satisfying and enjoyable as I do.
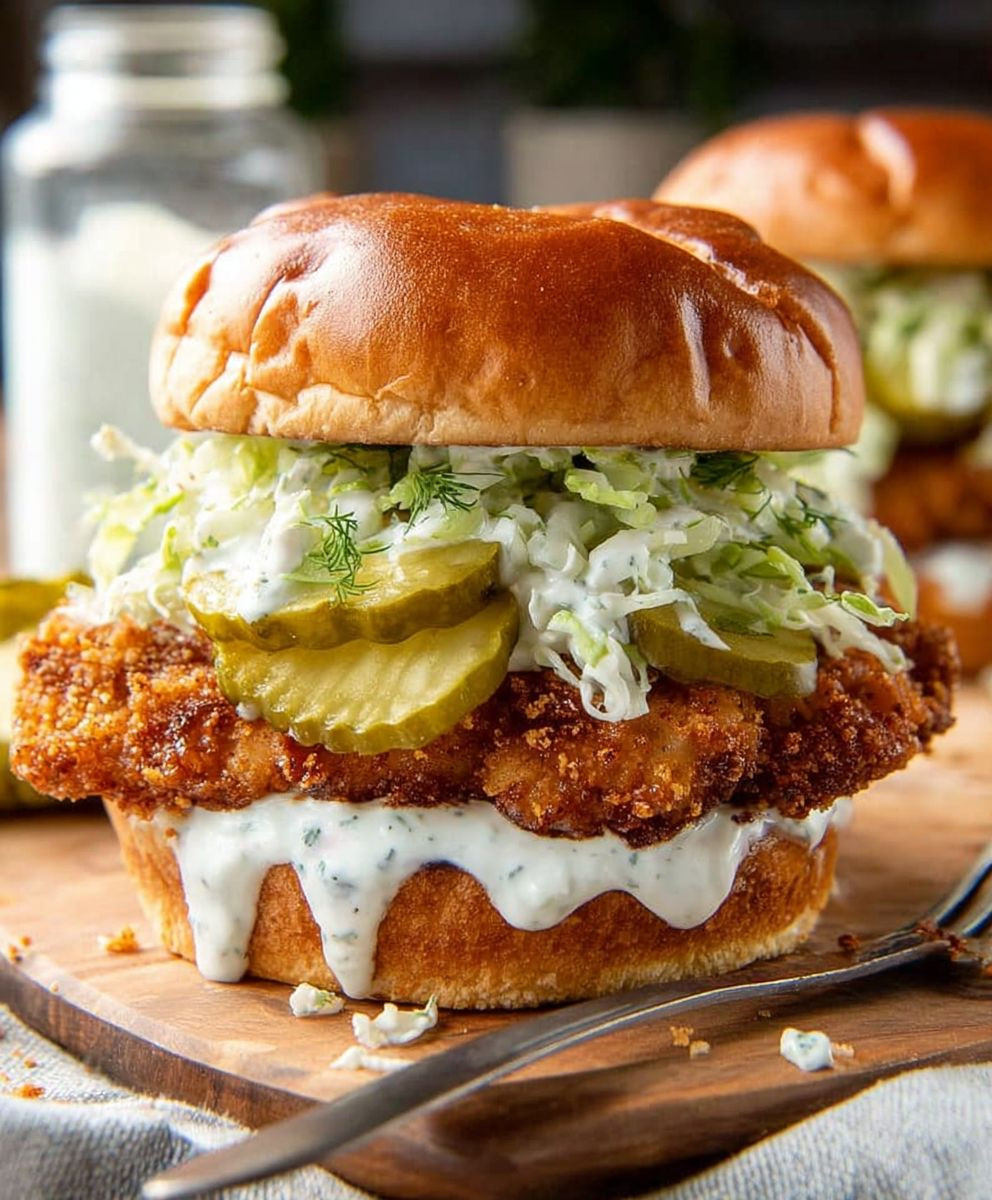
Crispy Dill Chicken Sandwich: The Ultimate Recipe
Crispy, juicy fried chicken sandwich with a tangy dill aioli, dill pickles, and your favorite toppings, all on a toasted brioche bun.
Ingredients
Instructions
Recipe Notes
- Don’t overcrowd the pan: Fry the chicken breasts one at a time to maintain the oil temperature and ensure even cooking.
- Use a thermometer: A deep-fry thermometer is essential for maintaining the correct oil temperature. A meat thermometer is crucial for ensuring the chicken is cooked through.
- Double dredge for extra crispiness: The double dredging process creates a thicker, crispier coating that holds up well to the sauce and toppings.
- Adjust the seasonings to your liking: Feel free to adjust the amount of dill, garlic, or cayenne pepper to suit your personal preferences.
- Make it ahead: You can prepare the dill aioli and marinate the chicken ahead of time. Just store them separately in the refrigerator until you’re ready to cook.
- Keep it warm: If you’re making multiple sandwiches, keep the fried chicken warm in a preheated oven (200°F) until ready to assemble.