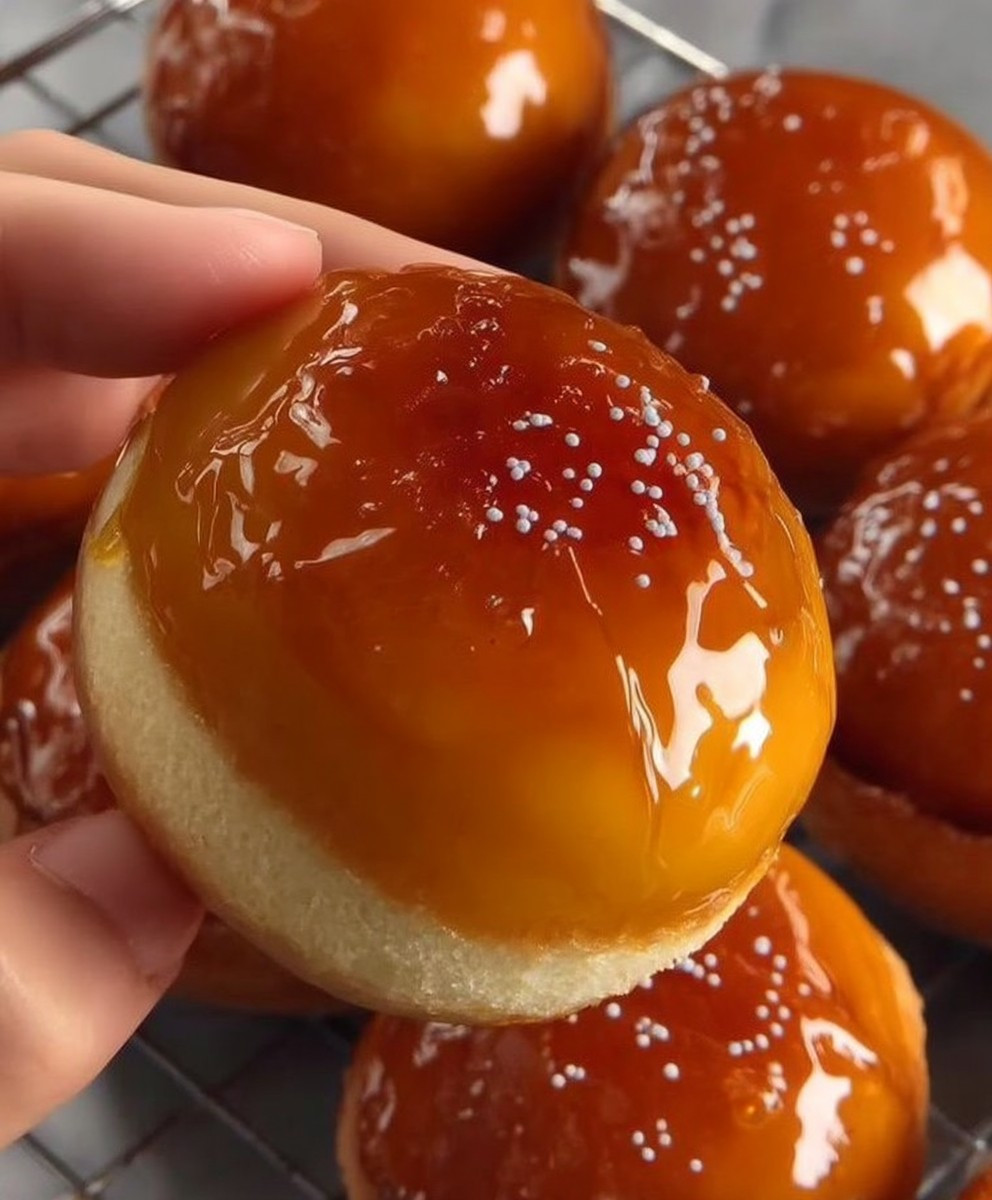
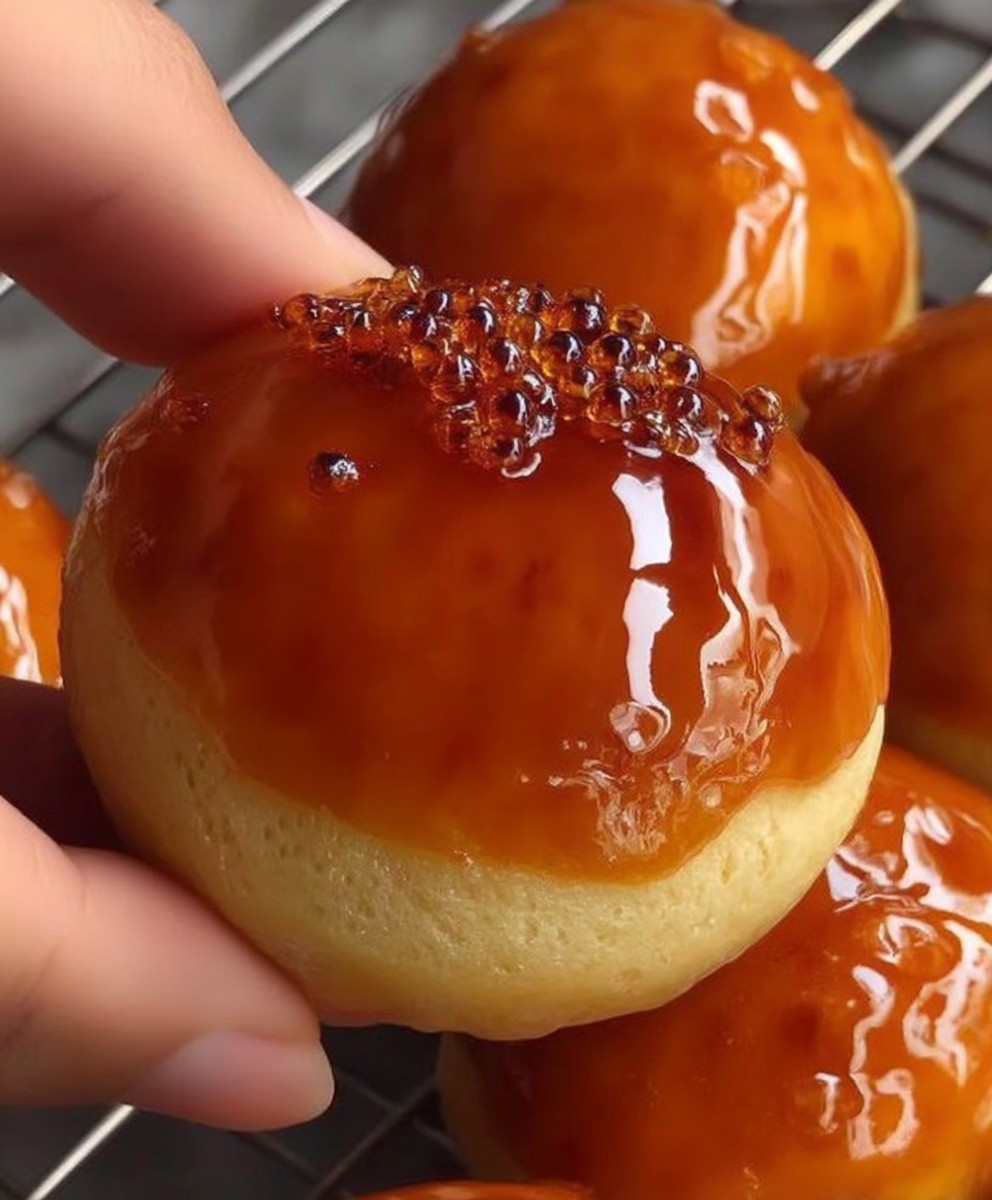
Dreams Creme Brulee, a dessert so decadent and ethereal, it truly lives up to its name. Imagine cracking through a brittle, caramelized sugar crust to reveal a silky smooth, vanilla-infused custard underneath. It’s a textural and flavor symphony that has captivated dessert lovers for centuries, and today, I’m going to share my foolproof recipe for creating this masterpiece in your own kitchen.
While the exact origins of Creme Brulee are debated, with claims from France, England, and Spain, its popularity exploded in the 17th century and has remained a beloved classic ever since. The French version, “burnt cream,” is perhaps the most well-known, and its elegant simplicity is what makes it so appealing. It’s a dish that speaks of sophistication and indulgence, yet it’s surprisingly easy to prepare with just a few key ingredients.
What is it about Dreams Creme Brulee that makes it so irresistible? For many, it’s the satisfying crack of the caramelized sugar, followed by the creamy, cool custard that melts in your mouth. The subtle vanilla notes perfectly complement the rich, eggy base, creating a flavor profile that is both comforting and refined. Whether you’re looking to impress guests at a dinner party or simply treat yourself to a luxurious dessert, this recipe is guaranteed to deliver a truly unforgettable experience. So, let’s get started and bring your dessert dreams to life!
Ingredients:
- 1 quart (4 cups) heavy cream
- 1 vanilla bean, split lengthwise and seeds scraped
- 1 cup granulated sugar, plus extra for brûléeing
- 6 large egg yolks
- Pinch of salt
- Optional: 1 tablespoon vanilla extract (if you want an extra vanilla kick!)
Preparing the Custard Base:
Alright, let’s get started on this dreamy crème brûlée! The first step is creating that luscious custard base. This is where the magic happens, so pay close attention.
- Infuse the Cream: In a heavy-bottomed saucepan, pour in the heavy cream. Add the split vanilla bean (both the pod and the seeds – don’t throw that pod away!) and ½ cup of the granulated sugar. Place the saucepan over medium heat. We’re not looking for a boil here, just a gentle simmer. Heat the cream until it’s steaming and small bubbles start to form around the edges. This usually takes about 5-7 minutes. The goal is to infuse the cream with that beautiful vanilla flavor. Remove the saucepan from the heat and let it sit for about 30 minutes to an hour. This allows the vanilla flavor to really deepen. The longer it sits, the more intense the vanilla flavor will be.
- Prepare the Egg Yolks: While the cream is infusing, let’s get the egg yolks ready. In a medium-sized bowl, whisk together the egg yolks, the remaining ½ cup of granulated sugar, and a pinch of salt until the mixture is pale yellow and slightly thickened. This usually takes about 2-3 minutes of vigorous whisking. The sugar helps to prevent the yolks from scrambling when we add the hot cream.
- Temper the Egg Yolks: This is a crucial step! We need to slowly raise the temperature of the egg yolks so they don’t cook and curdle when we add the hot cream. Remove the vanilla bean pod from the cream (you can rinse and save it for another use, like flavoring sugar!). Slowly drizzle a small amount of the hot cream (about ¼ cup) into the egg yolk mixture while whisking constantly. This is tempering. Continue to slowly add the hot cream, a little at a time, whisking continuously, until you’ve added about half of the cream. This gradual warming process is key to a smooth and creamy crème brûlée.
- Combine and Strain: Now, pour the tempered egg yolk mixture back into the saucepan with the remaining hot cream. Place the saucepan back over low heat. Cook, stirring constantly with a wooden spoon or heat-resistant spatula, until the custard thickens enough to coat the back of the spoon. This usually takes about 5-8 minutes. To test for doneness, dip the back of the spoon into the custard and run your finger across the coated spoon. If the line holds and doesn’t immediately run back together, the custard is ready. Be careful not to overcook the custard, or it will curdle. If you’re using vanilla extract, stir it in now. Remove the saucepan from the heat and immediately strain the custard through a fine-mesh sieve into a large bowl or pitcher. This will remove any lumps or cooked egg bits, ensuring a perfectly smooth crème brûlée.
Preparing and Baking the Crème Brûlée:
Now that we have our beautiful custard, it’s time to get it into the ramekins and into the oven!
- Prepare the Ramekins: Preheat your oven to 300°F (150°C). Arrange six 6-ounce ramekins in a baking dish with high sides. I like to use a roasting pan.
- Pour the Custard: Carefully pour the strained custard into the ramekins, filling them almost to the top.
- Create a Water Bath: This is essential for a creamy, evenly cooked crème brûlée. Carefully pour hot water into the baking dish, around the ramekins, until the water level reaches about halfway up the sides of the ramekins. The water bath helps to regulate the temperature and prevent the custard from cooking too quickly or unevenly.
- Bake: Gently transfer the baking dish to the preheated oven. Bake for 40-50 minutes, or until the custards are set around the edges but still slightly wobbly in the center. They should jiggle like jelly when you gently shake the baking dish.
- Cool and Chill: Carefully remove the baking dish from the oven. Let the ramekins cool in the water bath for about 30 minutes. Then, remove the ramekins from the water bath and let them cool completely at room temperature. Once cooled, cover the ramekins with plastic wrap and refrigerate for at least 4 hours, or preferably overnight. This allows the custard to fully set and develop its flavor.
Brûléeing and Serving:
The final step – the most satisfying part! – is creating that crispy, caramelized sugar crust. This is what makes crème brûlée so irresistible.
- Prepare for Brûléeing: Before brûléeing, make sure the tops of the custards are completely dry. You can gently blot them with a paper towel if needed. This will help the sugar to melt and caramelize evenly.
- Sprinkle with Sugar: Sprinkle about 1-2 teaspoons of granulated sugar evenly over the top of each custard. The amount of sugar will depend on the size of your ramekins and your personal preference. You want a thin, even layer of sugar.
- Brûlée the Sugar: Using a kitchen torch, hold the flame about 2-3 inches away from the surface of the sugar. Move the torch in a circular motion, evenly caramelizing the sugar until it’s a deep golden brown color. Be careful not to burn the sugar. If you don’t have a kitchen torch, you can use the broiler in your oven. Place the ramekins on a baking sheet and broil them for a few minutes, watching them very closely, until the sugar is caramelized. However, using a torch gives you more control and a more even result.
- Let the Sugar Harden: Let the brûléed sugar crust harden for a few minutes before serving. This will create that satisfying crack when you tap it with a spoon.
- Serve and Enjoy: Serve the crème brûlée immediately after brûléeing. The contrast between the cold, creamy custard and the warm, crispy sugar crust is what makes this dessert so special. You can garnish with fresh berries or a sprig of mint, if desired. Enjoy your homemade Dreams Crème Brûlée!

Conclusion:
So there you have it! My take on Dreams Creme Brulee, a dessert that’s truly worthy of its name. It’s rich, it’s creamy, it’s got that satisfying crack when you break through the caramelized sugar… honestly, what’s not to love? I genuinely believe this recipe is a must-try for anyone who appreciates a classic dessert done right. It’s elegant enough for a special occasion, but simple enough to whip up (well, bake up!) on a weekend when you’re craving something truly decadent.
But why is this particular Creme Brulee so special? It’s all about the texture and the balance of flavors. The custard is incredibly smooth and velvety, thanks to the slow baking process and the quality ingredients. And the hint of vanilla bean really shines through, complementing the richness of the cream and egg yolks. It’s a symphony of flavors and textures that will leave you wanting more.
Now, let’s talk about serving suggestions and variations. While I personally love it just as it is, there are plenty of ways to customize this Dreams Creme Brulee to your liking. For a truly indulgent experience, try serving it with a scoop of vanilla bean ice cream or a dollop of freshly whipped cream. A few fresh berries, like raspberries or strawberries, also add a lovely touch of acidity that cuts through the richness of the custard.
If you’re feeling adventurous, you could experiment with different flavor infusions. A few drops of almond extract or a splash of your favorite liqueur (like Grand Marnier or Frangelico) can add a unique twist. You could even try infusing the cream with citrus zest, like lemon or orange, for a brighter, more refreshing flavor. Another variation I’ve enjoyed is adding a touch of lavender to the cream for a floral and aromatic twist. Just be careful not to overdo it, as lavender can be quite potent.
And don’t forget about the sugar topping! While I prefer the classic caramelized sugar crust, you could also try using brown sugar for a deeper, more molasses-like flavor. Or, for a truly decadent treat, you could drizzle the top with melted chocolate before caramelizing the sugar. The possibilities are endless!
I truly hope you’ll give this recipe a try. I’ve poured my heart and soul into perfecting it, and I’m confident that you’ll love it as much as I do. It might seem a little intimidating at first, but trust me, it’s easier than you think. Just follow the instructions carefully, and you’ll be rewarded with a truly unforgettable dessert.
Once you’ve made it, I’d absolutely love to hear about your experience! Did you try any of the variations I suggested? Did you add your own unique twist? Share your photos and comments with me – I’m always eager to see what you create. Happy baking, and enjoy your Dreams Creme Brulee!
Remember to tag me in your social media posts so I can see your creations! I can’t wait to see your versions of this dreamy dessert!
Dreams Creme Brulee: A Decadent Dessert Recipe
Rich, creamy vanilla custard with a crisp, caramelized sugar crust. The perfect elegant dessert!
Ingredients
Instructions
Recipe Notes
- Letting the cream infuse with the vanilla bean for longer will result in a more intense vanilla flavor.
- Tempering the egg yolks slowly is crucial to prevent them from scrambling.
- The water bath is essential for a creamy, evenly cooked crème brûlée.
- Make sure the tops of the custards are completely dry before brûléeing for even caramelization.
- Watch carefully when brûléeing to avoid burning the sugar.


