Fire Roasted Salsa: Prepare to unlock a flavor explosion that will transform your taco nights and elevate your snacking game! Forget the jarred stuff – we’re diving headfirst into the smoky, vibrant world of homemade salsa that’s bursting with fresh, fire-kissed goodness. This isn’t just any salsa; it’s an experience.
Salsa, meaning “sauce” in Spanish, has been a cornerstone of Mexican cuisine for centuries. Its roots trace back to the ancient Aztecs and Mayans, who combined tomatoes, chilies, and spices to create flavorful condiments. Over time, salsa evolved, incorporating new ingredients and techniques, but its essence – fresh, bold flavors – remained constant. The technique of fire roasting, in particular, adds a depth of flavor that’s simply unmatched.
What makes fire roasted salsa so irresistible? It’s the perfect balance of smoky char, bright acidity, and spicy heat. The fire roasting process caramelizes the natural sugars in the vegetables, creating a sweetness that complements the savory and spicy elements. People love it because it’s incredibly versatile – perfect with tortilla chips, grilled meats, eggs, or as a topping for your favorite Mexican dishes. Plus, it’s surprisingly easy to make at home, allowing you to customize the heat level and ingredients to your exact preferences. Get ready to impress your friends and family with this authentic and unforgettable salsa!

Ingredients:
- For the Vegetables:
- 1.5 lbs Roma tomatoes
- 1 large white onion, peeled and quartered
- 3-4 jalapeño peppers, stems removed
- 2-3 cloves garlic, unpeeled
- 1 poblano pepper, optional for milder heat
- For the Flavor Boost:
- 1/2 cup chopped cilantro, fresh
- 1/4 cup lime juice, fresh (from about 2 limes)
- 1 teaspoon cumin powder
- 1/2 teaspoon smoked paprika
- 1/4 teaspoon cayenne pepper, optional for extra heat
- Salt and freshly ground black pepper to taste
- Equipment:
- Grill or broiler
- Tongs
- Baking sheet (optional, for easier handling)
- Food processor or blender
Roasting the Vegetables:
- Prepare the Grill (or Broiler): If using a grill, preheat it to medium-high heat (around 400-450°F or 200-230°C). Make sure the grates are clean. If using a broiler, position an oven rack about 4-6 inches from the broiler element and preheat the broiler. I find that grilling gives the best smoky flavor, but broiling is a great alternative when the weather isn’t cooperating.
- Prepare the Vegetables: Wash all the vegetables thoroughly. For the tomatoes, you can leave them whole. Quarter the onion. Remove the stems from the jalapeños (and poblano, if using). Leave the garlic cloves unpeeled – the roasting process will make them easy to squeeze out later.
- Arrange the Vegetables for Roasting: Place the tomatoes, onion quarters, jalapeños, poblano (if using), and garlic cloves directly on the grill grates or on a baking sheet under the broiler. If using a baking sheet, it will make it easier to transfer the vegetables to and from the broiler, but you won’t get quite as much char. I usually just put them directly on the grill for maximum smoky flavor.
- Roast the Vegetables: This is where the magic happens!
- On the Grill: Grill the vegetables, turning them occasionally with tongs, until they are charred and softened. The tomatoes will likely burst and release some juices, which is perfectly fine. The onions should become translucent and slightly blackened. The jalapeños and poblano should be blistered and softened. The garlic skin will become blackened. This process usually takes about 15-25 minutes, depending on the heat of your grill. Keep a close eye on them to prevent burning.
- Under the Broiler: Broil the vegetables, turning them every few minutes, until they are charred and softened. The same visual cues apply as with grilling – bursting tomatoes, translucent onions, blistered peppers, and blackened garlic skin. Broiling usually takes about 10-15 minutes, but watch them carefully as broilers can vary in intensity.
Important Tip: Don’t be afraid of the char! That’s where the smoky flavor comes from. However, you don’t want the vegetables to be completely burnt to a crisp. Aim for a good balance of char and softening.
- Cool the Vegetables Slightly: Once the vegetables are roasted, remove them from the grill or broiler and let them cool slightly for about 5-10 minutes. This will make them easier to handle.
Preparing the Salsa:
- Peel the Garlic: Once the garlic cloves are cool enough to handle, squeeze them out of their skins. The roasted garlic will be soft and sweet, adding a wonderful depth of flavor to the salsa.
- Remove the Skins (Optional): For a smoother salsa, you can remove the skins from the tomatoes and peppers. This is optional, but it will result in a less chunky texture. To remove the skins from the tomatoes, you can either peel them off with your fingers (they should slip off easily after roasting) or plunge them into a bowl of ice water for a few seconds, which will help loosen the skins. For the peppers, you can rub them with a paper towel to remove the blackened skin. I usually skip this step because I like the rustic texture and the slight smoky flavor from the skins.
- Rough Chop the Vegetables: Roughly chop the roasted tomatoes, onions, jalapeños, and poblano (if using) into smaller pieces. This will help them blend more easily in the food processor or blender.
- Combine Ingredients in Food Processor or Blender: Place the chopped roasted vegetables, peeled garlic, cilantro, lime juice, cumin powder, smoked paprika, and cayenne pepper (if using) into a food processor or blender.
- Pulse to Desired Consistency: Pulse the mixture in the food processor or blender until it reaches your desired consistency. I prefer a slightly chunky salsa, so I usually pulse it a few times. If you prefer a smoother salsa, you can blend it for a longer period of time. Be careful not to over-process the salsa, as it can become too watery.
- Season to Taste: Taste the salsa and season with salt and freshly ground black pepper to taste. You may also want to add more lime juice or cayenne pepper, depending on your preferences. I usually add a pinch more salt and a squeeze more lime juice to brighten the flavors.
Serving and Storage:
- Chill the Salsa: For the best flavor, chill the salsa in the refrigerator for at least 30 minutes before serving. This will allow the flavors to meld together.
- Serve and Enjoy: Serve the fire-roasted salsa with tortilla chips, tacos, burritos, grilled meats, or anything else you like! It’s also delicious as a topping for eggs or as a marinade for chicken or fish.
- Storage: Store any leftover salsa in an airtight container in the refrigerator for up to 5 days. The flavors may even improve slightly over time!
Tips and Variations:
- Spice Level: Adjust the amount of jalapeños and cayenne pepper to control the spice level of the salsa. For a milder salsa, remove the seeds and membranes from the jalapeños before roasting. For a spicier salsa, add more jalapeños or a pinch of cayenne pepper.
- Sweetness: If you prefer a sweeter salsa, you can add a small amount of honey or agave nectar.
- Other Vegetables: Feel free to experiment with other vegetables, such as bell peppers, corn, or tomatillos.
- Herbs: You can also add other herbs, such as oregano or parsley.
- Smoked Flavor: For an even smokier flavor, you can use wood chips when grilling the vegetables.
- Vinegar: A splash of apple cider vinegar can add a nice tang.
Enjoy your homemade Fire Roasted Salsa! I hope you love it as much as I do!
Conclusion:
This Fire Roasted Salsa isn’t just another salsa recipe; it’s an experience. The smoky char from the roasting process elevates the humble tomato, onion, and pepper into something truly extraordinary. The depth of flavor is unlike anything you’ll find in a jar, and the vibrant, fresh taste will have you reaching for chip after chip. Trust me, once you’ve tasted homemade fire-roasted salsa, you’ll never go back to the store-bought stuff!
Why is this a must-try? Because it’s incredibly easy to make, requires minimal ingredients, and delivers maximum flavor. The roasting process is mostly hands-off, allowing you to focus on other things while the magic happens in your oven or on your grill. Plus, the satisfaction of creating something so delicious from scratch is simply unbeatable. It’s a guaranteed crowd-pleaser, perfect for parties, barbecues, or even just a quiet night in with your favorite movie.
But the best part? This recipe is incredibly versatile! Feel free to experiment with different types of peppers to adjust the heat level to your liking. Want a milder salsa? Use poblano peppers or Anaheim peppers. Craving some serious spice? Add a habanero or two (carefully!). You can also add other vegetables to the mix, like corn or black beans, for a heartier salsa.
Beyond the classic tortilla chips, this Fire Roasted Salsa is fantastic on so many things. Try it as a topping for grilled chicken or fish, as a flavorful addition to tacos or burritos, or even as a zesty sauce for scrambled eggs. I personally love to spoon it over a grilled steak – the smoky flavors complement each other perfectly. You can even blend it with some cream cheese for a delicious and easy dip for vegetables or crackers. The possibilities are truly endless!
Here are a few serving suggestions to get you started:
* Classic Chips and Salsa: Serve with your favorite tortilla chips for a simple and satisfying snack.
* Taco Topping: Add a spoonful to your tacos for an extra burst of flavor.
* Grilled Meat Accompaniment: Spoon over grilled chicken, fish, or steak for a smoky and zesty topping.
* Breakfast Boost: Add a dollop to your scrambled eggs or omelet for a flavorful start to your day.
* Creamy Dip: Blend with cream cheese for a delicious and easy dip for vegetables or crackers.
I truly believe that this Fire Roasted Salsa recipe will become a staple in your kitchen. It’s a simple, flavorful, and versatile recipe that’s perfect for any occasion. So, what are you waiting for? Gather your ingredients, fire up your grill or oven, and get ready to experience the incredible taste of homemade fire-roasted salsa.
I’m so excited for you to try this recipe! And I’d love to hear about your experience. Did you make any variations? What did you serve it with? What did your friends and family think? Please, share your thoughts and photos in the comments below. I can’t wait to see what you create! Happy salsa-making!
Fire Roasted Salsa: The Ultimate Guide to Making It at Home
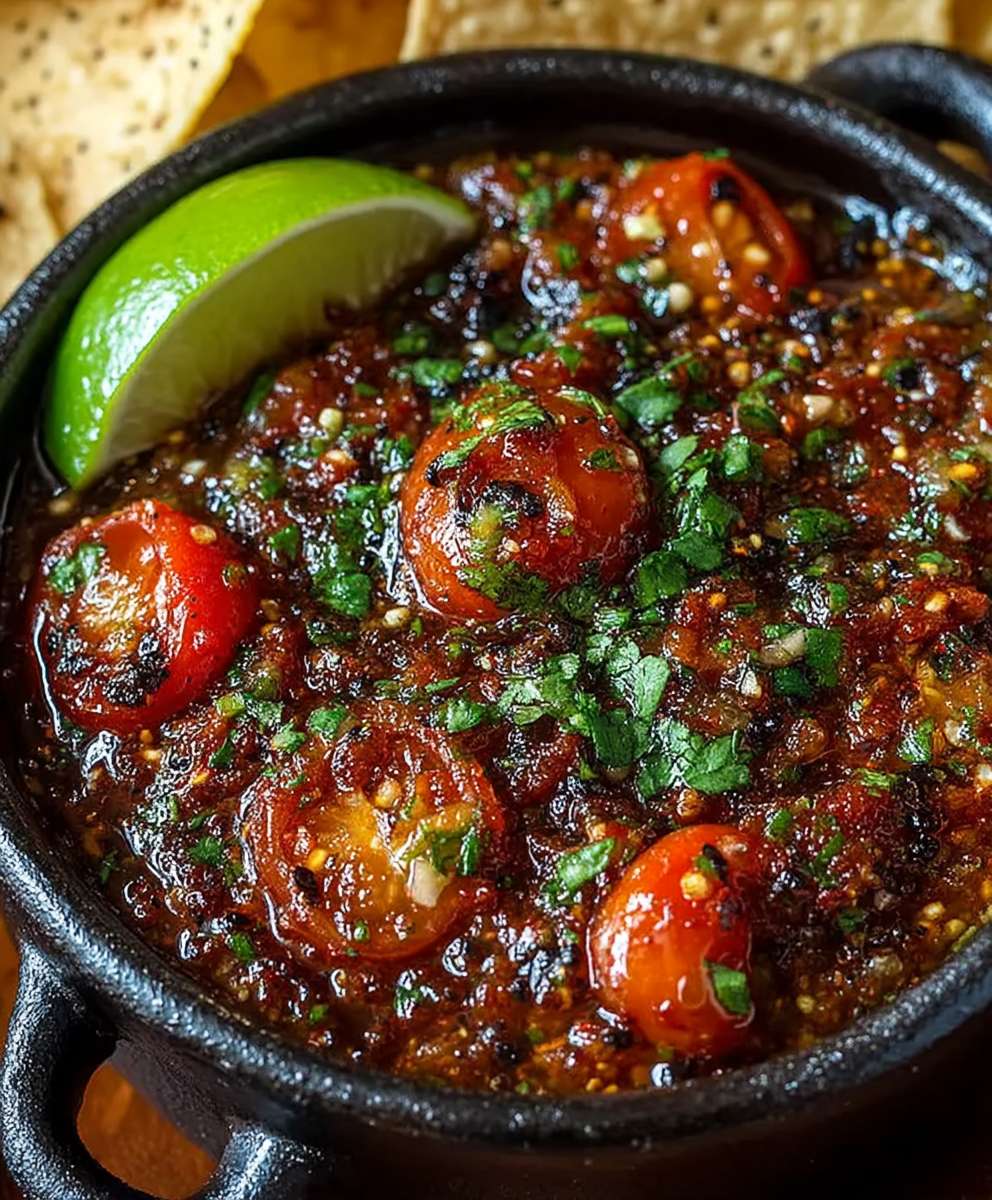
Smoky and flavorful fire-roasted salsa made with grilled or broiled vegetables. Perfect with chips, tacos, or as a topping!
Ingredients
Instructions
Recipe Notes
- Adjust the amount of jalapeños and cayenne pepper to control the spice level.
- For a milder salsa, remove the seeds and membranes from the jalapeños before roasting.
- For a sweeter salsa, you can add a small amount of honey or agave nectar.
- Feel free to experiment with other vegetables, such as bell peppers, corn, or tomatillos.
- You can also add other herbs, such as oregano or parsley.
- For an even smokier flavor, you can use wood chips when grilling the vegetables.
- A splash of apple cider vinegar can add a nice tang.