Halloween Oreo Cookies
Halloween Oreo Cookies: Are you ready to unleash your inner baker and create some seriously spooky-delicious treats this Halloween? Forget the same old store-bought candy – this year, I’m sharing my recipe for unbelievably addictive Halloween Oreo Cookies, guaranteed to be a hit with both kids and adults. These aren’t your average cookies; they’re a delightful fusion of the classic Oreo cookie’s rich chocolatey goodness and a festive Halloween twist, perfect for parties, trick-or-treating, or simply enjoying a sweet moment during the spooky season.
While the precise origins of decorating Oreos are a bit hazy, the simple act of transforming a classic cookie into a themed treat has become a beloved Halloween tradition. The adaptability of the Oreo cookie lends itself perfectly to creative decorating, making it a blank canvas for all sorts of spooky designs. Think vibrant orange and purple icing, creepy crawly candies, and ghostly white chocolate drizzle – the possibilities are endless!
What makes these Halloween Oreo Cookies so irresistible? It’s the perfect combination of textures and flavors. The crisp, chocolatey Oreo base provides a satisfying crunch, while the creamy icing adds a delightful sweetness and a touch of playful color. Whether you prefer a simple design or an elaborate masterpiece, these cookies are incredibly easy to customize to your skill level and preferences. Plus, let’s be honest, the convenience factor is a huge plus when you’re juggling Halloween parties and other festivities. They’re quick to assemble, making them ideal for last-minute baking needs.
So, grab your aprons, gather your ingredients, and let’s embark on this fun and delicious Halloween baking adventure together! I promise you won’t be disappointed with these unforgettable Halloween Oreo Cookies.

Ingredients:
- 1 cup (2 sticks) unsalted butter, softened
- 1 ½ cups granulated sugar
- 2 large eggs
- 1 teaspoon vanilla extract
- 3 cups all-purpose flour
- 1 teaspoon baking soda
- ½ teaspoon salt
- 1 cup milk chocolate chips
- 1 cup semi-sweet chocolate chips
- 1 package (36) Oreo cookies
- 1 cup white chocolate chips
- Orange food coloring gel (optional, for making orange “pumpkin” cookies)
- Black food coloring gel (optional, for making black “spider” cookies)
- Candy corn (for decoration)
- Miniature chocolate chips (for decoration)
- Pretzel sticks (for decoration)
- Orange sprinkles (for decoration)
- Black sprinkles (for decoration)
Preparing the Cookie Dough
- Preheat your oven to 375°F (190°C). Line baking sheets with parchment paper. This is crucial for easy cleanup and prevents sticking.
- In a large bowl, cream together the softened butter and granulated sugar until the mixture is light and fluffy. I usually use an electric mixer for this step; it saves a lot of time and effort. Make sure you scrape down the sides of the bowl occasionally to ensure everything is well combined.
- Beat in the eggs one at a time, then stir in the vanilla extract. The batter will start to come together nicely at this stage. Don’t rush this step; proper mixing ensures a consistent texture.
- In a separate bowl, whisk together the flour, baking soda, and salt. This helps to evenly distribute the dry ingredients and prevents lumps in the final dough.
- Gradually add the dry ingredients to the wet ingredients, mixing on low speed until just combined. Be careful not to overmix; overmixing can lead to tough cookies.
- Stir in the milk chocolate chips and semi-sweet chocolate chips. I like to use a combination of milk and semi-sweet for a balanced flavor profile. Feel free to experiment with other types of chocolate chips!
- If making orange “pumpkin” cookies, divide the dough in half. Add a few drops of orange food coloring gel to one half and mix until evenly distributed. The color intensity will depend on how much gel you add, so start with a small amount and add more as needed.
- If making black “spider” cookies, divide the dough in half. Add a few drops of black food coloring gel to one half and mix until evenly distributed. Black food coloring can be quite intense, so add it gradually to achieve the desired shade.
Scooping and Baking the Cookies
- Drop rounded tablespoons of cookie dough onto the prepared baking sheets, leaving about 2 inches between each cookie. This allows for proper expansion during baking and prevents them from sticking together.
- Bake for 9-11 minutes, or until the edges are golden brown. Keep a close eye on them, as oven temperatures can vary. Start checking for doneness around the 9-minute mark.
- Remove the baking sheets from the oven and let the cookies cool on the sheets for a few minutes before transferring them to a wire rack to cool completely. This prevents them from becoming soggy.
Assembling the Halloween Oreo Cookies
- Once the cookies are completely cool, carefully press an Oreo cookie onto the center of each cookie. Make sure the Oreo is firmly attached.
- Melt the white chocolate chips in a microwave-safe bowl in 30-second intervals, stirring after each interval, until smooth. Be careful not to overheat the chocolate, as this can cause it to seize.
- Using a spoon or piping bag, drizzle the melted white chocolate over the Oreo cookies. You can create different designs, such as spiderwebs or simple drizzles.
- Immediately after drizzling the white chocolate, add your Halloween decorations. This is where you can get creative! Use candy corn, miniature chocolate chips, pretzel sticks, orange sprinkles, and black sprinkles to create spooky designs.
- Let the white chocolate set completely before serving or storing the cookies. This usually takes about 30 minutes, depending on the room temperature.
Tips and Variations
- For extra spooky fun: Use different colored chocolate chips to create more elaborate designs.
- For a richer flavor: Use brown butter instead of regular butter.
- For a nuttier flavor: Add chopped pecans or walnuts to the cookie dough.
- For a festive twist: Use Halloween-themed sprinkles or candies.
- Storage: Store the cookies in an airtight container at room temperature for up to a week. They’re best enjoyed fresh, but they’ll still be delicious after a few days.
Conclusion:
So there you have it – my recipe for spooktacular Halloween Oreo Cookies! I truly believe this recipe is a must-try for several reasons. First, it’s incredibly easy. Even the most novice baker can whip up a batch of these delicious treats in a flash. The simple steps and readily available ingredients make it perfect for a last-minute Halloween gathering or a fun family baking project. Second, the results are stunning! These cookies are not only delicious, but they’re also visually captivating. The vibrant orange and black color scheme, combined with the playful Oreo base, creates a truly festive and eye-catching dessert that’s guaranteed to impress your guests.
Beyond their ease and aesthetic appeal, these Halloween Oreo Cookies boast a delightful flavor profile. The creamy Oreo filling provides a rich and satisfying base, perfectly complemented by the subtle sweetness of the orange-flavored coating. The combination is simply irresistible, offering a perfect balance of sweet and slightly decadent. And let’s not forget the satisfying crunch – the perfect textural contrast to the soft, creamy center.
To elevate your Halloween Oreo Cookies even further, consider these serving suggestions and variations:
Serving Suggestions:
Serve these cookies alongside a steaming mug of hot cocoa or apple cider for the ultimate Halloween treat. They also pair beautifully with pumpkin spice lattes or other autumnal beverages. For a truly impressive presentation, arrange them on a tiered cake stand or a festive Halloween platter. Consider adding some dry ice to a bowl underneath for a spooky fog effect! Don’t forget to add some Halloween-themed sprinkles or edible glitter for extra flair.
Variations:
Feeling creative? Why not experiment with different colored candy melts? A deep purple or vibrant green would create a unique and equally spooky effect. You could also incorporate other Halloween-themed candies, such as mini chocolate chips, gummy worms, or even small plastic spiders (for the truly adventurous!). For a less sweet option, try using dark chocolate instead of milk chocolate for the coating. And if you’re not a fan of Oreos, you can easily substitute other sandwich cookies, like chocolate sandwich cookies or even graham crackers, for a completely different flavor experience.
The possibilities are truly endless! The beauty of this recipe lies in its adaptability. Feel free to personalize it to your liking and create your own unique Halloween Oreo Cookies masterpiece.
Don’t forget to share your creations!
I would love to see your versions of these Halloween Oreo Cookies. Once you’ve tried the recipe, share your photos and experiences on social media using the hashtag #HalloweenOreoCookies. I can’t wait to see your spooky and delicious creations! Let me know what variations you tried and how they turned out. Your feedback is invaluable and helps inspire future baking adventures. So, what are you waiting for? Get baking and let the Halloween fun begin!
Happy baking, and Happy Halloween!
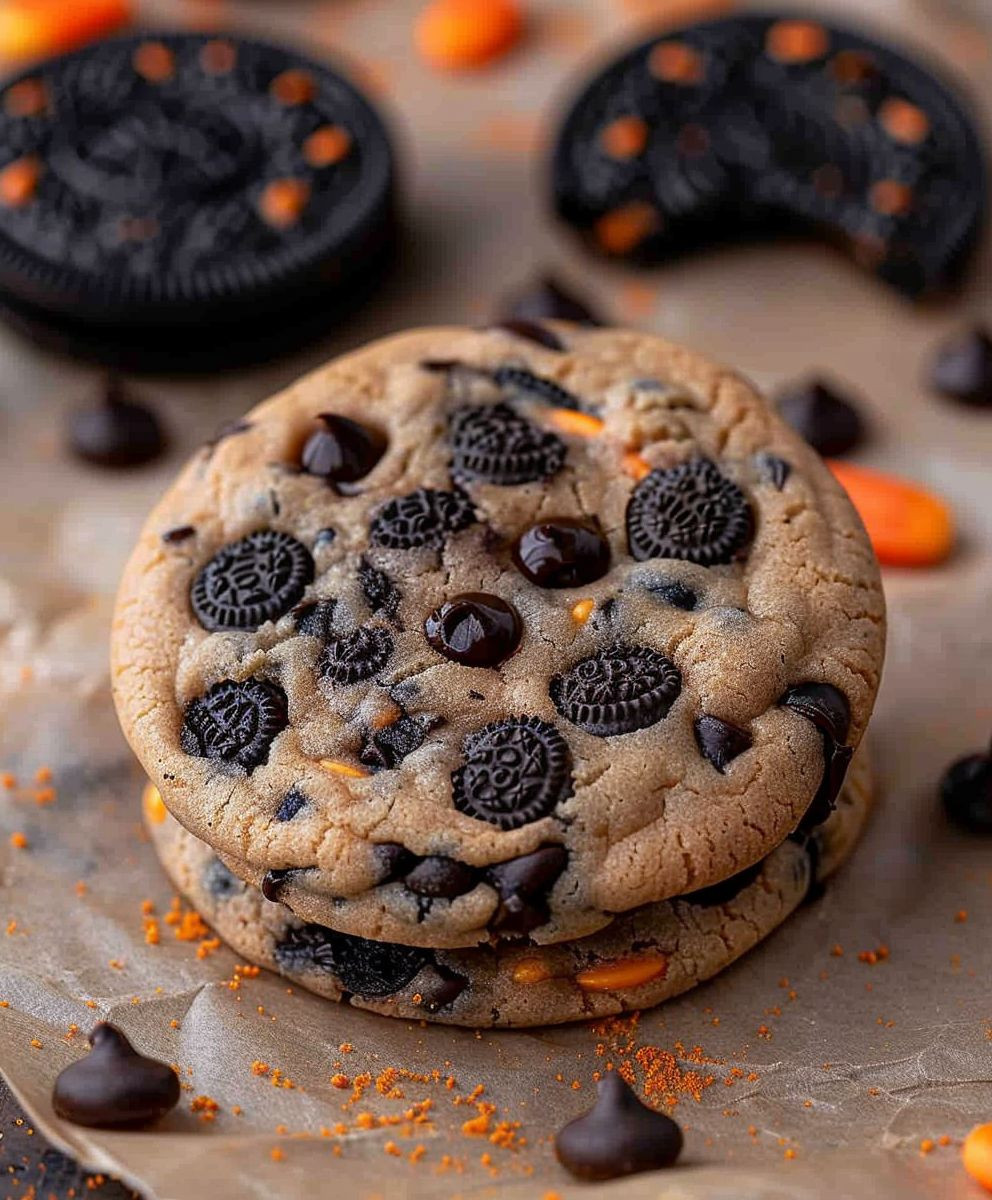
Halloween Oreo Cookies: A Spooky-Delicious Recipe
Festive Halloween cookies with Oreo centers, chocolate chips, and fun decorations.
Ingredients
Instructions
Recipe Notes
- Oven temperatures vary; start checking for doneness around 9 minutes.
- For extra spooky fun, use different colored chocolate chips for more elaborate designs.
- For a richer flavor, use brown butter.
- For a nuttier flavor, add chopped pecans or walnuts to the dough.
- Store cookies in an airtight container at room temperature for up to a week.