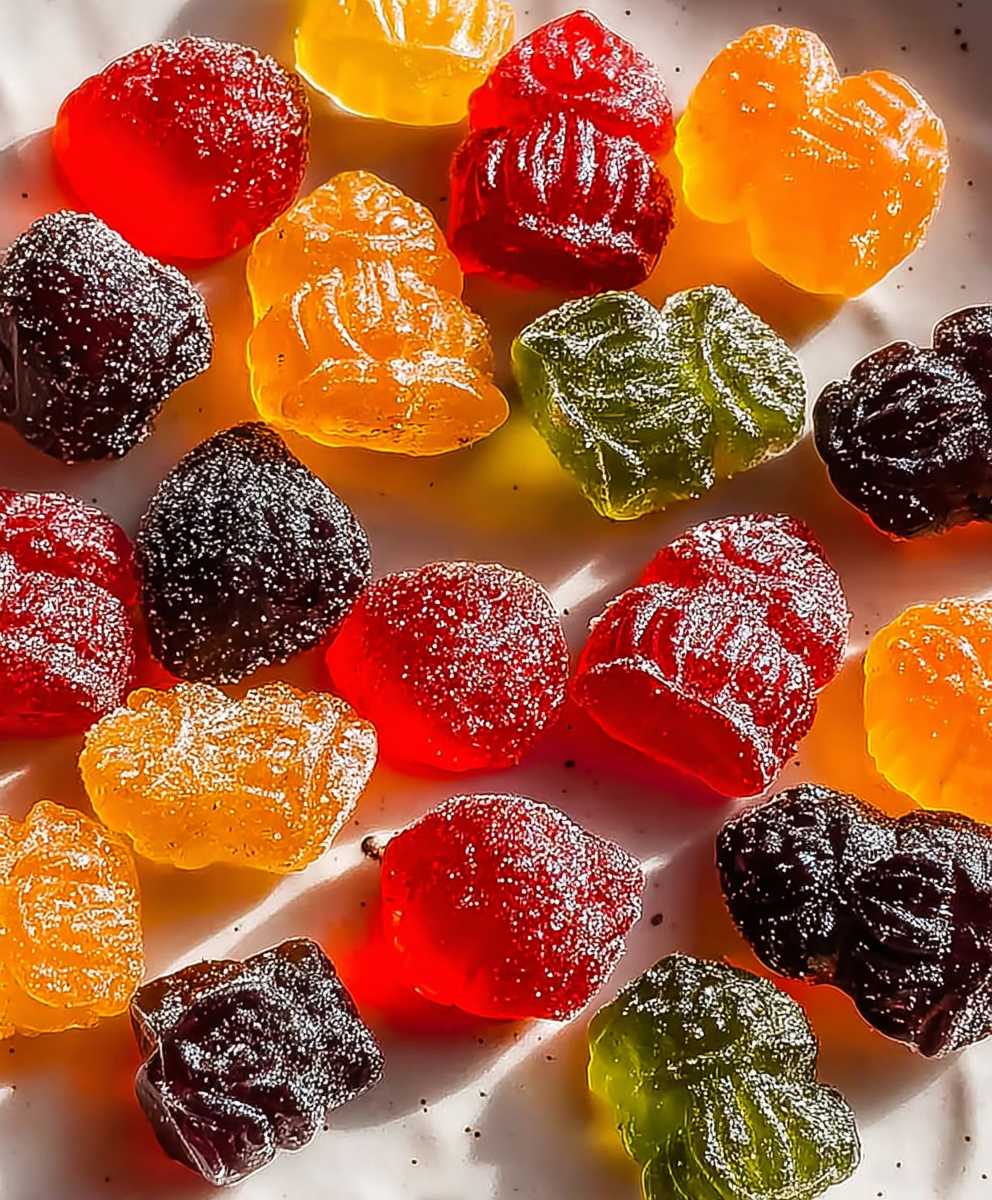
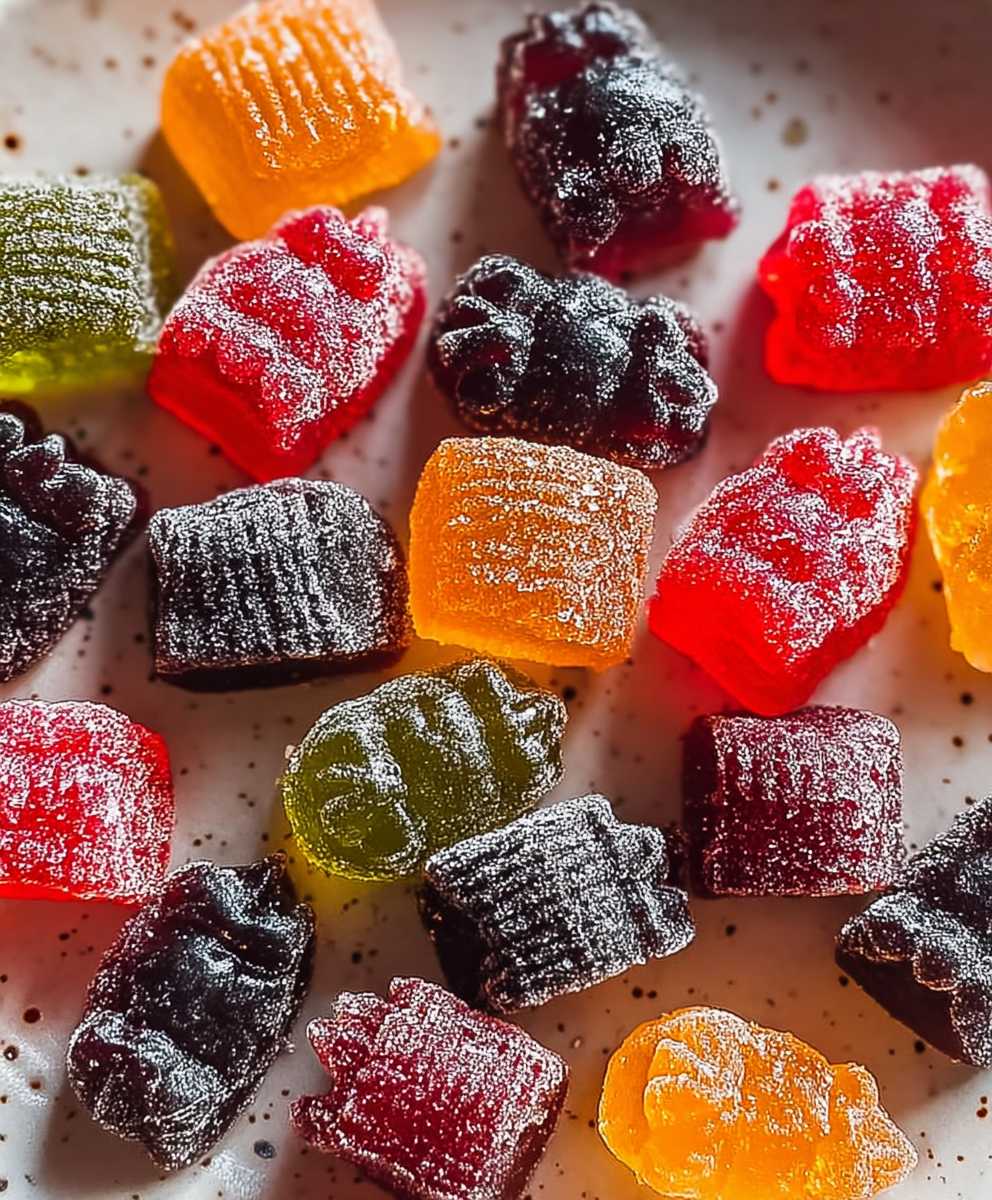
Homemade fruit snacks, bursting with vibrant flavors and chewy goodness, are about to become your new favorite guilt-free treat! Forget those store-bought versions loaded with artificial colors and questionable ingredients. We’re diving headfirst into a world of natural sweetness and wholesome fun, creating delightful snacks that both kids and adults will adore.
Fruit snacks have a surprisingly interesting history. While commercially produced versions became popular in the late 20th century, the concept of preserving fruit’s sweetness in a portable form dates back centuries. Think of fruit leathers and dried fruit – ancient methods of enjoying nature’s candy long before gummy bears ever existed. Our homemade fruit snacks recipe takes that time-honored tradition and elevates it with fresh, flavorful ingredients you can feel good about.
So, why are fruit snacks so universally loved? It’s simple: they’re delicious, convenient, and offer a satisfyingly chewy texture. Plus, they’re a fantastic way to sneak in an extra serving of fruit! This recipe allows you to customize the flavors to your liking, using your favorite fruits and even adding a touch of honey or maple syrup for extra sweetness. Get ready to unleash your inner chef and create a batch of these irresistible treats – your taste buds (and your family) will thank you!
Ingredients:
- 6 cups fresh or frozen fruit (berries, mango, peaches, pineapple, etc. – use a single fruit or a mix!)
- 1/4 cup lemon juice (freshly squeezed is best!)
- 1/4 cup honey or maple syrup (adjust to taste, depending on the sweetness of your fruit)
- 2 tablespoons gelatin powder (unflavored)
- 1/2 cup cold water
- Optional: 1 teaspoon vanilla extract
- Optional: Pinch of sea salt (enhances the sweetness)
Preparing the Fruit Puree:
- Prepare your fruit: If you’re using fresh fruit, wash it thoroughly and remove any stems, pits, or peels. If you’re using frozen fruit, you can use it directly from the freezer. No need to thaw!
- Blend the fruit: Place the fruit in a high-powered blender or food processor. Add the lemon juice and honey (or maple syrup). The lemon juice helps to preserve the color and adds a nice tang, while the honey sweetens the mixture.
- Blend until smooth: Blend the mixture until it’s completely smooth and there are no chunks of fruit remaining. This might take a few minutes, depending on your blender. If you’re having trouble getting it smooth, you can add a tablespoon or two of water, but try to avoid adding too much liquid.
- Taste and adjust: Give the puree a taste. If it’s not sweet enough for your liking, add a little more honey or maple syrup. If it’s too sweet, add a squeeze more lemon juice. Remember, the flavor will concentrate slightly as the fruit snacks dehydrate.
- Strain (optional): For an extra smooth texture, you can strain the puree through a fine-mesh sieve or cheesecloth. This will remove any seeds or small pieces of skin that might have escaped the blender. This step is totally optional, but it can make a big difference in the final texture of your fruit snacks.
Preparing the Gelatin Mixture:
- Bloom the gelatin: In a small bowl, sprinkle the gelatin powder over the cold water. Let it sit for about 5-10 minutes. This process is called “blooming” and it allows the gelatin to absorb the water and soften, which will help it dissolve properly later. You’ll notice the mixture becoming thick and jelly-like.
- Melt the gelatin: Once the gelatin has bloomed, you need to melt it. You can do this in a couple of ways:
- Microwave: Microwave the gelatin mixture in 10-second intervals, stirring in between, until it’s completely melted and clear. Be careful not to overheat it, as this can damage the gelatin’s setting properties.
- Double boiler: Place the bowl of gelatin over a pot of simmering water (make sure the bottom of the bowl doesn’t touch the water). Stir gently until the gelatin is completely melted and clear.
Combining and Cooking:
- Combine the mixtures: Pour the melted gelatin mixture into the fruit puree. Add the vanilla extract (if using) and the pinch of sea salt (if using).
- Whisk thoroughly: Whisk the mixture vigorously until the gelatin is completely incorporated and there are no lumps. This is important to ensure that the fruit snacks set properly.
- Cook the mixture (optional but recommended): Pour the mixture into a saucepan. Cook over medium-low heat, stirring constantly, for about 5-10 minutes. This step helps to thicken the mixture and further develop the flavors. It also helps to prevent the fruit snacks from being too sticky. Be careful not to let the mixture boil.
Setting the Fruit Snacks:
- Prepare your pan: Line an 8×8 inch baking pan (or similar size) with parchment paper or a silicone baking mat. Make sure the parchment paper or mat extends slightly over the edges of the pan, as this will make it easier to lift the fruit snacks out later. You can also lightly grease the pan with coconut oil or cooking spray, but lining it with parchment paper or a silicone mat is generally easier and more effective.
- Pour the mixture: Pour the fruit puree mixture into the prepared pan, spreading it evenly with a spatula. The thickness of the layer will determine the thickness of your fruit snacks.
- Refrigerate: Place the pan in the refrigerator and let it chill for at least 4-6 hours, or preferably overnight. This will allow the gelatin to set completely and the fruit snacks to firm up.
Cutting and Storing:
- Remove from pan: Once the fruit snacks are firm, lift them out of the pan using the parchment paper or silicone mat.
- Cut into shapes: Place the fruit snack slab on a cutting board. Use a sharp knife, pizza cutter, or cookie cutters to cut the fruit snacks into your desired shapes. Get creative! You can make squares, rectangles, stars, hearts, or any other shape you like.
- Optional: Coat with sugar or cornstarch: If you want to prevent the fruit snacks from sticking together, you can lightly coat them with granulated sugar, powdered sugar, or cornstarch. This is especially helpful if you live in a humid climate.
- Store: Store the fruit snacks in an airtight container in the refrigerator for up to 1-2 weeks. They’re best enjoyed within the first few days, as they can become slightly sticky over time.
Tips and Variations:
- Fruit Combinations: Experiment with different fruit combinations to create unique flavors. Some popular combinations include strawberry-banana, mango-pineapple, and mixed berry.
- Sweetness Level: Adjust the amount of honey or maple syrup to your liking. If you’re using very sweet fruit, you might not need to add any sweetener at all.
- Vegan Option: To make these fruit snacks vegan, substitute the gelatin with agar-agar powder. You’ll need to use about 1 tablespoon of agar-agar powder for this recipe. Follow the package instructions for activating the agar-agar.
- Citrus Zest: Add a teaspoon of citrus zest (lemon, lime, or orange) to the fruit puree for an extra burst of flavor.
- Spice it up: Add a pinch of cinnamon, nutmeg, or ginger to the fruit puree for a warm and comforting flavor.
- Dehydrator Option: For a chewier texture, you can dehydrate the fruit snacks in a dehydrator at 135°F (57°C) for 6-8 hours, or until they reach your desired consistency. Spread the fruit puree thinly on dehydrator sheets before dehydrating.
- Fun Shapes: Use cookie cutters in various shapes to make the fruit snacks more appealing to kids (and adults!).
- Don’t Overcook: Be careful not to overcook the gelatin mixture, as this can prevent it from setting properly.
- Storage is Key: Proper storage in an airtight container is essential to prevent the fruit snacks from becoming sticky or drying out.
Troubleshooting:
- Fruit snacks are too sticky: This can be caused by not using enough gelatin, not cooking the mixture long enough, or storing them in a humid environment. Try adding a little more gelatin next time, cooking the mixture for a longer period, and coating the fruit snacks with sugar or cornstarch before storing.
- Fruit snacks are not setting: This can be caused by using expired gelatin, not blooming the gelatin properly, or not chilling the mixture long enough. Make sure your gelatin is fresh, bloom it according to the instructions, and chill the mixture for at least 4-6 hours, or preferably overnight.
- Fruit snacks are too hard: This can be caused by using too much gelatin or over-dehydrating them. Try using a little less gelatin next time or reducing the dehydration time.
Enjoy your homemade fruit snacks! They’re a healthy and delicious treat that you can feel good about giving to your family.

Conclusion:
And there you have it! These homemade fruit snacks are so much more than just a fun project; they’re a delicious, healthy, and customizable treat that you can feel good about serving to your family (and indulging in yourself!). Forget those store-bought versions loaded with artificial colors, flavors, and preservatives. This recipe empowers you to create vibrant, flavorful snacks using real fruit and simple ingredients.
Why is this a must-try? Well, besides the obvious health benefits, the taste is simply incredible. The concentrated fruit flavor bursts in your mouth with every chew, and the satisfyingly chewy texture is just perfect. Plus, the sheer versatility of this recipe makes it a winner. You’re not limited to just one flavor or fruit combination. Imagine the possibilities!
Need some serving suggestions? These homemade fruit snacks are fantastic straight out of the fridge for a quick and refreshing snack. They’re also perfect for packing in lunchboxes, taking on road trips, or even adding to a charcuterie board for a fun and unexpected twist. For a more sophisticated presentation, try cutting them into different shapes using cookie cutters. Kids will absolutely love this!
But the fun doesn’t stop there! Let’s talk variations. Feeling adventurous? Try adding a pinch of spice, like cinnamon or ginger, to the fruit puree for a warm and comforting flavor. For a tropical twist, incorporate coconut milk or shredded coconut. You could even add a tablespoon of chia seeds for an extra boost of fiber and omega-3s. If you’re looking for a tangier snack, a squeeze of lemon or lime juice will do the trick. And for those who prefer a sweeter treat, a touch of honey or maple syrup can be added to taste.
Another great variation is to use different types of fruit. While this recipe calls for berries, don’t be afraid to experiment with other fruits like mango, pineapple, peaches, or even applesauce. Just be sure to adjust the amount of gelatin or agar-agar accordingly to achieve the desired consistency. You can even create layered fruit snacks by using different fruit purees for each layer. The possibilities are truly endless!
Serving and Storage Tips
For optimal freshness, store your homemade fruit snacks in an airtight container in the refrigerator. They should last for up to a week, although I doubt they’ll last that long! To prevent them from sticking together, you can lightly dust them with cornstarch or powdered sugar.
I truly believe that once you try this recipe, you’ll never go back to store-bought fruit snacks again. It’s a rewarding experience to create something so delicious and healthy from scratch, and the satisfaction of knowing exactly what’s going into your food is priceless.
So, what are you waiting for? Gather your ingredients, put on your apron, and get ready to embark on a fruity adventure! I’m confident that you’ll love these homemade fruit snacks as much as I do.
And most importantly, I want to hear about your experience! Did you try a different fruit combination? Did you add any special ingredients? Share your creations and variations in the comments below. I can’t wait to see what you come up with! Happy snacking!
Homemade Fruit Snacks: Easy Recipes & Healthy Options
Make your own healthy and delicious fruit snacks with this easy recipe! Use your favorite fruits and customize the sweetness to your liking. Perfect for a guilt-free treat for kids and adults.
Ingredients
Instructions
Recipe Notes
- Fruit Combinations: Experiment with different fruit combinations to create unique flavors. Some popular combinations include strawberry-banana, mango-pineapple, and mixed berry.
- Sweetness Level: Adjust the amount of honey or maple syrup to your liking. If you’re using very sweet fruit, you might not need to add any sweetener at all.
- Vegan Option: To make these fruit snacks vegan, substitute the gelatin with agar-agar powder. You’ll need to use about 1 tablespoon of agar-agar powder for this recipe. Follow the package instructions for activating the agar-agar.
- Citrus Zest: Add a teaspoon of citrus zest (lemon, lime, or orange) to the fruit puree for an extra burst of flavor.
- Spice it up: Add a pinch of cinnamon, nutmeg, or ginger to the fruit puree for a warm and comforting flavor.
- Dehydrator Option: For a chewier texture, you can dehydrate the fruit snacks in a dehydrator at 135°F (57°C) for 6-8 hours, or until they reach your desired consistency. Spread the fruit puree thinly on dehydrator sheets before dehydrating.
- Fun Shapes: Use cookie cutters in various shapes to make the fruit snacks more appealing to kids (and adults!).
- Don’t Overcook: Be careful not to overcook the gelatin mixture, as this can prevent it from setting properly.
- Storage is Key: Proper storage in an airtight container is essential to prevent the fruit snacks from becoming sticky or drying out.


