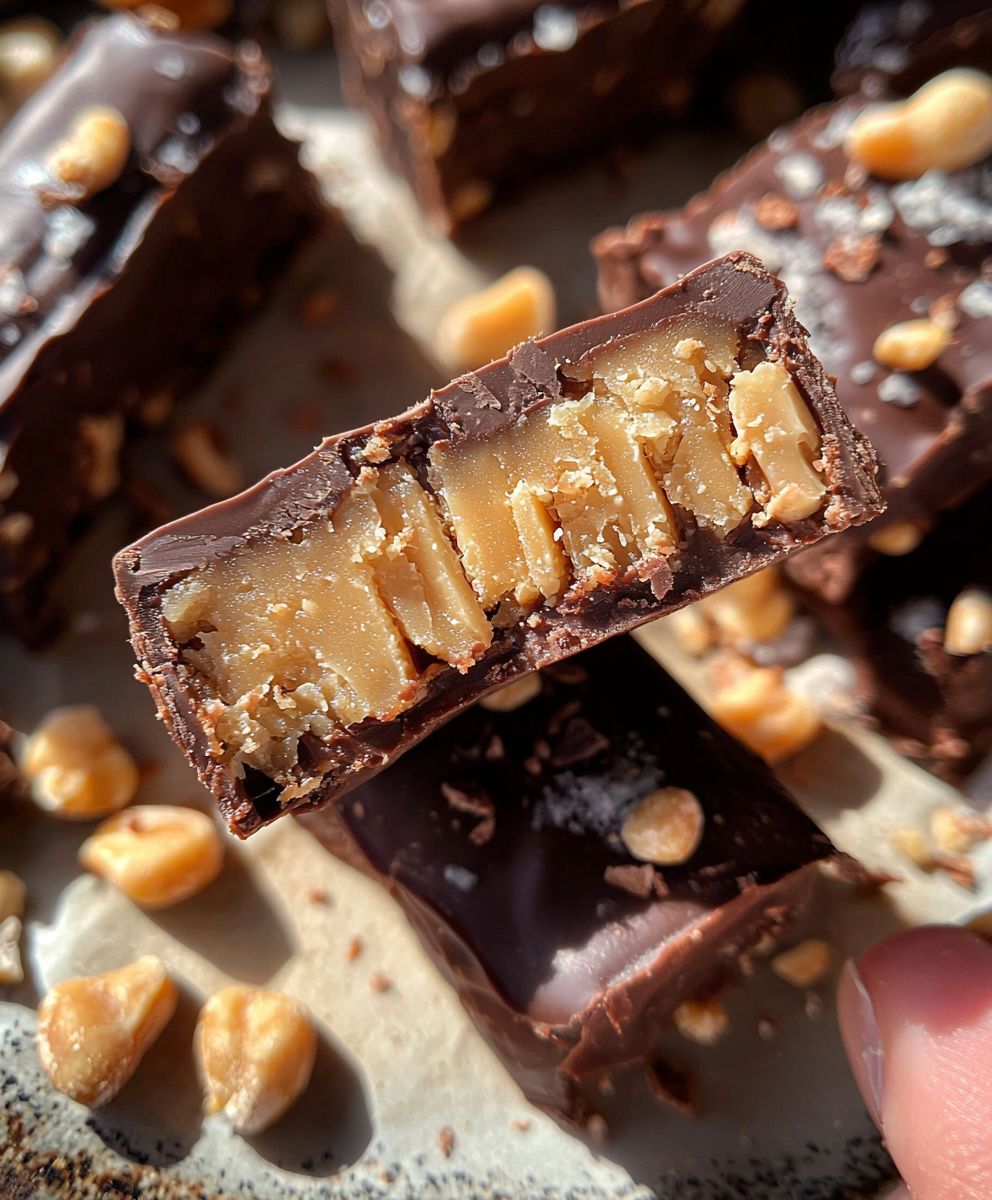
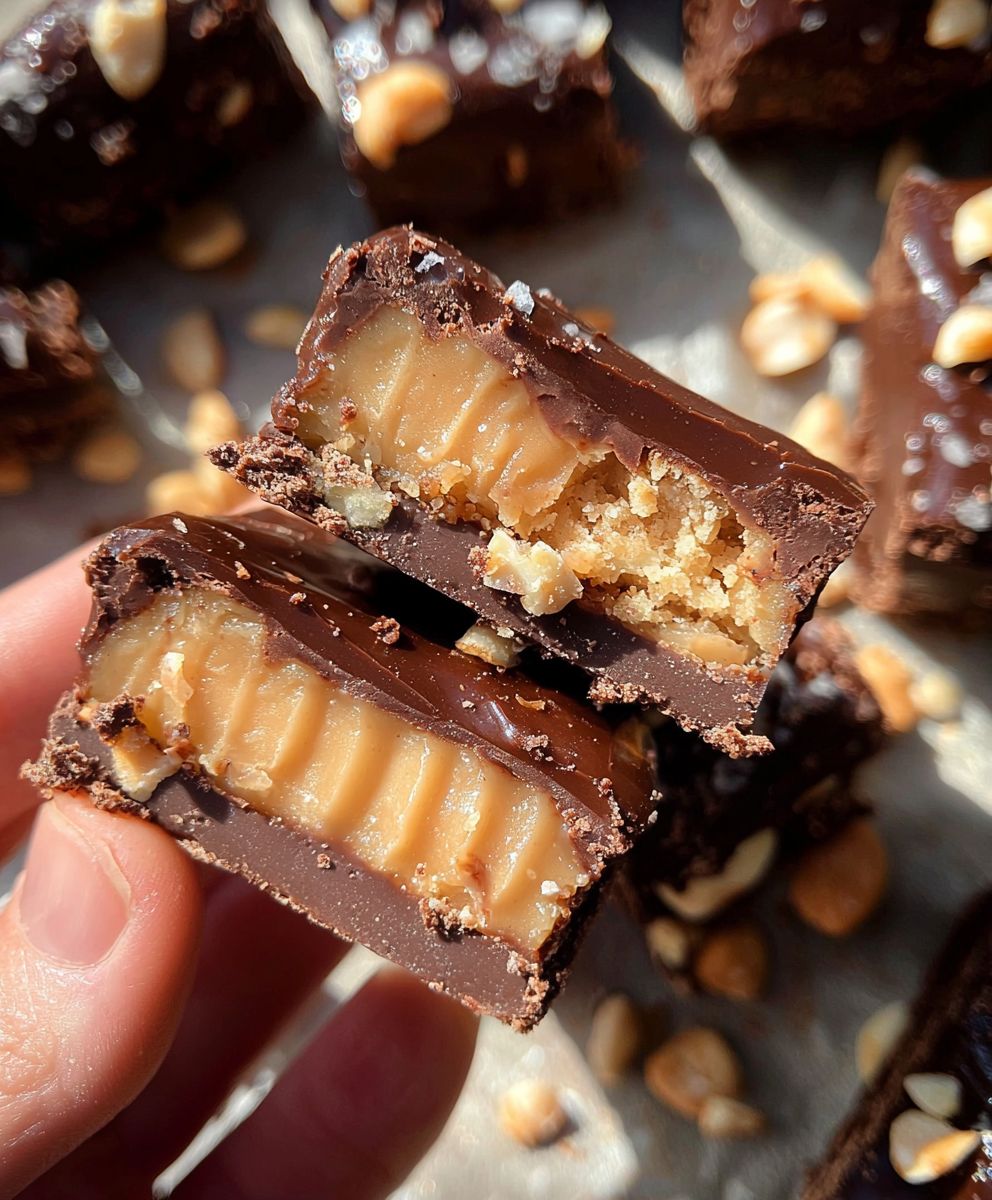
Homemade Protein Snickers Bars are a delightful twist on the classic candy bar that many of us know and love. Imagine sinking your teeth into a rich, chewy treat that not only satisfies your sweet tooth but also fuels your body with protein. This recipe is not just about indulgence; it’s about creating a healthier version of a beloved favorite that you can enjoy guilt-free. The original Snickers bar, with its combination of nougat, caramel, and peanuts, has been a staple in candy aisles since the 1930s, and now, with my homemade version, you can relish the same flavors while nourishing your body.
People adore these Homemade Protein Snickers Bars for their perfect balance of taste and texture. The creamy chocolate coating, combined with the crunchy peanuts and soft nougat, creates a symphony of flavors that is hard to resist. Plus, they are incredibly convenient to make and can be stored for a quick snack or post-workout treat. Join me as we dive into this delicious recipe that brings the joy of Snickers bars into a healthier realm!
Ingredients:
- 1 cup natural peanut butter (smooth or crunchy)
- 1/2 cup honey or maple syrup
- 1 cup rolled oats
- 1/2 cup protein powder (vanilla or chocolate flavor)
- 1/4 cup unsweetened cocoa powder
- 1/2 teaspoon salt
- 1 cup chopped dates (pitted)
- 1/2 cup chopped peanuts (for the crunchy layer)
- 1 cup dark chocolate chips (for coating)
- 1 tablespoon coconut oil (for melting chocolate)
Preparing the Base Layer
- In a large mixing bowl, combine the natural peanut butter and honey (or maple syrup). Use a spatula or a whisk to mix them together until they are well combined and smooth.
- Add the rolled oats, protein powder, cocoa powder, and salt to the peanut butter mixture. Stir everything together until it forms a thick, sticky dough. You might find it easier to use your hands to mix it thoroughly at this point.
- Once the mixture is well combined, fold in the chopped dates and chopped peanuts. This will add a nice texture and sweetness to your bars.
- Line an 8×8 inch baking dish with parchment paper, leaving some overhang on the sides for easy removal later. Transfer the mixture into the prepared baking dish and press it down firmly with your hands or a spatula to create an even layer. Make sure it’s compact to hold together once set.
Chilling the Base Layer
- Place the baking dish in the refrigerator for about 30 minutes. This will help the base layer firm up, making it easier to cut into bars later.
Preparing the Chocolate Coating
- While the base layer is chilling, it’s time to prepare the chocolate coating. In a microwave-safe bowl, combine the dark chocolate chips and coconut oil.
- Microwave the chocolate in 30-second intervals, stirring in between, until it’s completely melted and smooth. Be careful not to overheat the chocolate, as it can seize up.
Assembling the Bars
- Once the base layer has chilled and firmed up, remove it from the refrigerator. Use the parchment paper overhang to lift the bars out of the baking dish.
- Place the bars on a cutting board and cut them into your desired size. I usually go for about 12 bars, but you can make them smaller or larger depending on your preference.
- Dip each bar into the melted chocolate, ensuring it’s fully coated. You can use a fork to help lift the bars out of the chocolate, allowing any excess to drip off.
- Place the coated bars back onto a parchment-lined tray. Repeat this process until all bars are coated in chocolate.
Final Chilling
- Once all the bars are coated, return them to the refrigerator for another 30 minutes to allow the chocolate to set completely.
Storing the Protein Snickers Bars
- After the chocolate has set, you can store the bars in an airtight container. They can be kept in the refrigerator for up to two weeks or in the freezer for longer storage.
- If you’re planning to freeze them, I recommend separating the bars with parchment paper to prevent them from sticking together.
Enjoying Your Homemade Protein Snickers Bars
- When you’re ready to enjoy your homemade protein Snickers bars, simply take one out of the fridge or freezer and savor the delicious combination of chocolate, peanut butter, and chewy dates.
- These bars make for a perfect post-workout snack or a healthy treat to satisfy your sweet tooth without the guilt!
Tips and Variations
- If you want to add a little extra flavor, consider mixing in a teaspoon of vanilla extract to the peanut butter mixture.
- For a crunchier texture, you can add some crispy rice cereal to the base layer.
Conclusion:
In conclusion, these Homemade Protein Snickers Bars are an absolute must-try for anyone looking to satisfy their sweet tooth while still sticking to their health goals. Not only do they pack a protein punch, but they also deliver on flavor and texture, making them a delightful treat that you can feel good about indulging in. The combination of creamy peanut butter, crunchy nuts, and rich chocolate creates a mouthwatering experience that rivals the store-bought version, but with the added benefit of knowing exactly what’s in them. For serving suggestions, I love to pair these bars with a glass of almond milk or a scoop of your favorite protein shake for a post-workout snack. You can also get creative with variations—try adding a sprinkle of sea salt on top for that sweet and salty contrast, or swap out the peanuts for almonds or cashews for a different nutty flavor. If you’re feeling adventurous, consider drizzling some melted dark chocolate over the top for an extra decadent touch. I encourage you to give this recipe a try and make it your own! Once you’ve whipped up a batch of these Homemade Protein Snickers Bars, I’d love to hear about your experience. Share your thoughts, any variations you tried, or even a photo of your delicious creation. Let’s inspire each other to enjoy healthier treats without sacrificing taste! Happy snacking! Print
Homemade Protein Snickers Bars: A Delicious and Healthy Treat
- Total Time: 75 minutes
- Yield: 12 bars 1x
Description
Enjoy these homemade Protein Snickers Bars, a nutritious and delicious treat made with peanut butter, oats, and chocolate. Perfect for post-workout snacking or a guilt-free dessert, these easy-to-make bars will satisfy your sweet cravings while providing a protein boost!
Ingredients
- 1 cup natural peanut butter (smooth or crunchy)
- 1/2 cup honey or maple syrup
- 1 cup rolled oats
- 1/2 cup protein powder (vanilla or chocolate flavor)
- 1/4 cup unsweetened cocoa powder
- 1/2 teaspoon salt
- 1 cup chopped dates (pitted)
- 1/2 cup chopped peanuts (for the crunchy layer)
- 1 cup dark chocolate chips (for coating)
- 1 tablespoon coconut oil (for melting chocolate)
Instructions
- In a large mixing bowl, combine the natural peanut butter and honey (or maple syrup). Mix until smooth.
- Add the rolled oats, protein powder, cocoa powder, and salt. Stir until a thick, sticky dough forms. Use your hands if necessary.
- Fold in the chopped dates and chopped peanuts for added texture and sweetness.
- Line an 8×8 inch baking dish with parchment paper, leaving overhang for easy removal. Press the mixture firmly into the dish to create an even layer.
- Refrigerate the baking dish for about 30 minutes to firm up the base layer.
- In a microwave-safe bowl, combine dark chocolate chips and coconut oil.
- Microwave in 30-second intervals, stirring in between, until melted and smooth.
- Remove the chilled base layer from the refrigerator and lift it out using the parchment paper.
- Cut into desired sizes (about 12 bars).
- Dip each bar into the melted chocolate, ensuring full coverage. Use a fork to lift them out and let excess chocolate drip off.
- Place the coated bars on a parchment-lined tray.
- Return the coated bars to the refrigerator for another 30 minutes to set the chocolate.
- Store the bars in an airtight container in the refrigerator for up to two weeks or freeze for longer storage, separating with parchment paper.
- Enjoy your bars straight from the fridge or freezer, relishing the delightful combination of chocolate, peanut butter, and chewy dates.
Notes
- For added flavor, mix in a teaspoon of vanilla extract to the peanut butter mixture.
- For a crunchier texture, consider adding crispy rice cereal to the base layer.
- Prep Time: 15 minutes
- Cook Time: 60 minutes