Key Lime Pie Bites: Prepare to be whisked away to a tropical paradise with these miniature bursts of sunshine! Imagine the tangy, creamy perfection of a classic Key lime pie, now perfectly portioned into delightful, bite-sized treats. These aren’t just desserts; they’re tiny explosions of flavor that will leave you craving more.
The story of Key lime pie is as sunny as its flavor. Born in the Florida Keys, this iconic dessert is believed to have originated in the late 19th century, thanks to the abundance of Key limes and the ingenuity of local cooks. Key limes, smaller and more tart than their Persian cousins, lend a unique, almost floral aroma to the pie that simply can’t be replicated. It’s a taste of history, a taste of sunshine, and a taste of pure bliss.
What makes these Key Lime Pie Bites so irresistible? It’s the perfect balance of sweet and tart, the smooth, velvety texture of the filling, and the satisfying crunch of the graham cracker crust. Plus, their small size makes them ideal for parties, potlucks, or simply a guilt-free indulgence any time of day. They’re incredibly easy to make, requiring minimal baking time and readily available ingredients. So, whether you’re a seasoned baker or a kitchen novice, these little bites of heaven are guaranteed to impress. Get ready to experience the magic of Key lime pie in a whole new way!

Ingredients:
- For the Crust:
- 1 ½ cups graham cracker crumbs
- 5 tablespoons unsalted butter, melted
- ¼ cup granulated sugar
- Pinch of salt
- For the Key Lime Filling:
- 2 (14 ounce) cans sweetened condensed milk
- ¾ cup Key lime juice (freshly squeezed is best!)
- 4 large egg yolks
- 1 teaspoon Key lime zest
- For the Topping (Optional):
- 1 cup heavy cream
- 2 tablespoons powdered sugar
- ½ teaspoon vanilla extract
- Key lime slices or zest, for garnish
Preparing the Graham Cracker Crust:
- Preheat and Prep: First things first, preheat your oven to 350°F (175°C). While the oven is heating up, grab a 9×13 inch baking pan. I like to line mine with parchment paper, leaving an overhang on the sides. This makes it super easy to lift the key lime pie bites out later for cutting. If you don’t have parchment paper, you can lightly grease the pan instead.
- Combine Dry Ingredients: In a medium-sized bowl, whisk together the graham cracker crumbs, granulated sugar, and a pinch of salt. Make sure everything is evenly distributed. This ensures a consistent flavor and texture in your crust.
- Add Melted Butter: Pour the melted butter into the bowl with the dry ingredients. Use a fork or your fingers to mix everything together until the crumbs are evenly moistened. The mixture should resemble wet sand.
- Press into Pan: Transfer the graham cracker mixture to your prepared baking pan. Use the bottom of a measuring cup or your fingers to firmly press the mixture into an even layer across the bottom of the pan. Make sure to get into all the corners! A well-compacted crust is key to preventing it from crumbling later.
- Bake the Crust: Place the baking pan in the preheated oven and bake for 8-10 minutes, or until the crust is lightly golden brown and fragrant. Keep a close eye on it, as graham cracker crusts can burn easily.
- Cool Completely: Once the crust is baked, remove it from the oven and let it cool completely on a wire rack. This is crucial! You don’t want to add the filling to a hot crust, as it could affect the texture and consistency of the filling.
Making the Key Lime Filling:
- Whisk Egg Yolks: In a large bowl, whisk the egg yolks until they are light and slightly pale in color. This usually takes about 2-3 minutes. Whisking incorporates air and helps create a smooth and creamy filling.
- Add Sweetened Condensed Milk: Pour the sweetened condensed milk into the bowl with the egg yolks. Whisk until the mixture is smooth and well combined. Make sure there are no lumps of condensed milk remaining.
- Incorporate Key Lime Juice: Gradually add the Key lime juice to the mixture, whisking constantly. The mixture will start to thicken as the lime juice reacts with the sweetened condensed milk. It’s important to add the juice slowly to prevent the mixture from curdling.
- Add Key Lime Zest: Stir in the Key lime zest. The zest adds a burst of fresh lime flavor and aroma to the filling. Make sure to only zest the outer green part of the lime, avoiding the white pith, which can be bitter.
- Pour Filling into Crust: Once the crust has cooled completely, pour the Key lime filling evenly over the crust. Spread it out with a spatula to ensure it reaches all the edges.
- Bake the Pie: Place the baking pan back in the oven and bake for 15-20 minutes, or until the filling is set but still slightly jiggly in the center. The edges should be set, but the middle should have a slight wobble.
- Cool and Chill: Remove the pie from the oven and let it cool completely on a wire rack. Once it has cooled, cover it with plastic wrap and refrigerate for at least 4 hours, or preferably overnight. This allows the filling to set completely and the flavors to meld together. Chilling is essential for achieving the perfect Key lime pie texture.
Preparing the Topping (Optional):
- Chill Bowl and Whisk: Before you start, chill your mixing bowl and whisk attachment in the freezer for about 15-20 minutes. This helps the heavy cream whip up more quickly and easily.
- Combine Ingredients: Pour the heavy cream into the chilled mixing bowl. Add the powdered sugar and vanilla extract.
- Whip the Cream: Using an electric mixer, whip the cream on medium speed until stiff peaks form. Be careful not to overwhip, as this can cause the cream to become grainy. You’ll know it’s ready when the cream holds its shape and forms peaks when you lift the whisk.
Assembling the Key Lime Pie Bites:
- Lift and Cut: If you lined your baking pan with parchment paper, gently lift the pie out of the pan using the overhang. Place it on a cutting board. If you didn’t use parchment paper, carefully cut around the edges of the pie to loosen it from the pan.
- Cut into Bites: Use a sharp knife to cut the pie into small squares or rectangles. The size of the bites is up to you, but I usually aim for about 1.5-2 inch squares.
- Add Topping (Optional): If you’re using the whipped cream topping, you have a few options. You can pipe a dollop of whipped cream onto each bite, or you can spread a thin layer of whipped cream over the entire pie before cutting it into bites.
- Garnish: Garnish each Key lime pie bite with a slice of Key lime or a sprinkle of Key lime zest. This adds a pop of color and enhances the lime flavor.
- Serve and Enjoy: Serve the Key lime pie bites immediately, or store them in the refrigerator for later. They are best enjoyed cold!
Tips for the Perfect Key Lime Pie Bites:
- Fresh Key Lime Juice is Key: While bottled Key lime juice can work in a pinch, freshly squeezed Key lime juice will give you the most authentic and flavorful results. It’s worth the extra effort!
- Don’t Overbake: Overbaking the pie can result in a dry and cracked filling. The filling should be set but still slightly jiggly in the center when you remove it from the oven.
- Chill Thoroughly: Chilling the pie for at least 4 hours (or overnight) is essential for allowing the filling to set completely and the flavors to meld together.
- Use a Food Processor for the Crust: If you have a food processor, you can use it to make the graham cracker crust. Simply pulse the graham crackers until they are finely ground, then add the sugar and salt and pulse to combine. Add the melted butter and pulse until the mixture is evenly moistened.
- Make Ahead: The Key lime pie bites can be made ahead of time and stored in the refrigerator for up to 3 days. The whipped cream topping is best added just before serving.
- Variations: Feel free to experiment with different variations of this recipe. You can add a layer of chocolate ganache to the bottom of the crust, or you can top the pie with toasted coconut flakes.
Conclusion:
So, there you have it! These Key Lime Pie Bites are truly a must-try for anyone who loves a burst of tangy, sweet, and utterly delightful flavor. I know I’m biased, but I genuinely believe this recipe is a winner. From the buttery, crumbly crust to the smooth, zesty filling, every element works in perfect harmony to create a little bite of sunshine.
Why are these Key Lime Pie Bites so special? Well, beyond the incredible taste, they’re surprisingly easy to make. You don’t need to be a pastry chef to whip up a batch of these beauties. Plus, they’re perfect for any occasion – from a casual weeknight dessert to a sophisticated party treat. They’re also incredibly portable, making them ideal for picnics, potlucks, or even just a little something to brighten your day at work.
But the best part? The sheer joy they bring! There’s something about that bright, citrusy flavor that just makes you smile. And let’s be honest, who doesn’t need a little more sunshine in their life?
Ready to get creative? While I adore these Key Lime Pie Bites just as they are, there are plenty of ways to customize them to your liking. For a richer flavor, try using brown butter in the crust. It adds a nutty depth that complements the lime beautifully. If you’re feeling adventurous, you could even add a hint of coconut to the crust or filling for a tropical twist.
Serving suggestions? Oh, the possibilities! A dollop of whipped cream is always a classic choice. But for something a little different, try a sprinkle of toasted coconut flakes or a drizzle of white chocolate. You could even serve them with a scoop of vanilla ice cream for an extra decadent treat. For a more sophisticated presentation, arrange them on a platter with fresh berries and a sprig of mint.
And if you’re looking for variations, consider making a larger Key Lime Pie using the same filling recipe. Simply adjust the baking time accordingly. You could also use different types of citrus, such as lemon or grapefruit, for a unique flavor profile. The possibilities are endless!
I truly hope you’ll give these Key Lime Pie Bites a try. I’m confident that you’ll love them as much as I do. They’re the perfect combination of easy, delicious, and utterly irresistible.
Once you’ve made them, I’d absolutely love to hear about your experience! Did you make any variations? What did you think of the flavor? What occasion did you make them for? Share your photos and stories in the comments below. I can’t wait to see what you create! Happy baking! And remember, life is too short to skip dessert, especially when it involves these delightful little bites of Key lime heaven. Don’t forget to rate the recipe and share it with your friends and family who deserve a little sunshine in their lives too!
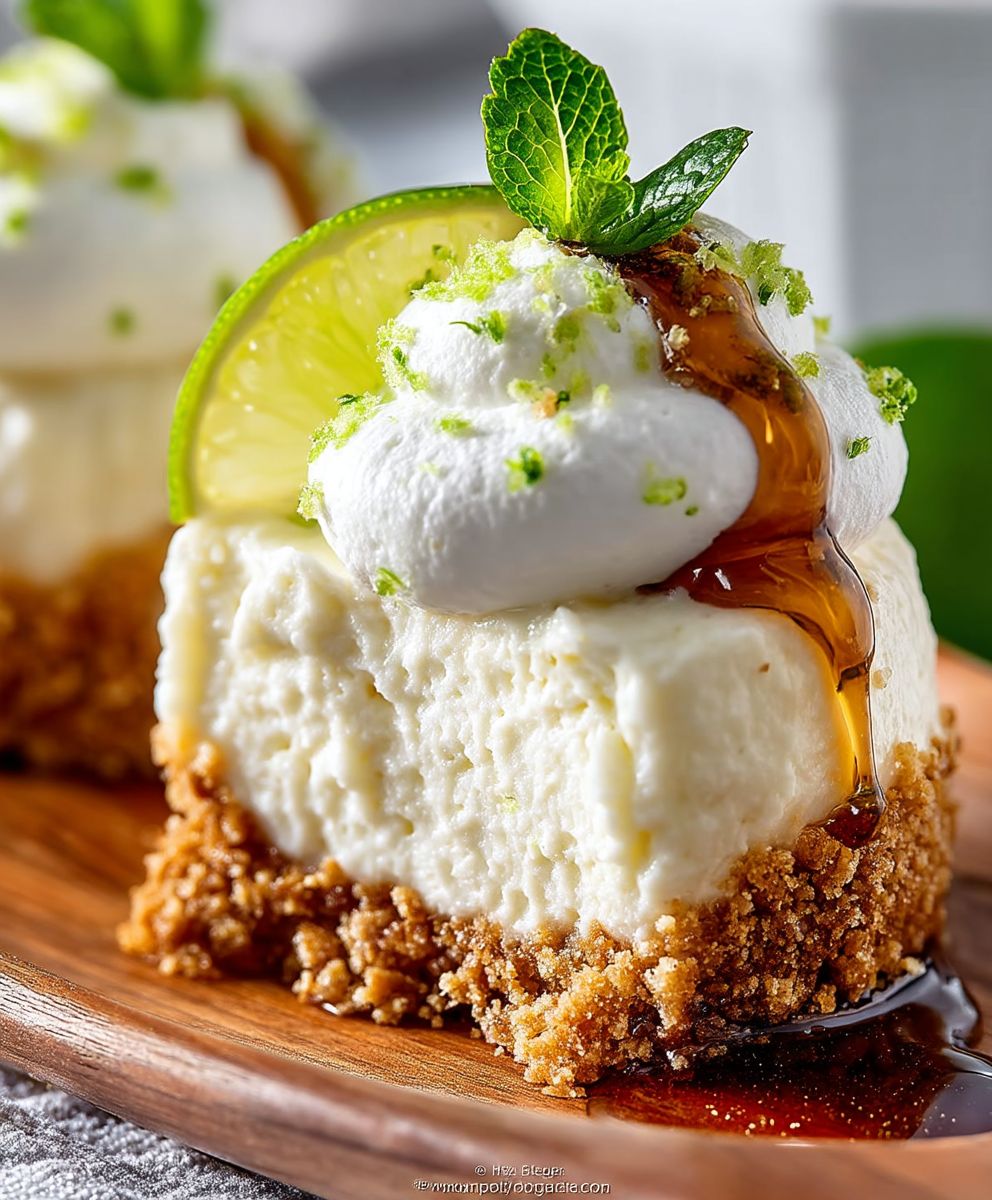
Key Lime Pie Bites: The Perfect Bite-Sized Dessert
Tangy and refreshing Key Lime Pie Bites with a buttery graham cracker crust and a creamy, zesty filling. Perfect for parties or a sweet treat!
Ingredients
Instructions
Recipe Notes
- Freshly squeezed Key lime juice is recommended for the best flavor.
- Don’t overbake the pie; the filling should be slightly jiggly in the center.
- Chill the pie thoroughly for at least 4 hours (or overnight) for the best texture and flavor.
- A food processor can be used to make the graham cracker crust.
- The Key lime pie bites can be made ahead of time and stored in the refrigerator for up to 3 days. Add the whipped cream topping just before serving.
- Variations: Add a layer of chocolate ganache to the bottom of the crust, or top the pie with toasted coconut flakes.