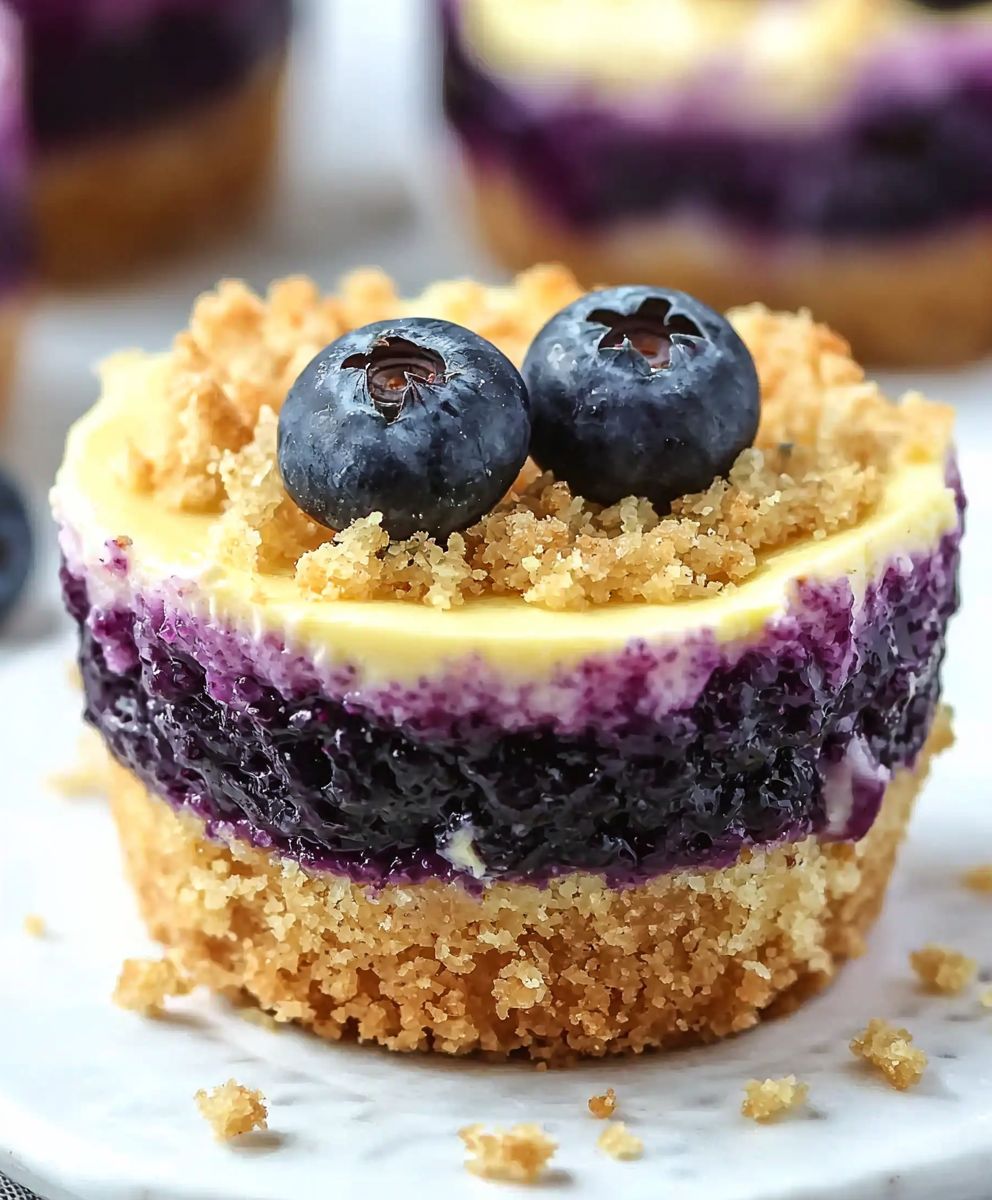
Mini Blueberry Cheesecake Dessert is a delightful treat that perfectly balances creamy richness with the vibrant burst of fresh blueberries. As a lover of desserts, I find that these little bites not only satisfy my sweet tooth but also bring a touch of elegance to any gathering. The history of cheesecake dates back to ancient Greece, where it was served to athletes during the first Olympic Games. Over the years, this beloved dessert has evolved, and the mini version has become a favorite for its convenience and portion control.
People adore Mini Blueberry Cheesecake Dessert for its luscious texture and the way the tangy cream cheese pairs beautifully with the sweet, juicy blueberries. Each bite is a harmonious blend of flavors that leaves you craving more. Plus, they are incredibly easy to make, making them a go-to recipe for both novice and experienced bakers alike. Join me as we dive into this delightful recipe that is sure to impress your family and friends!
Ingredients:
- For the crust:
- 1 cup graham cracker crumbs
- 1/4 cup granulated sugar
- 1/2 cup unsalted butter, melted
- For the cheesecake filling:
- 16 oz cream cheese, softened
- 1/2 cup granulated sugar
- 1 teaspoon vanilla extract
- 2 large eggs
- 1/4 cup sour cream
- 1/4 cup heavy cream
- For the blueberry topping:
- 2 cups fresh blueberries
- 1/4 cup granulated sugar
- 1 tablespoon lemon juice
- 1 tablespoon cornstarch
- 1/4 cup water
Preparing the Crust
Let’s start with the crust, which is the foundation of our mini blueberry cheesecakes. It’s super easy to make and adds a delightful crunch to the creamy filling.
- In a medium mixing bowl, combine the graham cracker crumbs and granulated sugar. Stir them together until they are well mixed.
- Pour in the melted butter and mix until the crumbs are evenly coated. The mixture should resemble wet sand.
- Next, take a mini muffin tin and lightly grease it with cooking spray or butter to prevent sticking.
- Using a tablespoon, scoop the crust mixture into each muffin cup, filling them about halfway. Press the mixture down firmly with the back of the spoon to create an even layer.
- Once all the cups are filled, place the muffin tin in the preheated oven at 350°F (175°C) and bake for about 8-10 minutes, or until the crust is lightly golden. Keep an eye on them to avoid burning!
- After baking, remove the tin from the oven and let it cool completely while you prepare the cheesecake filling.
Preparing the Cheesecake Filling
Now that the crust is cooling, let’s whip up the creamy cheesecake filling. This part is where the magic happens!
- In a large mixing bowl, add the softened cream cheese. Using an electric mixer, beat the cream cheese on medium speed until it’s smooth and creamy, about 2-3 minutes.
- Gradually add the granulated sugar and continue to beat until well combined and fluffy.
- Next, add the vanilla extract and mix until incorporated.
- Now, it’s time to add the eggs. Add them one at a time, mixing on low speed after each addition until just combined. Be careful not to overmix, as this can lead to cracks in your cheesecake.
- Finally, add the sour cream and heavy cream. Mix until the filling is smooth and creamy, scraping down the sides of the bowl as needed.
Filling the Cheesecakes
With the filling ready, it’s time to fill our cooled crusts!
- Using a spoon or a piping bag, carefully fill each muffin cup with the cheesecake filling, leaving a little space at the top for the topping.
- Once all the cups are filled, gently tap the muffin tin on the counter to remove any air bubbles.
- Place the muffin tin back in the oven and bake at 325°F (160°C) for about 15-18 minutes, or until the edges are set but the center is still slightly jiggly. This will ensure a creamy texture.
- After baking, turn off the oven and crack the oven door open. Let the cheesecakes cool in the oven for about 30 minutes. This helps prevent cracking.
- Once cooled, remove the muffin tin from the oven and let the cheesecakes cool to room temperature before transferring them to the refrigerator. Chill for at least 2 hours, or overnight for best results.
Preparing the Blueberry Topping
While the cheesecakes are chilling, let’s make the delicious blueberry topping
Conclusion:
In summary, this Mini Blueberry Cheesecake Dessert is an absolute must-try for anyone who loves a delightful blend of creamy, tangy, and sweet flavors. The individual portions make it perfect for gatherings, allowing everyone to enjoy their own little slice of heaven without the fuss of slicing a larger cake. Plus, the vibrant blueberries not only add a pop of color but also a burst of freshness that complements the rich cheesecake beautifully. For serving suggestions, consider pairing these mini cheesecakes with a dollop of whipped cream or a sprinkle of crushed graham crackers on top for added texture. You can also experiment with different fruit toppings like strawberries, raspberries, or even a drizzle of chocolate sauce for a decadent twist. If you’re feeling adventurous, try swapping out the blueberries for other fruits or even adding a hint of lemon zest to the cheesecake mixture for a refreshing citrus kick. I wholeheartedly encourage you to give this Mini Blueberry Cheesecake Dessert a try. I promise you won’t be disappointed! Once you’ve made it, I’d love to hear about your experience. Share your thoughts, any variations you tried, or even a picture of your delicious creations. Let’s spread the joy of this delightful dessert together! Happy baking! Print
Mini Blueberry Cheesecake Dessert: A Deliciously Easy Recipe to Satisfy Your Sweet Tooth
- Total Time: 150 minutes
- Yield: 24 mini cheesecakes 1x
Description
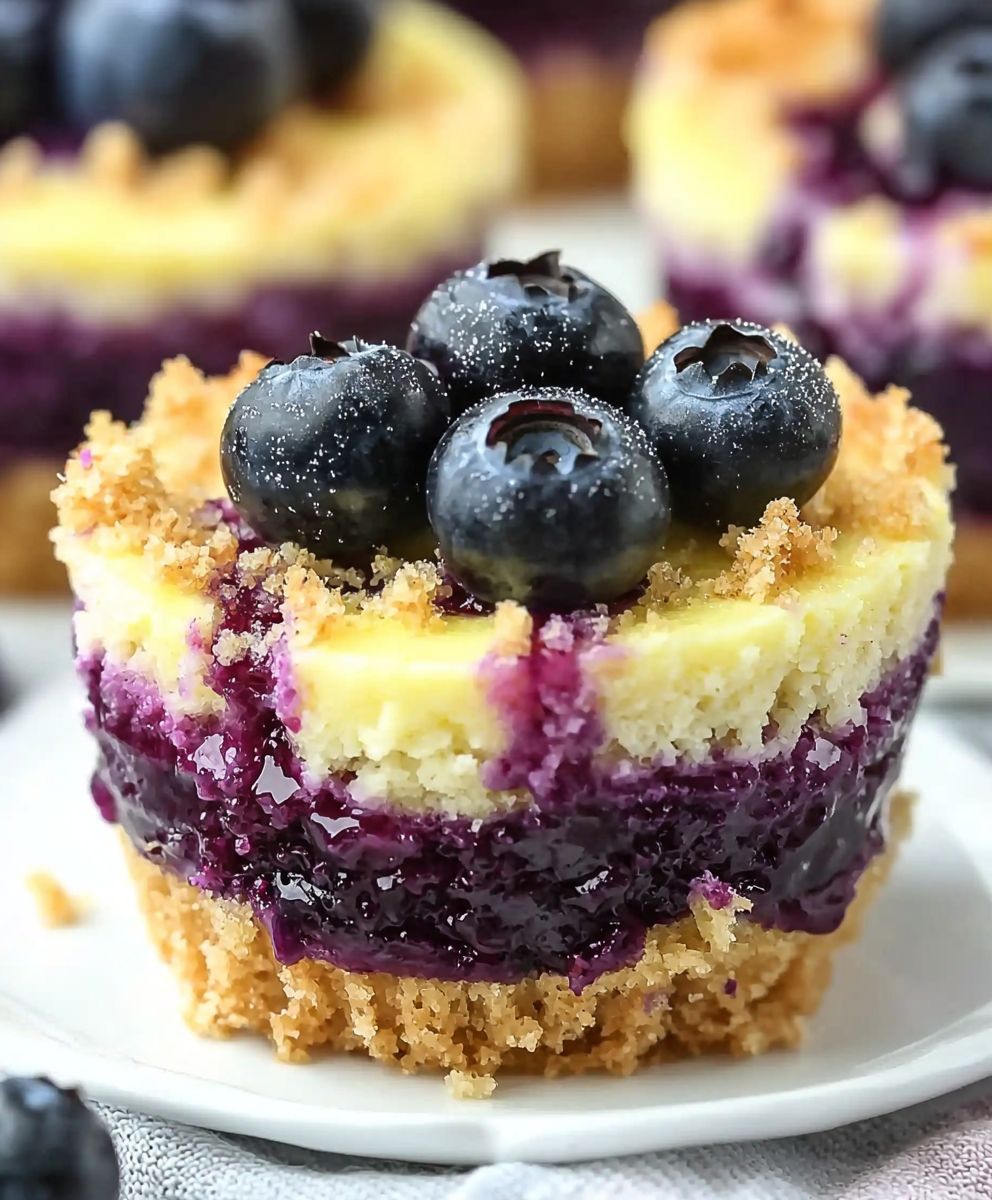
These Mini Blueberry Cheesecakes feature a buttery graham cracker crust, a rich and creamy cheesecake filling, and a sweet blueberry topping. Perfectly portioned for any gathering, these delightful treats are sure to be a hit!
Ingredients
- 1 cup graham cracker crumbs
- 1/4 cup granulated sugar
- 1/2 cup unsalted butter, melted
- 16 oz cream cheese, softened
- 1/2 cup granulated sugar
- 1 teaspoon vanilla extract
- 2 large eggs
- 1/4 cup sour cream
- 1/4 cup heavy cream
- 2 cups fresh blueberries
- 1/4 cup granulated sugar
- 1 tablespoon lemon juice
- 1 tablespoon cornstarch
- 1/4 cup water
Instructions
- In a medium mixing bowl, combine the graham cracker crumbs and granulated sugar. Stir until well mixed.
- Pour in the melted butter and mix until the crumbs are evenly coated, resembling wet sand.
- Lightly grease a mini muffin tin with cooking spray or butter.
- Scoop the crust mixture into each muffin cup, filling them halfway. Press down firmly with the back of a spoon to create an even layer.
- Bake in a preheated oven at 350°F (175°C) for 8-10 minutes, or until lightly golden. Let cool completely.
- In a large mixing bowl, beat the softened cream cheese on medium speed until smooth and creamy, about 2-3 minutes.
- Gradually add the granulated sugar and beat until fluffy.
- Mix in the vanilla extract until incorporated.
- Add the eggs one at a time, mixing on low speed after each addition until just combined.
- Finally, add the sour cream and heavy cream, mixing until smooth and creamy.
- Carefully fill each muffin cup with the cheesecake filling, leaving a little space at the top for the topping.
- Gently tap the muffin tin on the counter to remove air bubbles.
- Bake at 325°F (160°C) for 15-18 minutes, until edges are set but the center is slightly jiggly.
- Turn off the oven and crack the door open, letting the cheesecakes cool in the oven for 30 minutes.
- Once cooled, let them reach room temperature before transferring to the refrigerator. Chill for at least 2 hours, or overnight for best results.
- In a saucepan, combine the fresh blueberries, granulated sugar, lemon juice, cornstarch, and water.
- Cook over medium heat, stirring gently until the mixture starts to bubble and thicken, about 5-7 minutes.
- Remove from heat and let cool slightly before topping the cheesecakes.
Notes
- For best results, chill the cheesecakes overnight.
- You can substitute frozen blueberries if fresh ones are not available; just thaw and drain excess liquid before using.
- Prep Time: 30 minutes
- Cook Time: 30 minutes