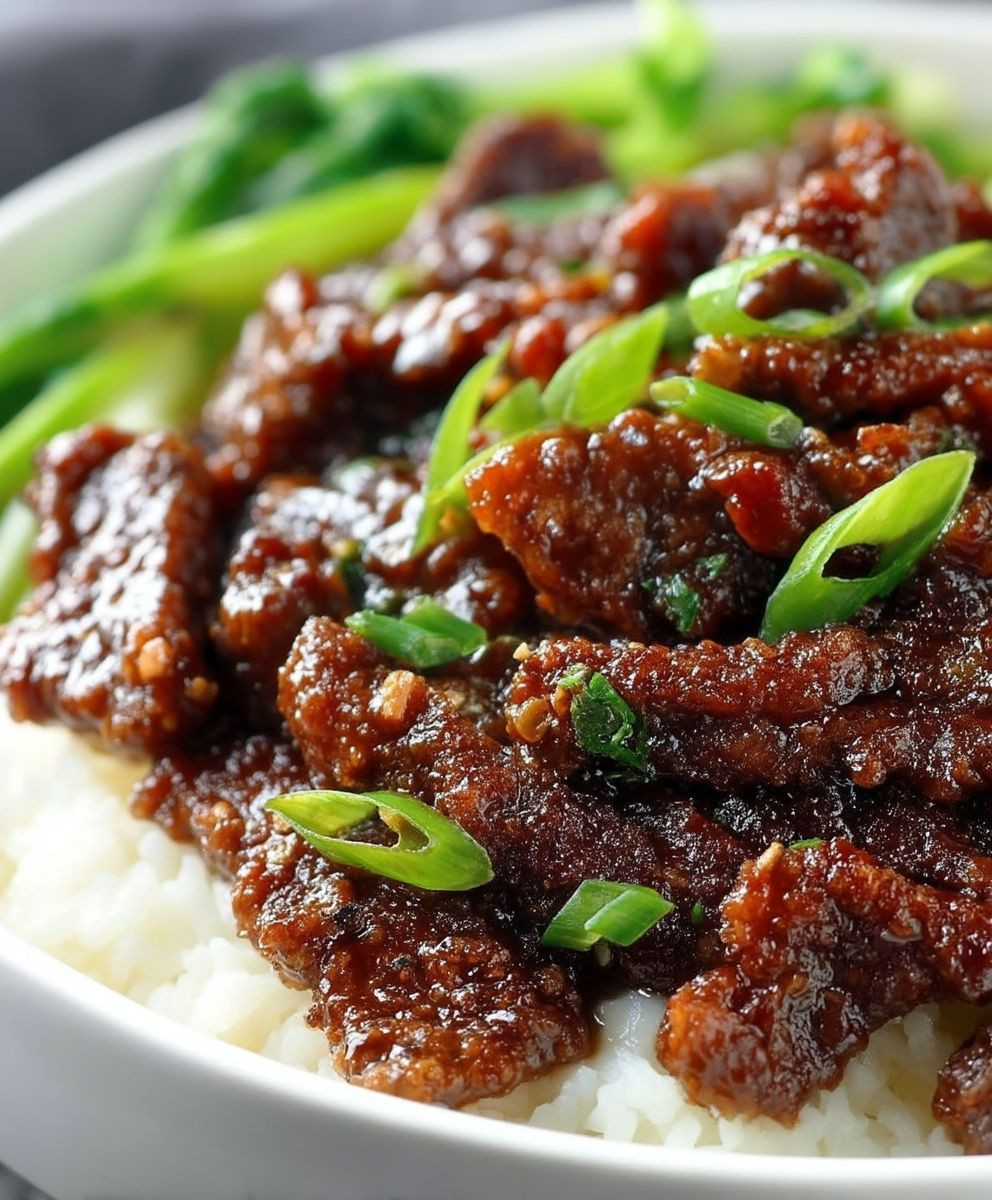
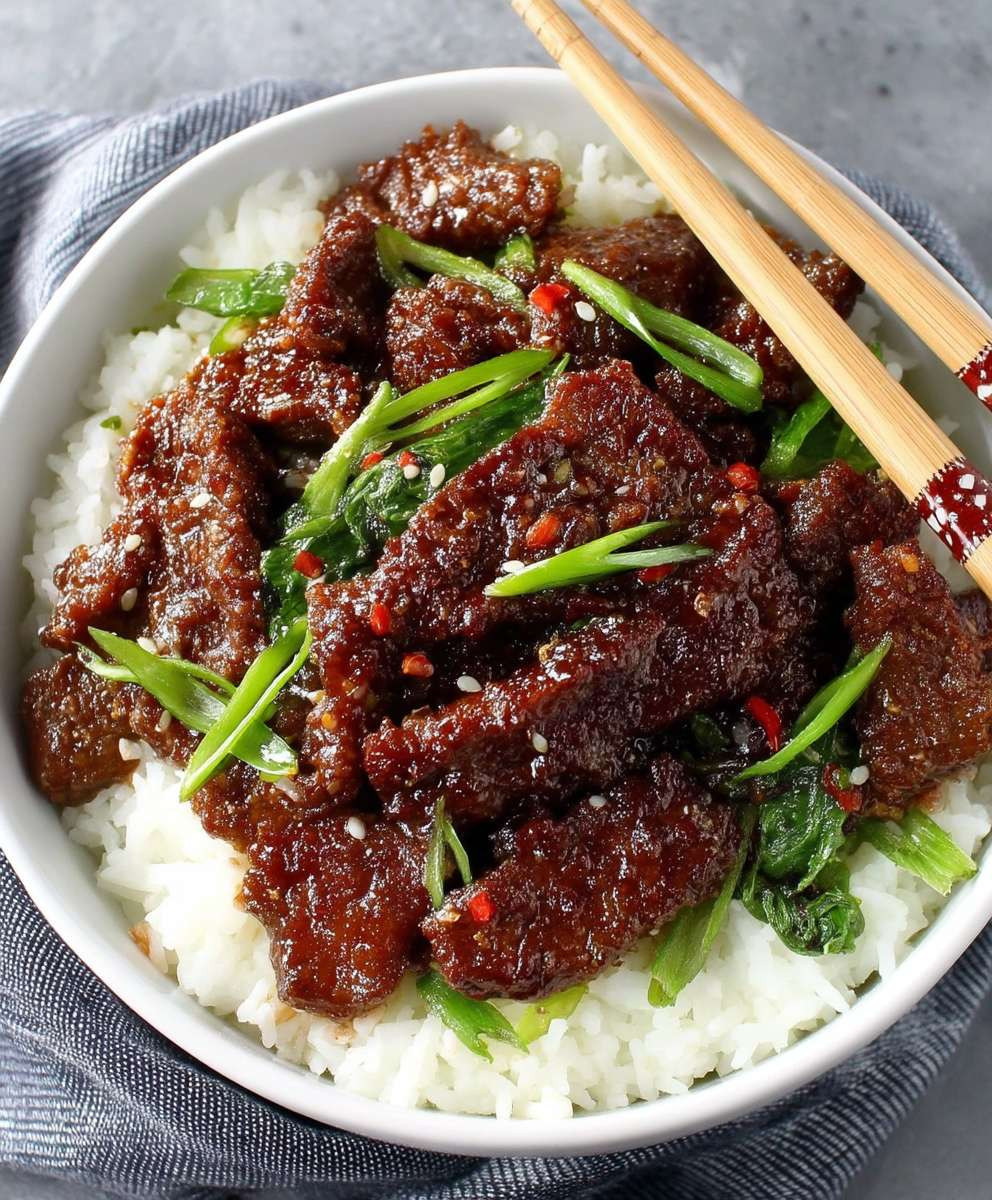
Mongolian Beef 30 Minute: Craving that sweet and savory restaurant favorite but short on time? You’re in luck! Imagine sinking your teeth into tender, crispy beef coated in a luscious, glossy sauce, all ready to devour in just half an hour. This isn’t a dream; it’s entirely achievable with my incredibly simple and delicious Mongolian Beef 30 Minute recipe.
While the exact origins of Mongolian Beef are debated, it’s widely believed to be an American-Chinese creation, drawing inspiration from Mongolian barbecue techniques. It cleverly blends the rich flavors of soy sauce, garlic, and ginger with a touch of sweetness, creating a symphony of taste that tantalizes the palate. It’s a dish that speaks to our love for bold, comforting flavors and satisfying textures.
What makes Mongolian Beef so universally adored? It’s the perfect combination of crispy, yet tender beef, the addictive sweet and savory sauce, and the sheer convenience of it all. It’s a dish that’s equally at home on a busy weeknight as it is as a crowd-pleasing centerpiece for a weekend gathering. Plus, who can resist that glistening, irresistible sauce that begs to be drizzled over fluffy rice? Get ready to experience restaurant-quality Mongolian Beef without the restaurant wait!
Ingredients:
- For the Beef:
- 1.5 lbs Flank Steak, thinly sliced against the grain
- 1/4 cup Cornstarch
- 1/4 cup Soy Sauce, low sodium
- 1/4 teaspoon Black Pepper
- 2 tablespoons Vegetable Oil, for frying
- For the Sauce:
- 1/2 cup Soy Sauce, low sodium
- 1/2 cup Water
- 1/2 cup Brown Sugar, packed
- 1/4 cup Hoisin Sauce
- 2 tablespoons Rice Vinegar
- 1 tablespoon Cornstarch
- 1 teaspoon Sesame Oil
- 1 teaspoon Ground Ginger
- 1/2 teaspoon Garlic Powder
- 1/4 teaspoon Red Pepper Flakes (optional, for heat)
- For Serving:
- Cooked Rice, for serving
- 2 Green Onions, thinly sliced, for garnish
- Sesame Seeds, for garnish (optional)
Preparing the Beef:
Okay, let’s get started with the most important part – the beef! This is where the magic happens, and we want to make sure our beef is tender and perfectly coated for that amazing Mongolian Beef texture.
- Slice the Flank Steak: The key to tender Mongolian Beef is slicing the flank steak thinly against the grain. This breaks down the muscle fibers and makes it much easier to chew. I usually aim for slices about 1/8 inch thick. It might seem tedious, but trust me, it’s worth it! If you’re having trouble slicing it thinly, you can partially freeze the steak for about 30 minutes before slicing. This firms it up and makes it easier to handle.
- Marinate the Beef: In a medium bowl, combine the thinly sliced flank steak with the cornstarch, soy sauce, and black pepper. The cornstarch will help to create a crispy coating when we fry the beef, and the soy sauce adds a delicious savory flavor. Make sure all the beef is evenly coated. I like to use my hands to gently massage the marinade into the beef. Let this marinate for at least 15 minutes, or even longer if you have the time. The longer it marinates, the more flavorful and tender the beef will be. You can even marinate it in the fridge for up to a few hours.
Making the Mongolian Beef Sauce:
While the beef is marinating, let’s whip up the sauce. This is where all the delicious, sweet, and savory flavors come together to create that signature Mongolian Beef taste. Don’t be intimidated by the number of ingredients; it’s super easy to combine them all!
- Combine the Sauce Ingredients: In a separate bowl (or a measuring cup), whisk together the soy sauce, water, brown sugar, hoisin sauce, rice vinegar, cornstarch, sesame oil, ground ginger, garlic powder, and red pepper flakes (if using). Make sure the cornstarch is fully dissolved to avoid any lumps in your sauce. The brown sugar adds sweetness, the hoisin sauce adds depth and umami, the rice vinegar adds a touch of tanginess, and the sesame oil adds a nutty aroma. The ginger and garlic powder provide warmth and flavor, and the red pepper flakes add a little kick if you like it spicy.
- Taste and Adjust: Give the sauce a taste and adjust the seasonings to your liking. If you prefer a sweeter sauce, add a little more brown sugar. If you want it spicier, add more red pepper flakes. If you want it tangier, add a little more rice vinegar. Remember, you’re the chef, so make it your own!
Cooking the Mongolian Beef:
Now for the fun part – cooking the beef! This is where we transform the marinated beef into crispy, flavorful bites that are ready to be coated in that amazing sauce.
- Heat the Oil: Heat the vegetable oil in a large skillet or wok over medium-high heat. You want the oil to be hot enough to quickly sear the beef, but not so hot that it burns. A good way to test if the oil is ready is to drop a small piece of beef into the oil. If it sizzles immediately, the oil is ready.
- Fry the Beef: Working in batches, add the marinated beef to the hot oil in a single layer. Don’t overcrowd the pan, as this will lower the temperature of the oil and prevent the beef from browning properly. Fry the beef for about 2-3 minutes per side, or until it’s browned and crispy. Remove the beef from the skillet and set it aside on a plate lined with paper towels to drain any excess oil. Repeat this process until all the beef is cooked.
- Cook the Sauce: Once all the beef is cooked, pour the sauce into the same skillet or wok. Bring the sauce to a simmer over medium heat, stirring constantly. As the sauce heats up, the cornstarch will thicken it. Continue to simmer the sauce for about 2-3 minutes, or until it’s thickened to your desired consistency. You want the sauce to be thick enough to coat the beef nicely.
- Combine Beef and Sauce: Add the cooked beef back to the skillet with the sauce. Toss the beef to coat it evenly with the sauce. Make sure every piece of beef is glistening with that delicious Mongolian Beef sauce.
Serving the Mongolian Beef:
Almost there! Now it’s time to plate up our delicious Mongolian Beef and enjoy the fruits of our labor.
- Serve Over Rice: Serve the Mongolian Beef immediately over cooked rice. I prefer using fluffy white rice, but you can use brown rice or any other type of rice you like.
- Garnish: Garnish with thinly sliced green onions and sesame seeds (if using). The green onions add a fresh, vibrant flavor, and the sesame seeds add a nutty crunch.
- Enjoy! Dig in and enjoy your homemade Mongolian Beef! This dish is best served immediately while the beef is still crispy and the sauce is still warm and flavorful.
Tips and Variations:
- Spice Level: Adjust the amount of red pepper flakes to control the spice level. If you’re sensitive to spice, you can omit them altogether.
- Vegetables: Feel free to add some vegetables to your Mongolian Beef. Broccoli, bell peppers, and onions are all great additions. Simply stir-fry the vegetables in the skillet before adding the sauce.
- Sweetness: Adjust the amount of brown sugar to control the sweetness of the sauce.
- Gluten-Free: To make this recipe gluten-free, use tamari instead of soy sauce. Tamari is a gluten-free soy sauce alternative.
- Make Ahead: You can prepare the sauce ahead of time and store it in the refrigerator for up to 3 days. You can also marinate the beef ahead of time and store it in the refrigerator for up to 24 hours.
Enjoy your delicious and easy Mongolian Beef!

Conclusion:
So there you have it! This 30-Minute Mongolian Beef recipe is truly a game-changer for busy weeknights or when you’re simply craving that takeout flavor without the takeout price. I’ve made this dish countless times, and it never fails to deliver that perfect balance of savory, sweet, and slightly spicy that everyone loves. The tender beef, coated in that luscious, glossy sauce, is simply irresistible.
Why is this Mongolian Beef a must-try? Because it’s quick, easy, and incredibly delicious! You don’t need any fancy ingredients or advanced cooking skills to achieve restaurant-quality results. Plus, it’s a fantastic way to satisfy your cravings for Asian-inspired cuisine without spending hours in the kitchen. It’s a guaranteed crowd-pleaser, perfect for family dinners, potlucks, or even a special date night in.
But the best part? It’s incredibly versatile!
Serving Suggestions and Variations:
* Classic Pairing: Serve it over a bed of fluffy white rice for the ultimate comfort food experience. Brown rice or quinoa are also excellent, healthier alternatives.
* Noodle Delight: Toss it with your favorite noodles, like lo mein or chow mein, for a heartier meal.
* Veggie Boost: Add some steamed broccoli, snap peas, or bell peppers to the stir-fry for extra nutrients and color.
* Spice It Up: If you like a little more heat, add a pinch of red pepper flakes or a dash of sriracha to the sauce.
* Sweeten the Deal: For a sweeter sauce, add a touch more brown sugar or honey.
* Make it Gluten-Free: Simply substitute the soy sauce with tamari or gluten-free soy sauce.
* Crispy Noodles: Serve over crispy fried noodles for added texture.
* Lettuce Wraps: Spoon the Mongolian Beef into crisp lettuce cups for a lighter, refreshing meal.
I truly believe that this Mongolian Beef recipe will become a staple in your kitchen. It’s a reliable, flavorful, and satisfying dish that you can whip up in minutes. I’ve poured my heart into perfecting this recipe, and I’m confident that you’ll love it as much as I do.
Now, it’s your turn! I’m so excited for you to try this recipe and experience the deliciousness for yourself. Don’t be afraid to experiment with the variations and make it your own. I encourage you to get creative and adjust the ingredients to suit your personal preferences.
Once you’ve made it, please, please, please come back and share your experience! I’d love to hear what you thought of the recipe, what variations you tried, and any tips or tricks you discovered along the way. Did you add extra veggies? Did you make it spicier? Did your family rave about it? Let me know in the comments below! Your feedback is invaluable and helps me continue to improve and share even more amazing recipes with you. So go ahead, give this 30-Minute Mongolian Beef a try – you won’t regret it! Happy cooking!
Mongolian Beef 30 Minute: Quick & Easy Recipe
Tender and flavorful Mongolian Beef, featuring thinly sliced flank steak coated in a sweet and savory sauce. Serve over rice for a quick and delicious meal!
Ingredients
Instructions
Recipe Notes
- Spice Level: Adjust the amount of red pepper flakes to control the spice level. Omit if sensitive to spice.
- Vegetables: Add broccoli, bell peppers, or onions. Stir-fry them in the skillet before adding the sauce.
- Sweetness: Adjust the amount of brown sugar to control the sweetness of the sauce.
- Gluten-Free: Use tamari instead of soy sauce for a gluten-free version.
- Make Ahead: Prepare the sauce ahead of time and store in the refrigerator for up to 3 days. Marinate the beef ahead of time and store in the refrigerator for up to 24 hours.


