Monster Rice Krispies Treats
Monster Rice Krispies Treats: I’ve always loved Rice Krispies Treats, that nostalgic, simple sweetness of childhood. But let’s be honest, sometimes you crave something a little…more. Something with a bit of a bite, a touch of the spooky, and a whole lot of fun. That’s where my Monster Rice Krispies Treats come in. These aren’t your average, everyday squares; these are monstrously delicious, delightfully gooey, and perfect for any Halloween gathering, or frankly, any day you need a little extra fun in your life.
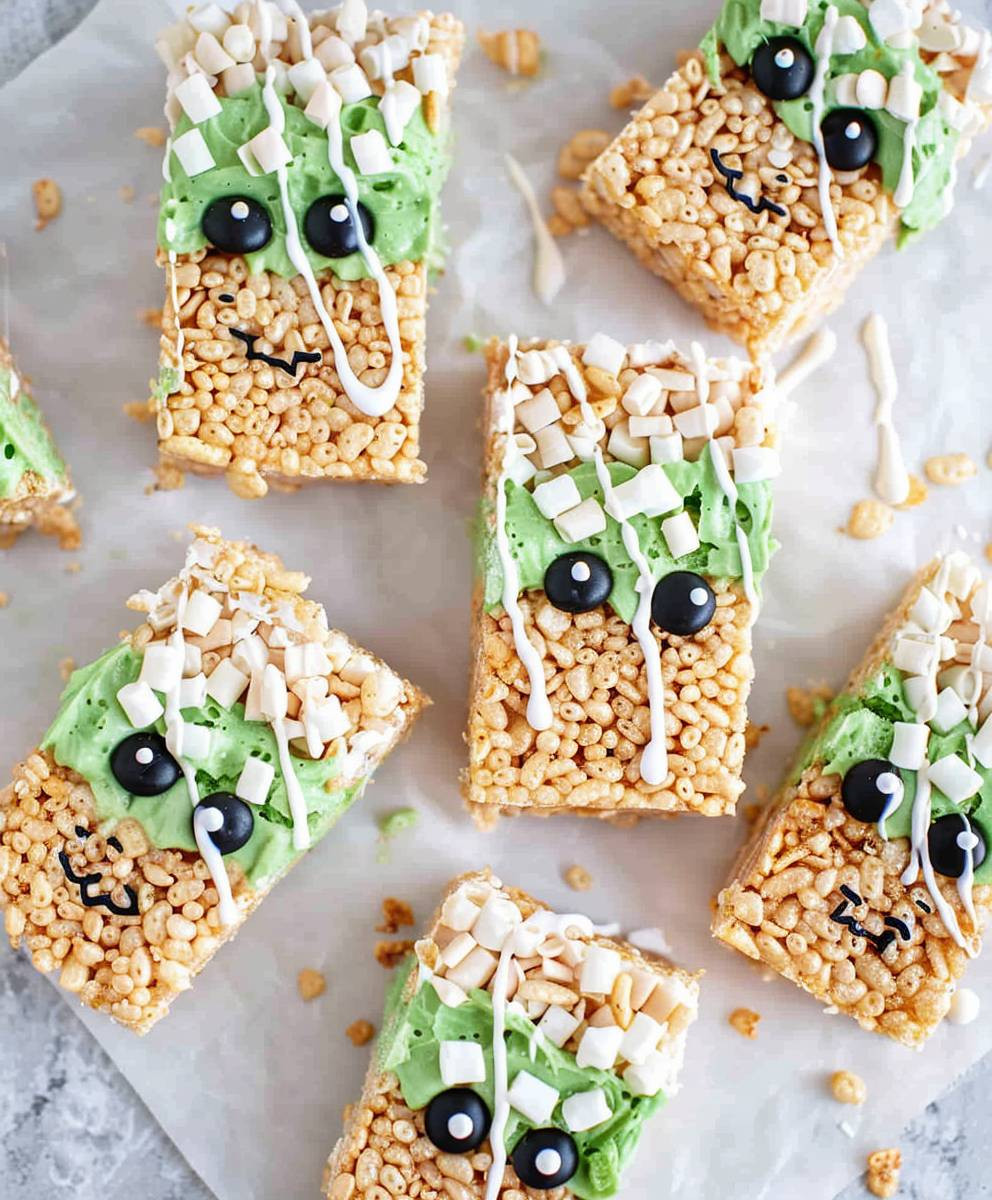
While the classic Rice Krispies Treat recipe boasts a simple, humble history, my Monster Rice Krispies Treats take that foundation and transform it into something truly special. I’ve added a playful twist, incorporating elements that evoke the spirit of Halloween, making them visually stunning and incredibly appealing to both kids and adults. Think vibrant green and orange hues, gummy worms wriggling amongst the marshmallowy goodness, and perhaps even a few friendly (or frightening!) candy eyeballs peering out from the sugary depths.
What makes these Monster Rice Krispies Treats so irresistible? It’s the perfect combination of textures and flavors, of course! The crispy Rice Krispies provide a delightful crunch that contrasts beautifully with the soft, chewy marshmallow base. The addition of colorful candies and other spooky treats adds a fun element of surprise and a burst of extra sweetness. And let’s not forget the convenience – these treats are incredibly easy to make, requiring minimal ingredients and even less effort. Whether you’re a seasoned baker or a complete novice, you’ll find these Monster Rice Krispies Treats a breeze to whip up.
So, grab your aprons, gather your ingredients, and prepare to unleash your inner monster with this delightfully spooky recipe! You’ll be amazed at how easily you can transform a classic treat into a monstrously fun and delicious masterpiece.

Ingredients:
- 6 tablespoons (3 ounces) unsalted butter
- 1 (10 ounce) package marshmallows (mini marshmallows work best for this recipe)
- 1 teaspoon vanilla extract
- 6 cups Rice Krispies cereal (or your favorite rice cereal)
- 1 cup chocolate chips (semi-sweet or milk chocolate)
- 1/2 cup peanut butter (creamy or crunchy, your preference)
- 1/2 cup pretzels, roughly crushed
- 1/4 cup candy corn (optional, for extra Halloween flair)
- Green food coloring (gel or liquid)
- Red food coloring (gel or liquid)
- Black food coloring (gel or liquid)
- Miniature marshmallows for decoration (optional)
- Candy eyeballs (optional)
Preparing the Marshmallow Base
- First, I like to grease a 9×13 inch baking pan generously with butter or cooking spray. This prevents sticking and makes cleanup a breeze!
- Next, in a large saucepan over low heat, I melt the 6 tablespoons of butter. Low and slow is key here; we don’t want to burn the butter.
- Once the butter is completely melted, I add in the entire 10-ounce bag of marshmallows. I stir constantly with a wooden spoon or spatula, making sure to scrape down the sides of the pan to prevent sticking.
- I continue stirring until the marshmallows are completely melted and smooth. This usually takes about 5-7 minutes, depending on your stovetop.
- Once the marshmallows are melted, I remove the pan from the heat and stir in the 1 teaspoon of vanilla extract. This adds a lovely flavor boost!
Incorporating the Cereal
- Now comes the fun part! I gently fold in the 6 cups of Rice Krispies cereal. I try to be careful not to overmix, as this can crush the cereal and make the treats too dense.
- Once the cereal is evenly distributed, I quickly pour about half of the mixture into the prepared baking pan. I spread it out evenly to create a base layer.
Creating the Monster Features
- For the monster’s chocolate body, I melt the chocolate chips in a microwave-safe bowl in 30-second intervals, stirring until smooth. Alternatively, you can melt them in a double boiler.
- Once melted, I spread the chocolate evenly over the first layer of Rice Krispies treats, leaving a small border for the pretzels.
- Next, I spread the peanut butter evenly over the chocolate layer. This creates a delicious and sticky base for the pretzels.
- I sprinkle the crushed pretzels over the peanut butter layer, pressing them gently into the mixture to adhere them.
- Now for the fun part: the monster’s features! I divide the remaining Rice Krispies mixture into three portions.
- To one portion, I add a few drops of green food coloring and mix thoroughly until a vibrant green color is achieved. I spread this green mixture over the pretzel layer to create the monster’s skin.
- To another portion, I add a few drops of red food coloring and mix well. I use this red mixture to create the monster’s mouth, using a knife or spatula to shape it.
- For the monster’s eyes, I use the black food coloring and a small amount of the remaining Rice Krispies mixture. I create two small black balls and place them on top of the red mouth.
- If using, I add candy corn around the edges for an extra Halloween touch.
- Finally, I add miniature marshmallows and candy eyeballs for extra monster-like details.
Setting and Serving
- Once I’ve finished decorating, I gently press down on the top layer to ensure everything is firmly attached.
- I let the treats cool completely at room temperature before cutting them into squares. This prevents them from crumbling.
- Once cooled, I cut the Monster Rice Krispies Treats into squares and serve. Enjoy!
Tips and Variations:
- For a less messy experience, use a silicone spatula to mix the ingredients.
- Feel free to experiment with different types of candy and sprinkles for extra decoration.
- If you don’t have candy corn, you can use other Halloween-themed candies like gummy worms or M&Ms.
- For a nuttier flavor, add chopped nuts to the mixture.
- To make individual monster treats, use mini muffin tins instead of a 9×13 inch pan.
- Store leftover treats in an airtight container at room temperature for up to 3 days.
Conclusion:
So there you have it – my recipe for Monster Rice Krispies Treats! I truly believe this recipe is a must-try for several reasons. First, it’s incredibly easy. Even the most novice baker can whip up a batch of these spooky-delicious treats in under 30 minutes. Second, the flavor combination is simply irresistible. The classic Rice Krispies treat base gets a delightful boost from the addition of rich chocolate and the surprising tang of peanut butter. And let’s not forget the fun, festive monster-themed decoration – it’s perfect for Halloween parties, classroom treats, or just a fun weekend baking project.
The best part? The customization options are endless! This recipe is a fantastic blank canvas for your creativity. Want to make them extra spooky? Try adding some gummy worms or plastic spiders to the mix before it sets. Feeling adventurous? Experiment with different types of chocolate – milk chocolate, dark chocolate, or even white chocolate with green food coloring for a monster-slime effect! You could also swap out the peanut butter for another nut butter, like almond butter or cashew butter, for a unique flavor profile. For a truly decadent treat, consider drizzling melted white chocolate over the top and adding sprinkles or colorful candy melts.
Beyond the variations, I’ve found that these Monster Rice Krispies Treats are incredibly versatile when it comes to serving. They’re perfect for Halloween parties, of course, but they’re also a great addition to any fall gathering. Serve them alongside other Halloween-themed goodies like caramel apples or pumpkin pie for a complete spooky spread. They also make a fantastic after-school snack or a fun addition to a lunchbox. Cut them into smaller squares for easy portioning, or leave them as larger bars for a more substantial treat.
I’ve personally enjoyed experimenting with different presentation styles. I’ve cut them into squares, rectangles, and even used cookie cutters to create fun monster shapes. The possibilities are truly endless! And don’t forget the importance of presentation – a little extra effort in arranging them on a platter can make all the difference.
Serving Suggestions:
- Serve with a glass of cold milk or hot cocoa for the ultimate Halloween treat.
- Include them in a Halloween-themed goodie bag for trick-or-treaters (or for your own personal enjoyment!).
- Use them as a centerpiece for your Halloween dessert table.
- Cut them into small squares and use them as a topping for ice cream or yogurt.
I encourage you to give this Monster Rice Krispies Treats recipe a try. It’s a guaranteed crowd-pleaser, and I’m confident you’ll find it as enjoyable to make as it is to eat. Once you’ve made your own batch, I’d love to hear about your experience! Share your photos and feedback on social media using the hashtag #MonsterRiceKrispiesTreats – I can’t wait to see your creative monster creations! Let’s get baking and make some monstrously delicious memories together!
Don’t forget to share your spooky creations!
Happy baking!
Monster Rice Krispies Treats: A Giant Recipe for Halloween
Spooky Halloween Rice Krispies treats layered with chocolate, peanut butter, pretzels, and colored cereal. A monstrously delicious dessert!
Ingredients
Instructions
Recipe Notes
- Use a silicone spatula for less mess.
- Experiment with different candies and sprinkles.
- Substitute other Halloween candies if desired.
- Add chopped nuts for extra flavor.
- Use mini muffin tins for individual treats.
- Store leftovers in an airtight container at room temperature for up to 3 days.