No Reheat Toddler Lunch Ideas – are you tired of the lunchtime struggle? As a parent, I know the drill. You’re packing lunches, juggling schedules, and desperately seeking healthy options that your little one will actually eat. And let’s be honest, the microwave isn’t always your best friend, especially when you’re on the go or dealing with picky eaters. That’s why I’ve compiled a list of fantastic, fuss-free, and utterly delicious no reheat toddler lunch ideas that will make your life easier and your toddler’s tummy happy!
Think back to simpler times, when picnics were the ultimate culinary experience. These lunch ideas embrace that same spirit of easy, enjoyable eating, perfect for daycare, park adventures, or even just a relaxed meal at home. Forget about complicated recipes and lengthy prep times. We’re talking about wholesome ingredients, clever combinations, and kid-approved flavors that require absolutely no reheating.
What makes these lunches so appealing? It’s the perfect blend of convenience and nutrition. We all crave meals that are quick to prepare and easy to pack, but we also want to ensure our toddlers are getting the nutrients they need to thrive. These no-reheat options deliver on both fronts. From colorful veggie sticks with creamy dips to mini sandwiches bursting with flavor, these lunches are designed to entice even the most discerning little palates. Plus, the variety of textures and tastes will help expand your toddler’s culinary horizons. So, ditch the microwave and embrace the ease of these delightful no-reheat toddler lunch ideas!

Ingredients:
- For the Mini Chicken & Veggie Meatballs:
- 1 lb ground chicken
- 1/2 cup finely grated zucchini (squeeze out excess moisture)
- 1/4 cup finely grated carrot
- 1/4 cup finely chopped red bell pepper
- 1/4 cup breadcrumbs (whole wheat or gluten-free)
- 1 large egg, lightly beaten
- 1 tablespoon olive oil
- 1 teaspoon dried oregano
- 1/2 teaspoon garlic powder
- 1/4 teaspoon salt
- 1/4 teaspoon black pepper
- For the Rainbow Veggie Skewers:
- 1/2 cup cherry tomatoes (various colors if possible)
- 1/2 cup cucumber, peeled and cubed
- 1/2 cup yellow bell pepper, cubed
- 1/2 cup red bell pepper, cubed
- 1/2 cup cooked broccoli florets (cooled)
- Small wooden skewers (ensure they are safe for toddlers)
- For the Cheesy Tortilla Pinwheels:
- 2 large whole wheat tortillas
- 4 tablespoons cream cheese, softened
- 1/2 cup shredded cheddar cheese
- 1/4 cup finely chopped ham or turkey (optional)
- For the Fruit Salad:
- 1/2 cup blueberries
- 1/2 cup strawberries, hulled and quartered
- 1/2 cup grapes, halved (ensure they are safe for toddlers)
- 1/2 cup melon (cantaloupe or honeydew), cubed
- Optional Extras:
- Small container of hummus
- Whole grain crackers
- Avocado slices
- Hard-boiled egg, sliced
Preparing the Mini Chicken & Veggie Meatballs:
- Combine the Ingredients: In a large bowl, gently combine the ground chicken, grated zucchini (make sure you squeeze out the excess moisture – this is important to prevent soggy meatballs!), grated carrot, chopped red bell pepper, breadcrumbs, beaten egg, olive oil, oregano, garlic powder, salt, and pepper. I like to use my hands to mix everything together, but be careful not to overmix, as this can make the meatballs tough.
- Form the Meatballs: Using a small spoon or your hands, form the mixture into small, bite-sized meatballs. Remember, these are for toddlers, so keep them small – about 1 inch in diameter is perfect. This makes them easy to handle and chew.
- Bake the Meatballs: Preheat your oven to 375°F (190°C). Line a baking sheet with parchment paper. Arrange the meatballs on the prepared baking sheet, making sure they are not touching each other. Bake for 15-20 minutes, or until the meatballs are cooked through and lightly browned. The internal temperature should reach 165°F (74°C).
- Cool Completely: Remove the meatballs from the oven and let them cool completely on the baking sheet. This is crucial for food safety and prevents condensation from forming in the lunchbox, which can make the meatballs soggy.
Assembling the Rainbow Veggie Skewers:
- Prepare the Vegetables: Ensure all your vegetables are washed and cut into appropriate sizes for toddlers. Cherry tomatoes should be halved if they are large, and grapes should always be halved or quartered to prevent choking hazards. Cucumber and bell peppers should be cubed into small, manageable pieces.
- Thread the Skewers: Carefully thread the vegetables onto the small wooden skewers, alternating colors and textures to create a visually appealing and nutritious skewer. I like to start with a cherry tomato, then a cucumber cube, followed by a yellow bell pepper cube, a red bell pepper cube, and finally a cooked broccoli floret. Repeat this pattern until the skewer is almost full.
- Safety Check: Make sure the ends of the skewers are not too sharp. If necessary, you can trim them with scissors or cover them with a small piece of fruit or vegetable to prevent any accidental pokes.
Making the Cheesy Tortilla Pinwheels:
- Prepare the Tortillas: Lay the tortillas flat on a clean surface.
- Spread the Cream Cheese: Spread a thin, even layer of softened cream cheese over the entire surface of each tortilla. Make sure the cream cheese is softened, as this will make it easier to spread and prevent the tortilla from tearing.
- Add the Cheese and Ham (Optional): Sprinkle the shredded cheddar cheese evenly over the cream cheese layer. If you are using ham or turkey, sprinkle it over the cheese as well.
- Roll Up Tightly: Starting at one edge, tightly roll up each tortilla into a log. The tighter you roll it, the better the pinwheels will hold their shape.
- Chill the Rolls: Wrap each tortilla roll tightly in plastic wrap and refrigerate for at least 30 minutes. This will help the pinwheels set and make them easier to slice.
- Slice into Pinwheels: Using a sharp knife, slice each tortilla roll into 1-inch thick pinwheels. You should get about 6-8 pinwheels from each tortilla.
Preparing the Fruit Salad:
- Wash and Prepare the Fruit: Wash all the fruit thoroughly. Hull and quarter the strawberries, halve the grapes (or quarter them if they are large), and cube the melon.
- Combine the Fruit: In a small container, gently combine the blueberries, strawberries, grapes, and melon.
- Keep Cool: Store the fruit salad in the refrigerator until ready to pack in the lunchbox. This will help keep it fresh and prevent it from getting soggy.
Packing the Lunchbox:
- Choose a Suitable Lunchbox: Select a lunchbox that is appropriately sized for your toddler and has separate compartments to keep the different food items from mixing.
- Pack the Meatballs: Place the cooled mini chicken & veggie meatballs in one compartment of the lunchbox.
- Pack the Veggie Skewers: Carefully place the rainbow veggie skewers in another compartment. You may need to trim the skewers to fit.
- Pack the Pinwheels: Arrange the cheesy tortilla pinwheels in a separate compartment.
- Pack the Fruit Salad: Place the fruit salad in a small, leak-proof container and pack it in the lunchbox.
- Add Optional Extras: If you are including any optional extras, such as hummus, crackers, avocado slices, or hard-boiled egg slices, pack them in separate containers or compartments.
- Include an Ice Pack: Place an ice pack in the lunchbox to keep the food cool and fresh, especially if the lunchbox will be sitting at room temperature for several hours.
- Double-Check for Choking Hazards: Before sending the lunchbox to school or daycare, double-check that all the food items are cut into appropriate sizes for your toddler and that there are no potential choking hazards. Grapes and cherry tomatoes should always be halved or quartered.
Tips for Success:
- Involve Your Toddler: Get your toddler involved in the preparation process! They can help wash vegetables, tear lettuce, or even assemble the veggie skewers (with supervision, of course). This can make them more excited about eating their lunch.
- Make it Fun: Use cookie cutters to create fun shapes with the cheese or tortillas. This can make the lunchbox more visually appealing and encourage your toddler to try new foods.
- Offer Variety: Rotate the ingredients in the lunchbox to keep things interesting and ensure your toddler is getting a variety of nutrients.
- Consider Dietary Restrictions: If your toddler has any dietary restrictions or allergies, be sure to adjust the recipe accordingly. Use gluten-free breadcrumbs for gluten sensitivities, or substitute dairy-free cheese for dairy allergies.
- Test New Foods at Home First: Before packing a new food item in your toddler’s lunchbox, try it at home first to make sure they like it and don’t have any allergic reactions.
- Keep it Simple: Don’t feel like you have to create elaborate lunches every day. Simple, healthy options are often the best.
- Prepare Ahead: Prepare as much as possible in advance to save time during the week. You can make the meatballs, chop the vegetables, and assemble the pinwheels on the weekend and store them in the refrigerator.
Important Note:
Always
Conclusion:
So there you have it! These “No Reheat Toddler Lunch Ideas” are more than just a collection of recipes; they’re a lifeline for busy parents who want to provide nutritious and delicious meals for their little ones without the hassle of reheating. I truly believe this is a game-changer for simplifying your lunchtime routine.
Why is this a must-try? Because it’s practical, adaptable, and most importantly, toddler-approved! We’re talking about lunches that are packed with essential nutrients, easy to prepare (often the night before!), and designed to appeal to even the pickiest eaters. No more stressing about finding a microwave or worrying about food safety on the go. These ideas are all about convenience and peace of mind. Plus, think of the time you’ll save! Time that can be spent playing, reading, or simply enjoying those precious moments with your toddler.
But the best part? These are just starting points! Feel free to get creative and adapt these ideas to suit your toddler’s individual preferences and dietary needs.
Serving Suggestions and Variations:
* Dips Galore: Pair any of these lunches with a variety of healthy dips. Hummus, guacamole, yogurt-based dips, or even a simple bean dip can add extra flavor and nutrients.
* Shape It Up: Use cookie cutters to create fun shapes with sandwiches, cheese, or even fruit. A little bit of whimsy can go a long way in enticing your toddler to eat.
* Theme It: Create themed lunches based on your toddler’s favorite characters or books. This can make lunchtime an exciting and engaging experience.
* Seasonal Swaps: Adjust the fruits and vegetables based on what’s in season. This will ensure you’re using the freshest and most flavorful ingredients. Think berries in the summer, apples and pears in the fall, and citrus fruits in the winter.
* Protein Power: If your toddler needs an extra protein boost, consider adding hard-boiled eggs, shredded chicken, or small cubes of cheese to their lunch.
* Grain Game: Experiment with different types of whole-grain crackers, pita bread, or even quinoa to add variety to their carbohydrate intake.
* Allergy-Friendly: Easily adapt these ideas to accommodate any allergies or dietary restrictions. Substitute ingredients as needed to ensure your toddler can enjoy a safe and delicious lunch. For example, use gluten-free bread, dairy-free cheese, or nut-free spreads.
I’m so excited for you to try these “No Reheat Toddler Lunch Ideas” and experience the difference they can make in your daily routine. I know how challenging it can be to find healthy and convenient lunch options for toddlers, and I truly believe these ideas will help you simplify your life and nourish your little one.
So, go ahead, give them a try! I’m confident that you’ll find several that become staples in your household. And most importantly, don’t forget to share your experience! I’d love to hear which ideas your toddler loves the most, any variations you’ve tried, and any tips or tricks you’ve discovered along the way. Leave a comment below, tag me on social media, or send me an email. Let’s create a community of parents who are dedicated to providing healthy and delicious lunches for their toddlers, without the stress of reheating. Happy lunching!
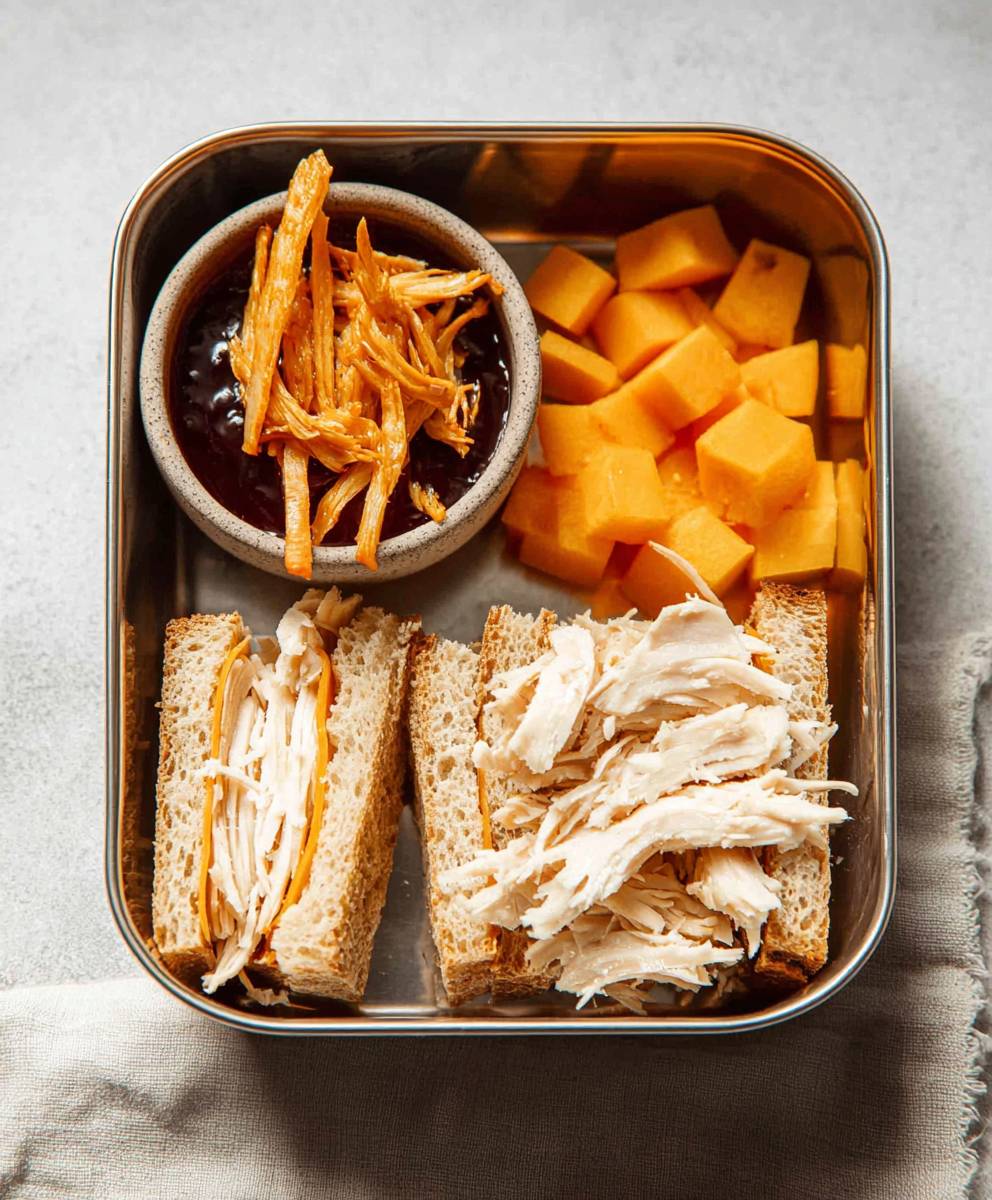
No Reheat Toddler Lunch Ideas: Easy & Healthy Options
A fun and healthy toddler lunchbox featuring mini chicken & veggie meatballs, rainbow veggie skewers, cheesy tortilla pinwheels, and a colorful fruit salad. Perfect for picky eaters and packed with nutrients!
Ingredients
Instructions
Recipe Notes
- Squeeze excess moisture from zucchini to prevent soggy meatballs.
- Do not overmix meatball mixture.
- Cool meatballs completely before packing to prevent condensation.
- Ensure vegetables are cut into appropriate sizes to prevent choking.
- Soften cream cheese for easy spreading.
- Chill tortilla rolls before slicing for easier pinwheel formation.
- Involve your toddler in the preparation process.
- Use cookie cutters to create fun shapes.
- Offer variety in the lunchbox.
- Consider dietary restrictions.
- Test new foods at home first.
- Keep it simple.
- Prepare ahead to save time.
- Always supervise toddlers during meal times.