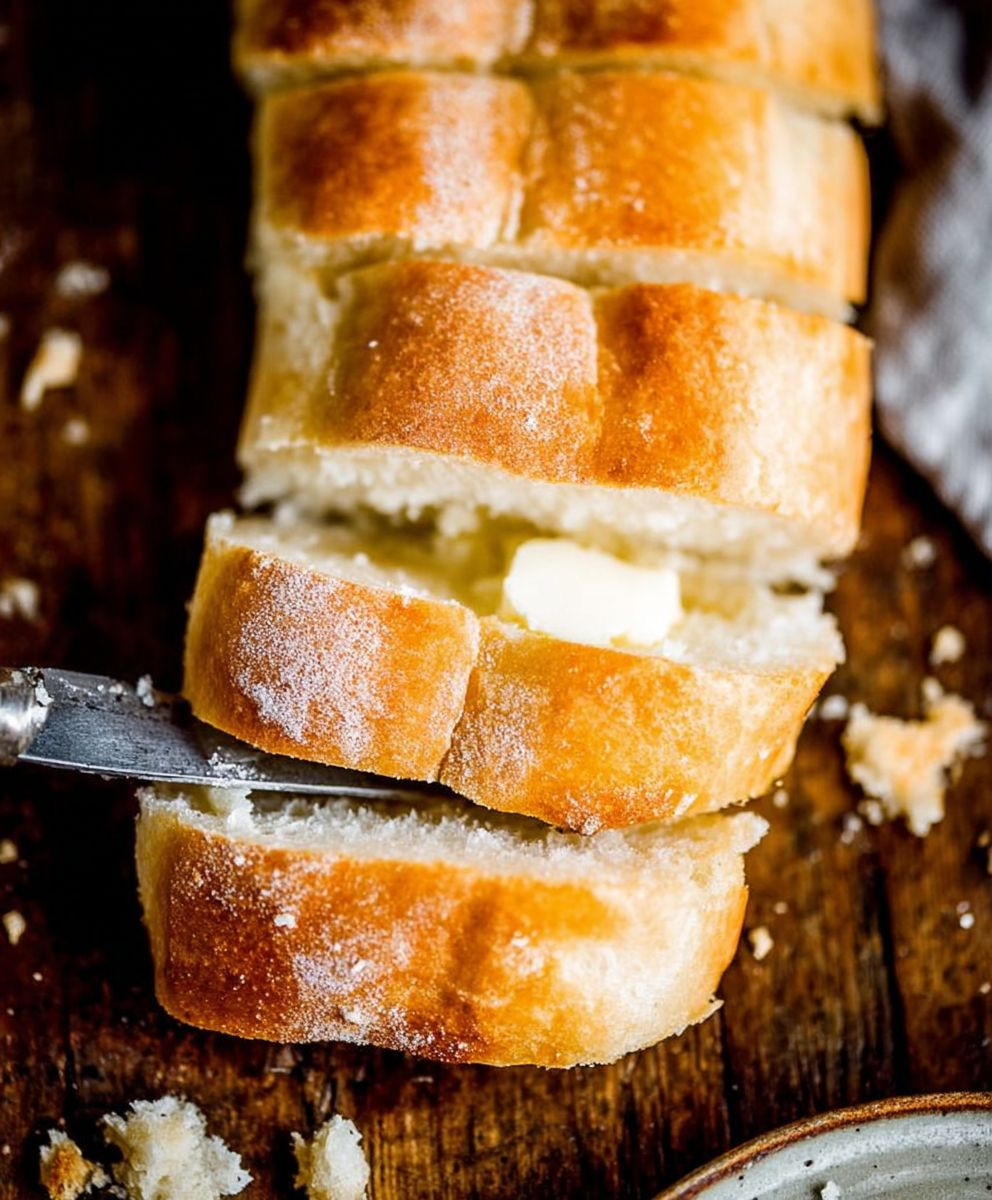
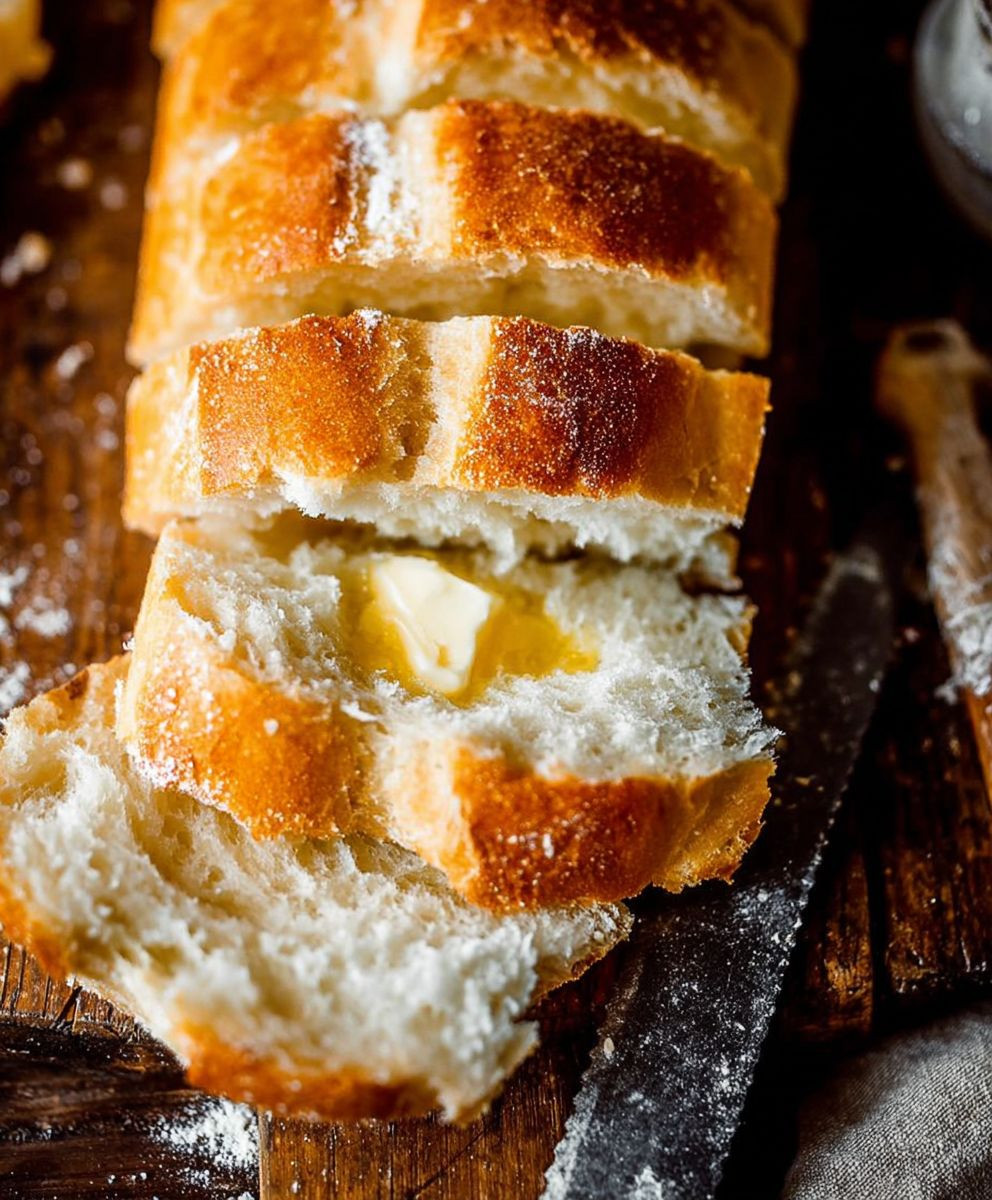
One hour french bread – yes, you read that right! Imagine sinking your teeth into a warm, crusty loaf of homemade French bread, all achieved in just one hour. Forget those lengthy, all-day bread-making processes. This recipe is a game-changer for anyone craving that classic French bakery experience without the wait.
While traditional French bread making is an art form passed down through generations, often involving slow fermentation and meticulous techniques, this streamlined version captures the essence of that beloved flavor and texture in a fraction of the time. The beauty of French bread lies in its simplicity: a crisp, golden crust giving way to a soft, airy interior. It’s a staple in French cuisine, perfect for accompanying soups, cheeses, or simply enjoyed with a smear of butter.
People adore French bread for its versatility and satisfying texture. The delightful contrast between the crunchy crust and the pillowy crumb is simply irresistible. And let’s be honest, the aroma of freshly baked bread wafting through your home is an experience in itself! This one hour french bread recipe delivers all that and more, offering a convenient and accessible way to enjoy this timeless classic any day of the week. So, ditch the store-bought loaves and get ready to impress yourself (and your loved ones) with this incredibly easy and delicious homemade bread!
Ingredients:
- 1 1/2 cups (360ml) warm water (105-115°F)
- 1 tablespoon (15ml) sugar
- 2 1/4 teaspoons (7g) active dry yeast (1 packet)
- 1 tablespoon (15ml) salt
- 3 3/4 cups (469g) all-purpose flour, plus more for dusting
- 1 tablespoon olive oil, plus more for greasing
- Optional: Cornmeal for dusting the baking sheet
Preparing the Dough:
- Activate the Yeast: In a large bowl, combine the warm water and sugar. The sugar helps to feed the yeast and get it going. Sprinkle the yeast over the water and let it sit for 5-10 minutes, or until it becomes foamy. This indicates that the yeast is active and ready to use. If the yeast doesn’t foam, it might be old or the water was too hot or cold, and you’ll need to start over with fresh yeast.
- Combine Wet and Dry Ingredients: Once the yeast is foamy, add the salt and olive oil to the bowl. Stir to combine. Now, gradually add the flour, one cup at a time, mixing well after each addition. I like to use a wooden spoon for this, but you can also use a stand mixer with a dough hook attachment.
- Knead the Dough: Once the dough starts to come together, turn it out onto a lightly floured surface. Knead the dough for 5-7 minutes, or until it becomes smooth and elastic. If the dough is too sticky, add a little more flour, a tablespoon at a time, until it’s manageable. You can also knead the dough in a stand mixer with a dough hook for about 5 minutes on medium speed. The dough should be soft and pliable, not stiff.
- First Rise: Lightly grease a large bowl with olive oil. Place the dough in the bowl, turning to coat it with the oil. This will prevent the dough from drying out. Cover the bowl with plastic wrap or a clean kitchen towel. Let the dough rise in a warm place for 30 minutes. It doesn’t need to double in size, just rise noticeably. A warm oven (turned off!) or a sunny spot works well. This shorter rise time is what makes this recipe so quick!
Shaping the Bread:
- Divide the Dough: After the first rise, gently punch down the dough to release any air bubbles. Turn the dough out onto a lightly floured surface. Divide the dough in half.
- Shape the Loaves: Shape each half into a long, thin loaf, about 12-14 inches long. Taper the ends slightly for a classic baguette shape. There are a few ways to do this. You can gently roll the dough back and forth, stretching it as you go. Or, you can flatten the dough into a rectangle and then roll it up tightly, pinching the seam closed.
- Second Rise: Place the shaped loaves on a baking sheet lined with parchment paper or sprinkled with cornmeal. The parchment paper prevents sticking, and the cornmeal adds a nice texture to the bottom of the bread. Cover the loaves loosely with plastic wrap or a clean kitchen towel. Let them rise for another 10-15 minutes while the oven preheats. This second rise helps the bread to become light and airy.
Baking the Bread:
- Preheat the Oven: Preheat your oven to 450°F (232°C). Place a baking sheet or oven-safe dish filled with about 1 cup of water on the bottom rack of the oven. This creates steam, which helps the bread to develop a crispy crust.
- Score the Loaves: Just before baking, use a sharp knife or a lame (a special bread-scoring tool) to make 3-4 diagonal slashes across the top of each loaf. This allows the bread to expand properly in the oven and prevents it from cracking unevenly. The slashes should be about 1/4 inch deep.
- Bake the Bread: Carefully transfer the baking sheet with the loaves to the preheated oven. Bake for 20-25 minutes, or until the loaves are golden brown and sound hollow when tapped on the bottom. The internal temperature should reach around 200-210°F (93-99°C).
- Cooling: Remove the bread from the oven and transfer it to a wire rack to cool completely before slicing and serving. This is important because the bread continues to cook as it cools. If you slice it while it’s still hot, it will be gummy and the texture won’t be as good.
Tips and Variations:
- Water Temperature: Make sure the water is warm, but not too hot. If it’s too hot, it will kill the yeast. A temperature of 105-115°F (40-46°C) is ideal.
- Flour Type: While all-purpose flour works well for this recipe, you can also use bread flour for a chewier texture.
- Adding Flavor: You can add herbs, cheese, or other flavorings to the dough. Try adding 1-2 tablespoons of chopped rosemary, thyme, or oregano. You can also add 1/2 cup of grated Parmesan or cheddar cheese.
- Garlic Bread: For garlic bread, brush the baked loaves with melted garlic butter while they’re still warm.
- Serving Suggestions: This bread is delicious served with soup, salad, or pasta. It’s also great for making sandwiches or bruschetta.
- Storage: Store the bread in a paper bag at room temperature for up to 2 days. For longer storage, wrap the bread tightly in plastic wrap and freeze it for up to 2 months. To thaw, let it sit at room temperature for a few hours or overnight. You can also reheat the bread in the oven to refresh it.
- Crispy Crust Secret: The steam in the oven is crucial for a crispy crust. If you don’t have a baking sheet or oven-safe dish to put water in, you can also spray the loaves with water a few times during the first 10 minutes of baking. Be careful when opening the oven to spray the bread, as the steam can be very hot.
- Troubleshooting Sticky Dough: If your dough is too sticky even after kneading for a while, resist the urge to add a ton more flour all at once. Add it gradually, a tablespoon at a time, and knead it in completely before adding more. Over-flouring can result in a dry, dense bread.
- Yeast Proofing Alternative: If you’re unsure about your yeast’s viability, you can proof it separately. In a small bowl, combine the yeast with a tablespoon of warm water and a teaspoon of sugar. Let it sit for 5-10 minutes. If it foams up, it’s good to go. If not, discard it and use fresh yeast.
- Kneading Without a Stand Mixer: Don’t be intimidated if you don’t have a stand mixer! Kneading by hand is perfectly fine and can even be therapeutic. Just make sure you have a lightly floured surface and use a good kneading technique. Push the dough away from you with the heel of your hand, then fold it back over itself. Rotate the dough a quarter turn and repeat.
Advanced Techniques for the Perfect Crust:
- Overnight Cold Proof: For a more complex flavor, try letting the dough rise in the refrigerator overnight after the initial kneading. This slow fermentation process develops deeper, more nuanced flavors. Just be sure to cover the dough tightly to prevent it from drying out. When you’re ready to bake, let the dough come to room temperature for about 30 minutes before shaping and baking.
- Baking Stone or Dutch Oven: If you have a baking stone or Dutch oven, using them can significantly improve the crust of your bread. Preheat the baking stone or Dutch oven in the oven for at least 30 minutes before baking. Carefully transfer the shaped loaves to the hot stone or Dutch oven (be extremely cautious, as they will be very hot!). The intense heat will create a super crispy crust. If using a Dutch oven, bake with the lid on for the first half of the baking time, then remove the lid for the remaining time to allow the crust to brown.
- Enriched Dough Variation: For a slightly richer and softer bread, you can enrich the dough by adding a tablespoon of butter or olive oil and an egg yolk to the wet ingredients. This will create a more tender crumb and a slightly more golden crust.

Conclusion:
And there you have it! This one hour french bread recipe is truly a game-changer. Forget spending all day kneading and waiting for dough to rise – this method delivers that classic, crusty-on-the-outside, soft-on-the-inside French bread experience in a fraction of the time. I know, it sounds almost too good to be true, but trust me, the results speak for themselves.
Why is this a must-try? Well, beyond the obvious time-saving aspect, it’s incredibly versatile. The simple ingredients mean you likely already have everything you need in your pantry. Plus, the recipe is surprisingly forgiving, making it perfect for both seasoned bakers and those just starting their bread-making journey. The satisfaction of pulling a warm, fragrant loaf of homemade bread from the oven in just an hour is simply unmatched. It’s a guaranteed crowd-pleaser and a fantastic way to impress your friends and family without spending hours in the kitchen.
But the fun doesn’t stop there! This recipe is just a starting point for endless culinary adventures.
Serving Suggestions and Variations:
* Classic Sandwiches: Slice it up and use it for your favorite sandwiches. Think classic ham and cheese, turkey and avocado, or even a gourmet grilled cheese. The crusty texture holds up beautifully to fillings.
* Garlic Bread Extravaganza: Brush slices with garlic butter and toast them in the oven for a simple yet irresistible side dish. Add some parmesan cheese for an extra layer of flavor.
* Bruschetta Base: Top toasted slices with diced tomatoes, basil, garlic, and a drizzle of balsamic glaze for a delicious and elegant appetizer.
* Soup Companion: Serve warm slices alongside your favorite soups and stews for dipping. The crusty bread is perfect for soaking up all the flavorful broth.
* Croutons Galore: Cube the bread and bake it with olive oil and your favorite herbs for homemade croutons that will elevate any salad.
* Herb Infusion: Add dried herbs like rosemary, thyme, or oregano to the dough for a flavorful twist.
* Cheese Please!: Incorporate shredded cheddar, parmesan, or mozzarella cheese into the dough for a cheesy bread that’s perfect for snacking.
* Sweet Treat: For a sweeter variation, add a touch of sugar and cinnamon to the dough and serve it with a dollop of whipped cream or a scoop of ice cream.
* Olive Oil Dip: Serve slices with a high-quality olive oil and balsamic vinegar for dipping. Add some herbs and spices to the oil for extra flavor.
* Pizza Crust: Press the dough into a pizza pan and bake it with your favorite toppings for a quick and easy homemade pizza.
I truly believe that anyone can master this one hour french bread recipe. It’s all about following the simple steps and enjoying the process. Don’t be afraid to experiment with different variations and find what works best for you.
So, what are you waiting for? Preheat your oven, gather your ingredients, and get ready to experience the joy of baking fresh, delicious French bread in just one hour. I’m confident that you’ll be amazed by the results.
And most importantly, I want to hear about your experience! Did you try the recipe? What variations did you make? How did it turn out? Share your photos and stories in the comments below. I can’t wait to see what you create! Happy baking!
One Hour French Bread: Easy Recipe & Baking Tips
Easy and quick homemade baguette recipe. Perfect for beginners, this recipe delivers delicious, crusty baguettes in under 2 hours.
Ingredients
Instructions
Recipe Notes
- Make sure the water is warm, but not too hot (105-115°F).
- All-purpose flour works well, but bread flour can be used for a chewier texture.
- Add herbs, cheese, or other flavorings to the dough for variations.
- For garlic bread, brush the baked loaves with melted garlic butter while they’re still warm.
- Store the bread in a paper bag at room temperature for up to 2 days. Freeze for longer storage.
- The steam in the oven is crucial for a crispy crust.
- Add flour gradually if the dough is too sticky.
- Proof yeast separately if unsure about its viability.
- Kneading by hand is perfectly fine.
- For a more complex flavor, try letting the dough rise in the refrigerator overnight after the initial kneading.
- If you have a baking stone or Dutch oven, using them can significantly improve the crust of your bread.
- For a slightly richer and softer bread, you can enrich the dough by adding a tablespoon of butter or olive oil and an egg yolk to the wet ingredients.


