Peach Raspberry Pie, oh, where do I even begin? Imagine sinking your fork into a warm, golden crust, releasing a burst of sweet and tart flavors that dance across your tongue. This isn’t just any pie; it’s a symphony of summer fruits, perfectly balanced and utterly irresistible. I’m thrilled to share my take on this classic dessert with you!
While the exact origins of fruit pies are debated, they’ve been a beloved part of culinary traditions for centuries. From humble beginnings as a way to preserve seasonal fruits, pies have evolved into elaborate and comforting treats enjoyed worldwide. The combination of peaches and raspberries, in particular, offers a delightful contrast – the soft, juicy sweetness of peaches beautifully complements the tangy zing of raspberries. It’s a flavor pairing that just works.
What makes this Peach Raspberry Pie so special? Beyond the incredible taste, it’s the comforting warmth and the feeling of home it evokes. The flaky crust, the bubbling fruit filling, the aroma that fills your kitchen – it’s a sensory experience that’s hard to beat. Plus, it’s surprisingly easy to make! Whether you’re a seasoned baker or just starting out, this recipe is sure to impress. The combination of sweet and tart is a crowd-pleaser, making it perfect for summer gatherings, holidays, or simply a cozy night in. Get ready to bake a pie that will have everyone asking for seconds!

Ingredients:
- For the Crust:
- 2 ½ cups all-purpose flour, plus more for dusting
- 1 teaspoon salt
- 1 cup (2 sticks) unsalted butter, very cold and cut into cubes
- ½ cup vegetable shortening, very cold
- 6-8 tablespoons ice water
- For the Filling:
- 6 cups fresh peaches, peeled and sliced (about 8 medium peaches)
- 2 cups fresh raspberries
- ¾ cup granulated sugar, plus more for sprinkling
- ¼ cup all-purpose flour
- 2 tablespoons lemon juice
- 1 teaspoon almond extract
- ¼ teaspoon ground cinnamon
- 2 tablespoons unsalted butter, cut into small pieces
- For the Egg Wash (Optional):
- 1 large egg
- 1 tablespoon milk or water
Preparing the Pie Crust:
- Combine Dry Ingredients: In a large bowl, whisk together the flour and salt. This ensures the salt is evenly distributed throughout the crust, which is crucial for flavor.
- Cut in the Fat: Add the cold butter and shortening to the flour mixture. Using a pastry blender or your fingertips (work quickly to keep the butter cold!), cut the fat into the flour until the mixture resembles coarse crumbs. You should still see some pea-sized pieces of butter and shortening. These little pockets of fat are what create flaky layers in the crust.
- Add Ice Water: Gradually add the ice water, one tablespoon at a time, mixing gently after each addition. Use a fork or your hands to bring the dough together. Be careful not to overmix; you want the dough to be just moist enough to hold together. The amount of water needed can vary depending on the humidity, so start with 6 tablespoons and add more as needed.
- Form Dough Disks: Divide the dough in half. Gently flatten each half into a disk about 1 inch thick. Wrap each disk tightly in plastic wrap.
- Chill the Dough: Refrigerate the dough for at least 2 hours, or preferably overnight. This allows the gluten to relax, which will make the crust more tender and easier to roll out. Chilling also helps the fat solidify, preventing it from melting during baking and creating a flakier crust.
Preparing the Peach Raspberry Filling:
- Prepare the Peaches: Peel and slice the peaches. To easily peel peaches, you can blanch them in boiling water for 30-60 seconds, then immediately transfer them to an ice bath. The skins should slip right off. Slice the peaches about ¼ inch thick.
- Combine Filling Ingredients: In a large bowl, gently combine the sliced peaches, raspberries, sugar, flour, lemon juice, almond extract, and cinnamon. The flour helps to thicken the filling as it bakes, preventing it from becoming too runny. The lemon juice brightens the flavors and prevents the peaches from browning. The almond extract complements the peach flavor beautifully.
- Let the Filling Sit: Allow the filling to sit for about 15-20 minutes, stirring occasionally. This allows the sugar to draw out some of the juices from the peaches and raspberries, creating a more flavorful and cohesive filling.
Assembling and Baking the Pie:
- Preheat Oven: Preheat your oven to 400°F (200°C). Place a baking sheet on the lower rack of the oven to catch any drips from the pie.
- Roll Out the Bottom Crust: On a lightly floured surface, roll out one of the dough disks into a 12-inch circle. Gently transfer the dough to a 9-inch pie plate. Trim the edges of the dough, leaving about a 1-inch overhang. Crimp the edges of the crust using your fingers or a fork to create a decorative border. You can also use a fork to prick the bottom of the crust several times to prevent it from puffing up during baking.
- Add the Filling: Pour the peach raspberry filling into the prepared pie crust. Dot the top of the filling with the small pieces of butter. This adds richness and helps to create a golden-brown crust.
- Roll Out the Top Crust: On a lightly floured surface, roll out the second dough disk into a 12-inch circle. Carefully place the dough over the filling. Trim the edges of the top crust, leaving about a 1-inch overhang. Crimp the edges of the top and bottom crusts together to seal the pie. Alternatively, you can cut the top crust into strips and create a lattice top.
- Cut Vents: Cut several slits in the top crust to allow steam to escape during baking. This will prevent the crust from bubbling up and cracking. If you’re using a lattice top, the openings in the lattice will serve as vents.
- Egg Wash (Optional): In a small bowl, whisk together the egg and milk or water. Brush the top crust with the egg wash. This will give the crust a beautiful golden-brown color and a glossy sheen. Sprinkle the top crust with a little extra granulated sugar for added sweetness and sparkle.
- Bake the Pie: Bake the pie for 50-60 minutes, or until the crust is golden brown and the filling is bubbly. If the crust starts to brown too quickly, you can tent it with aluminum foil for the last 15-20 minutes of baking.
- Cool Completely: Remove the pie from the oven and let it cool completely on a wire rack before slicing and serving. This is important because the filling will continue to thicken as it cools. If you cut into the pie while it’s still warm, the filling will be runny. I know it’s tempting, but trust me, the wait is worth it! Ideally, let it cool for at least 4 hours.
Tips for the Perfect Pie:
- Keep Ingredients Cold: The key to a flaky pie crust is to keep all of your ingredients as cold as possible. This includes the butter, shortening, and water. Cold fat creates steam as it bakes, which separates the layers of dough and results in a flaky crust.
- Don’t Overmix the Dough: Overmixing the dough will develop the gluten, resulting in a tough crust. Mix the dough just until it comes together, and then stop.
- Chill the Dough: Chilling the dough is essential for relaxing the gluten and solidifying the fat. This will make the crust more tender and easier to roll out.
- Use Fresh, Ripe Fruit: The best pies are made with fresh, ripe fruit. Choose peaches and raspberries that are firm but slightly soft to the touch.
- Adjust Sugar to Taste: The amount of sugar in the filling can be adjusted to taste, depending on the sweetness of the fruit. If your peaches are very sweet, you may want to reduce the amount of sugar.
- Protect the Crust: If the crust starts to brown too quickly, you can tent it with aluminum foil for the last 15-20 minutes of baking. You can also use pie shields to protect the edges of the crust.
- Let the Pie Cool Completely: As mentioned before, letting the pie cool completely is crucial for allowing the filling to thicken. Be patient!
Serving Suggestions:
This Peach Raspberry Pie is delicious served on its own, but it’s even better with a scoop of vanilla ice cream or a dollop of whipped cream. You can also sprinkle it with a little powdered sugar for a pretty presentation. Enjoy!
Conclusion:
This isn’t just another pie recipe; it’s a slice of summer sunshine baked into a flaky crust! The vibrant combination of sweet peaches and tart raspberries creates a flavor explosion that’s both comforting and exciting. Honestly, after just one bite of this Peach Raspberry Pie, you’ll understand why I’m so passionate about it. It’s the perfect dessert for any occasion, from a casual backyard barbecue to a more formal dinner party. The beautiful colors alone make it a showstopper!
But beyond its visual appeal, the real magic lies in the taste. The peaches become incredibly tender and juicy as they bake, their sweetness perfectly balanced by the raspberries’ tangy kick. The buttery, golden-brown crust adds a delightful textural contrast, making each mouthful a truly satisfying experience. I’ve made this pie countless times, and it’s always a crowd-pleaser. It’s one of those recipes that people ask for again and again.
And the best part? It’s surprisingly easy to make! Don’t let the idea of baking a pie intimidate you. This recipe is straightforward and forgiving, even for beginner bakers. I’ve included plenty of tips and tricks along the way to ensure your success. Plus, the aroma that fills your kitchen as it bakes is simply divine! It’s a sensory experience that will have everyone eagerly anticipating dessert.
Serving Suggestions and Variations:
Now, let’s talk about serving suggestions. While this pie is delicious on its own, a scoop of vanilla ice cream or a dollop of freshly whipped cream takes it to the next level. The cold creaminess perfectly complements the warm, fruity filling. For an extra touch of elegance, you could sprinkle a few chopped pistachios or toasted almonds on top.
If you’re feeling adventurous, there are also several variations you can try. For a richer flavor, add a tablespoon of bourbon or rum to the peach and raspberry mixture before baking. You could also experiment with different spices, such as cinnamon, nutmeg, or ginger. A sprinkle of lemon zest adds a bright, citrusy note.
Another fun variation is to use a lattice crust instead of a solid top crust. This not only looks beautiful but also allows more of the filling to peek through. You could also make individual mini pies for a fun and portable dessert. The possibilities are endless!
Time to Bake!
I truly believe that this Peach Raspberry Pie is a must-try recipe. It’s a celebration of summer flavors, a testament to the joy of baking, and a guaranteed crowd-pleaser. So, what are you waiting for? Gather your ingredients, preheat your oven, and get ready to create a masterpiece.
I’m so confident that you’ll love this recipe, and I can’t wait to hear about your experience. Please, give it a try and let me know how it turns out! Share your photos and comments on social media using [Your Hashtag Here]. I’m eager to see your beautiful pies and hear your feedback. Happy baking! I hope this pie brings as much joy to your table as it has to mine. Enjoy!
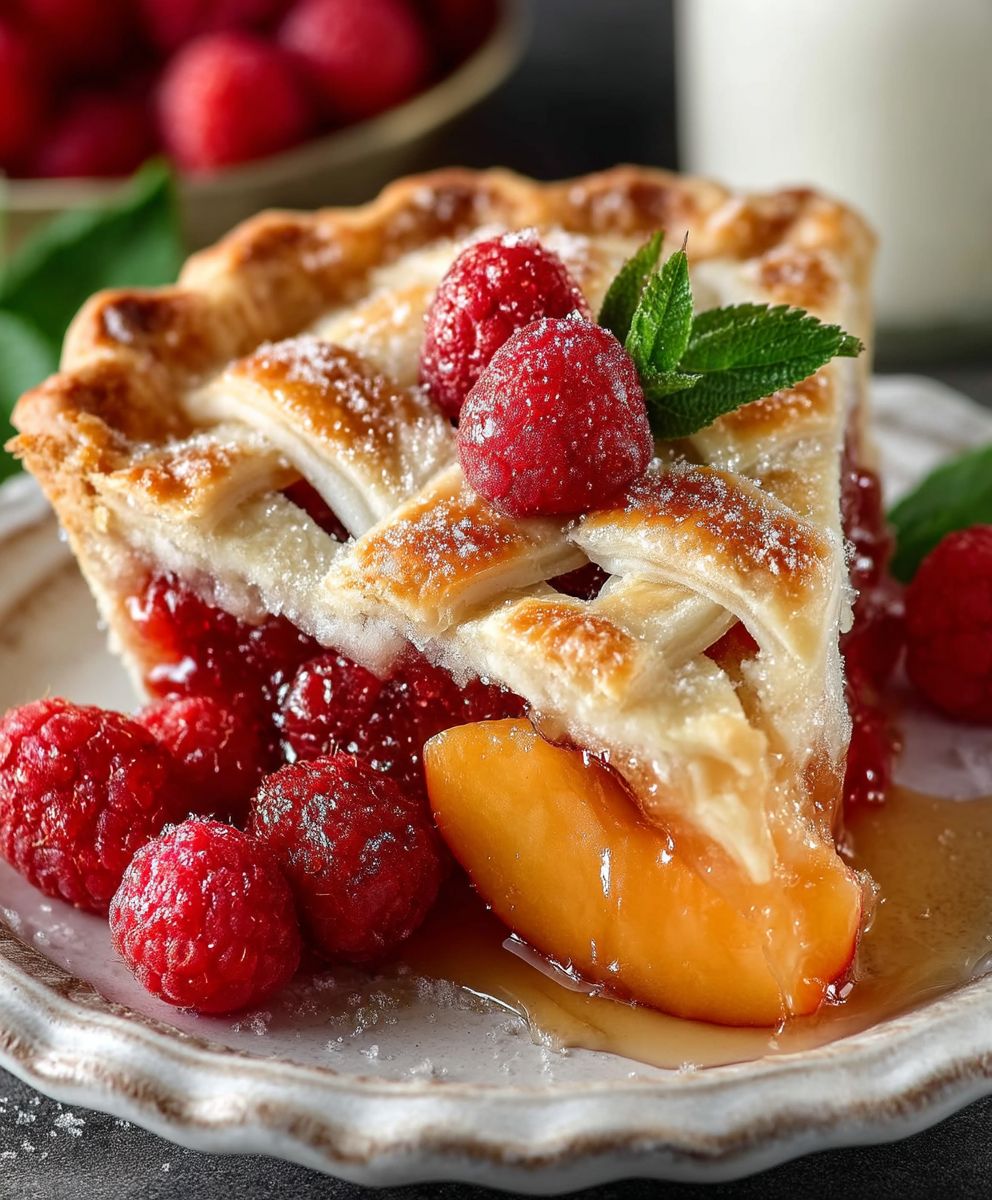
Peach Raspberry Pie: A Delicious Summer Dessert Recipe
Flaky, buttery pie filled with juicy peaches and tart raspberries. A perfect summer dessert!
Ingredients
Instructions
Recipe Notes
- Keep all ingredients cold for a flaky crust.
- Don’t overmix the dough.
- Chill the dough for at least 2 hours.
- Use fresh, ripe fruit.
- Adjust sugar to taste.
- Protect the crust if it browns too quickly.
- Let the pie cool completely before slicing.
- Serve with vanilla ice cream or whipped cream for an extra treat.