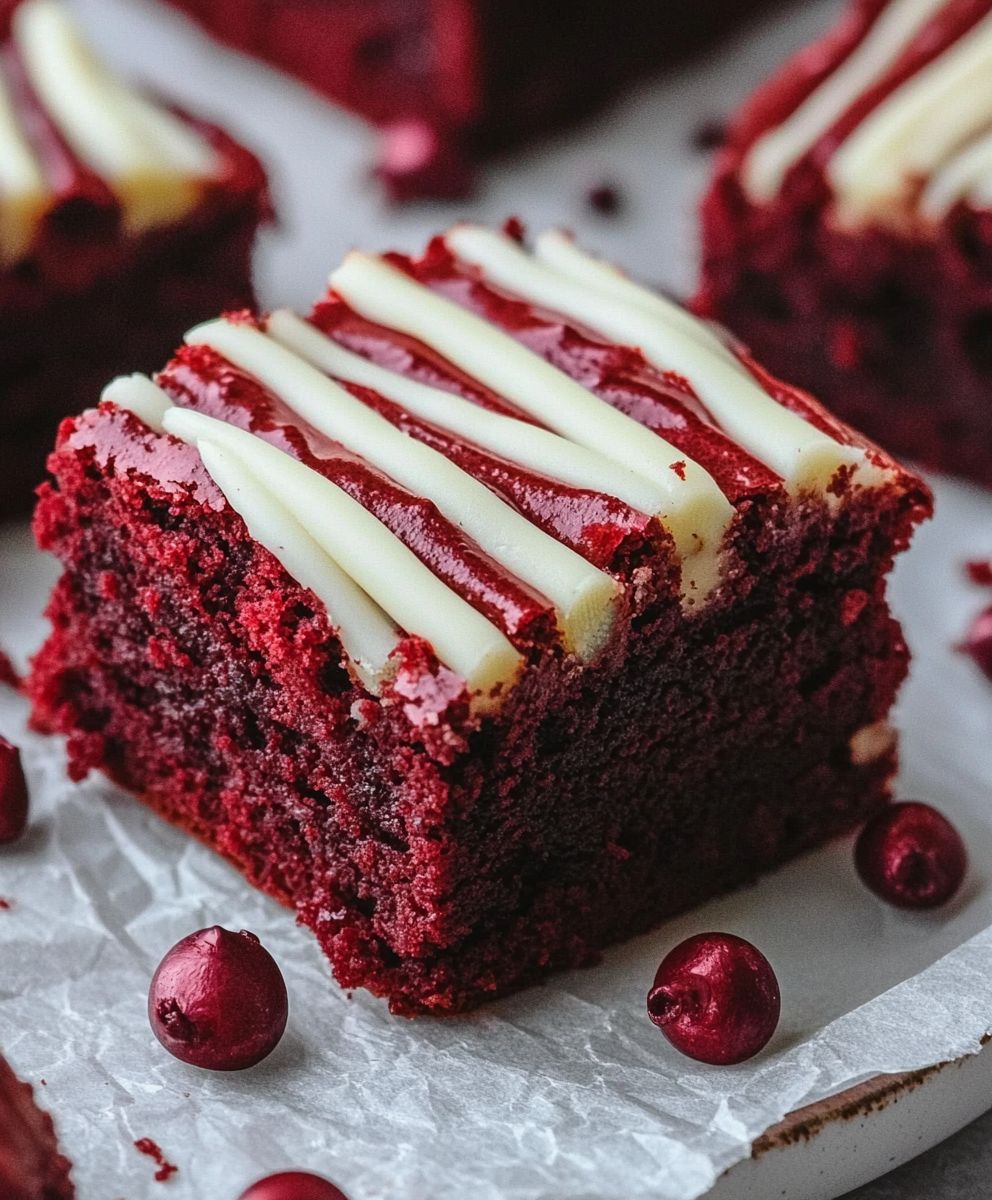
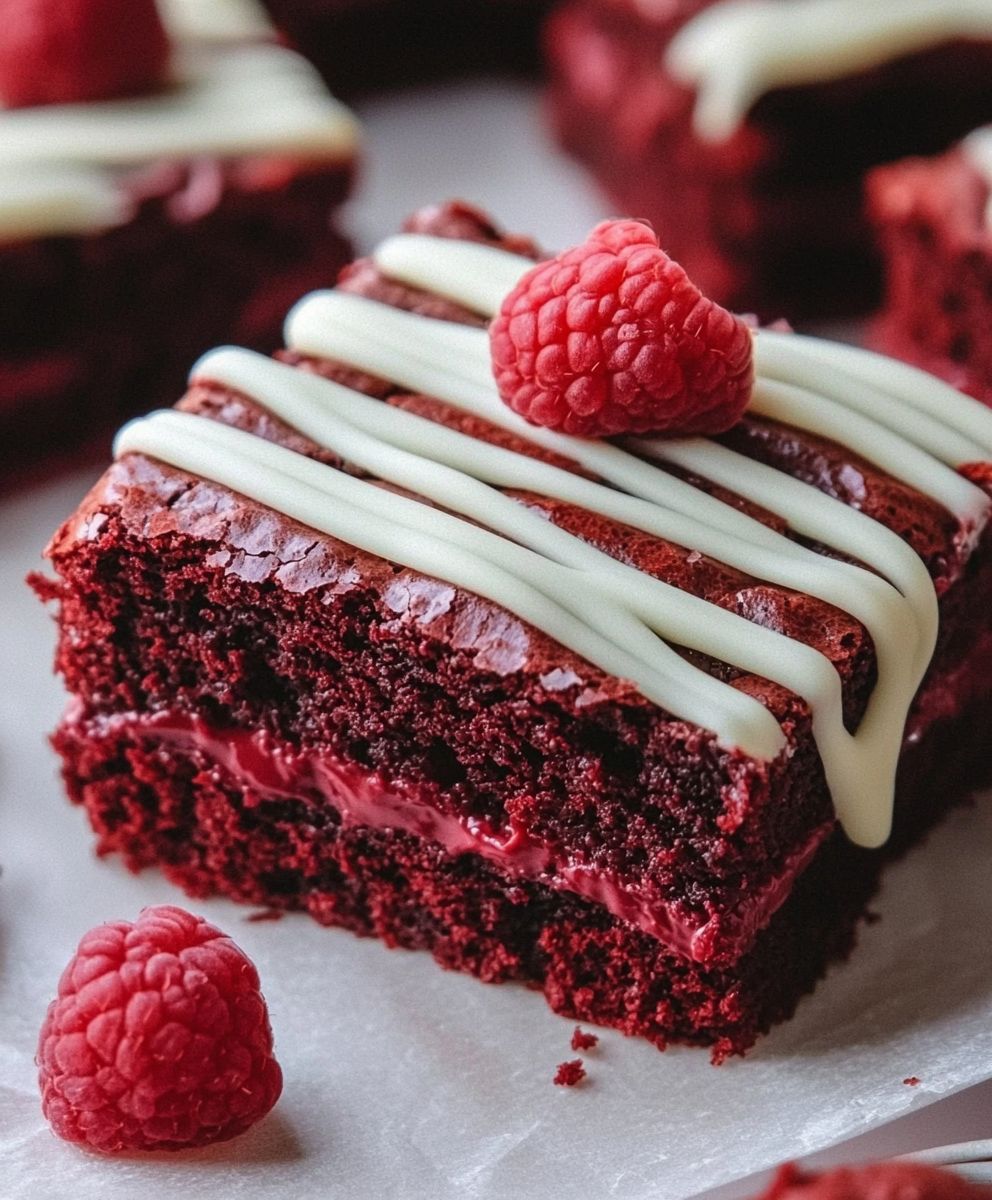
Red Velvet Brownies are a delightful twist on the classic brownie, combining the rich, fudgy texture we all adore with the vibrant, eye-catching hue of red velvet. As a lover of desserts, I can’t help but be captivated by the allure of these brownies, which not only taste divine but also bring a touch of elegance to any occasion. The origins of red velvet cake can be traced back to the early 20th century, often associated with Southern cuisine, and it has since evolved into a beloved dessert that graces tables during celebrations and holidays.
What makes Red Velvet Brownies so irresistible is their unique flavor profile—think a subtle hint of cocoa paired with a creamy, tangy cream cheese frosting that elevates each bite. The texture is a perfect balance of chewy and soft, making them a favorite among both kids and adults alike. Whether you’re looking for a quick treat to satisfy your sweet tooth or a show-stopping dessert for a gathering, these brownies are sure to impress. Join me as we dive into this scrumptious recipe that will have everyone asking for seconds!
Ingredients:
- 1 cup (2 sticks) unsalted butter, melted
- 1 ½ cups granulated sugar
- 1 teaspoon vanilla extract
- 2 large eggs
- 1 tablespoon red food coloring
- 1 ½ cups all-purpose flour
- ½ cup unsweetened cocoa powder
- ½ teaspoon baking powder
- ½ teaspoon salt
- 1 cup white chocolate chips (optional)
- 1 cup cream cheese frosting (for topping, optional)
Preparing the Batter
Let’s get started on these delicious red velvet brownies! First, I like to preheat my oven to 350°F (175°C). This ensures that the brownies will bake evenly. While the oven is heating up, I gather all my ingredients and get my baking pan ready. I usually use a 9×13 inch baking dish, which I line with parchment paper for easy removal later.
- In a large mixing bowl, I pour in the melted butter. It’s important that the butter is melted but not too hot, as we don’t want to cook the eggs when we add them.
- Next, I add the granulated sugar to the melted butter. Using a whisk, I mix them together until well combined. The mixture should be smooth and glossy.
- Now, I add in the vanilla extract and mix it in. This adds a lovely flavor to the brownies.
- It’s time to add the eggs! I crack in the two large eggs, one at a time, whisking well after each addition. This helps to incorporate air into the batter, making the brownies light and fluffy.
- Now comes the fun part – the red food coloring! I add one tablespoon of red food coloring to the mixture and whisk until the color is evenly distributed. The batter should be a vibrant red color.
Combining Dry Ingredients
With the wet ingredients ready, it’s time to mix in the dry ingredients. I like to sift my dry ingredients to avoid any lumps and ensure everything is well combined.
- In a separate bowl, I sift together the all-purpose flour, unsweetened cocoa powder, baking powder, and salt. Sifting helps to aerate the flour and cocoa, which is crucial for the texture of the brownies.
- Once sifted, I gradually add the dry mixture to the wet ingredients. I use a spatula to fold the dry ingredients into the wet, being careful not to overmix. I want to combine them just until I see no more flour streaks.
- If I’m feeling a little indulgent, I’ll fold in the white chocolate chips at this point. They add a delightful sweetness and creaminess to the brownies.
Baking the Brownies
Now that the batter is ready, it’s time to bake these beauties!
- I pour the brownie batter into the prepared baking dish, spreading it evenly with a spatula. I make sure to get into the corners so that every bite is delicious!
- Once the batter is spread out, I pop the baking dish into the preheated oven. I set a timer for 25-30 minutes. The brownies are done when a toothpick inserted into the center comes out with a few moist crumbs, but not wet batter.
- When the timer goes off, I carefully remove the brownies from the oven and let them cool in the pan for about 10-15 minutes. Then, I transfer them to a wire rack to cool completely. This step is crucial because it helps the brownies set up nicely.
Assembling and Serving
Once the brownies are completely cool, it’s time to cut them and add any finishing touches!
- I use a sharp knife to cut the brownies into squares. I usually get about 24 squares, but you can cut them smaller or larger depending on your preference.
- If I’m feeling fancy, I’ll whip up some cream cheese frosting to spread on top. To make the frosting, I mix together 8 oz of cream cheese (softened), ½ cup of unsalted butter (softened),
Conclusion:
In summary, these Red Velvet Brownies are an absolute must-try for anyone looking to indulge in a rich, decadent treat that combines the classic flavors of red velvet cake with the fudgy goodness of brownies. The vibrant color and velvety texture make them not only a delight to eat but also a stunning addition to any dessert table. Whether you’re celebrating a special occasion or simply treating yourself, these brownies are sure to impress. For serving suggestions, I love pairing these brownies with a scoop of vanilla ice cream or a dollop of whipped cream to balance the richness. You can also sprinkle some crushed walnuts or pecans on top for an added crunch, or even drizzle a cream cheese frosting over them for that extra touch of indulgence. If you’re feeling adventurous, try adding a hint of peppermint extract for a festive twist or swapping out the chocolate chips for white chocolate for a different flavor profile. I encourage you to give this recipe a try and experience the joy of baking these delightful Red Velvet Brownies. Once you do, I would love to hear about your experience! Share your thoughts, any variations you tried, or even a picture of your delicious creation. Let’s spread the love for these brownies together! Happy baking! Print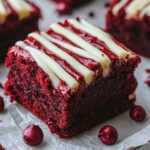
Red Velvet Brownies: The Ultimate Decadent Dessert Recipe
- Total Time: 45 minutes
- Yield: 24 brownies 1x
Description
Enjoy these decadent Red Velvet Brownies, featuring a fudgy texture and a hint of cocoa, perfect for any celebration. Topped with creamy cream cheese frosting, they offer a delightful twist on a classic favorite.
Ingredients
- 1 cup (2 sticks) unsalted butter, melted
- 1 ½ cups granulated sugar
- 1 teaspoon vanilla extract
- 2 large eggs
- 1 tablespoon red food coloring
- 1 ½ cups all-purpose flour
- ½ cup unsweetened cocoa powder
- ½ teaspoon baking powder
- ½ teaspoon salt
- 1 cup white chocolate chips (optional)
- 1 cup cream cheese frosting (for topping, optional)
Instructions
- Preheat your oven to 350°F (175°C) and prepare a 9×13 inch baking dish by lining it with parchment paper.
- In a large mixing bowl, pour in the melted butter (ensure it’s not too hot).
- Add the granulated sugar to the melted butter and whisk until smooth and glossy.
- Mix in the vanilla extract.
- Crack in the two large eggs, one at a time, whisking well after each addition.
- Add the red food coloring and whisk until the color is evenly distributed.
- In a separate bowl, sift together the all-purpose flour, cocoa powder, baking powder, and salt.
- Gradually fold the dry mixture into the wet ingredients using a spatula, being careful not to overmix.
- If desired, fold in the white chocolate chips.
- Pour the brownie batter into the prepared baking dish, spreading it evenly.
- Bake in the preheated oven for 25-30 minutes, or until a toothpick inserted into the center comes out with a few moist crumbs.
- Let the brownies cool in the pan for 10-15 minutes, then transfer to a wire rack to cool completely.
- Once cooled, cut the brownies into squares (about 24 squares).
- For an optional finishing touch, prepare cream cheese frosting by mixing together 8 oz of softened cream cheese and ½ cup of softened unsalted butter until smooth. Spread on top of the brownies before serving.
Notes
- Ensure the butter is melted but not hot to avoid cooking the eggs.
- Sifting the dry ingredients helps achieve a lighter texture.
- Feel free to adjust the amount of red food coloring to achieve your desired shade.
- Prep Time: 15 minutes
- Cook Time: 30 minutes