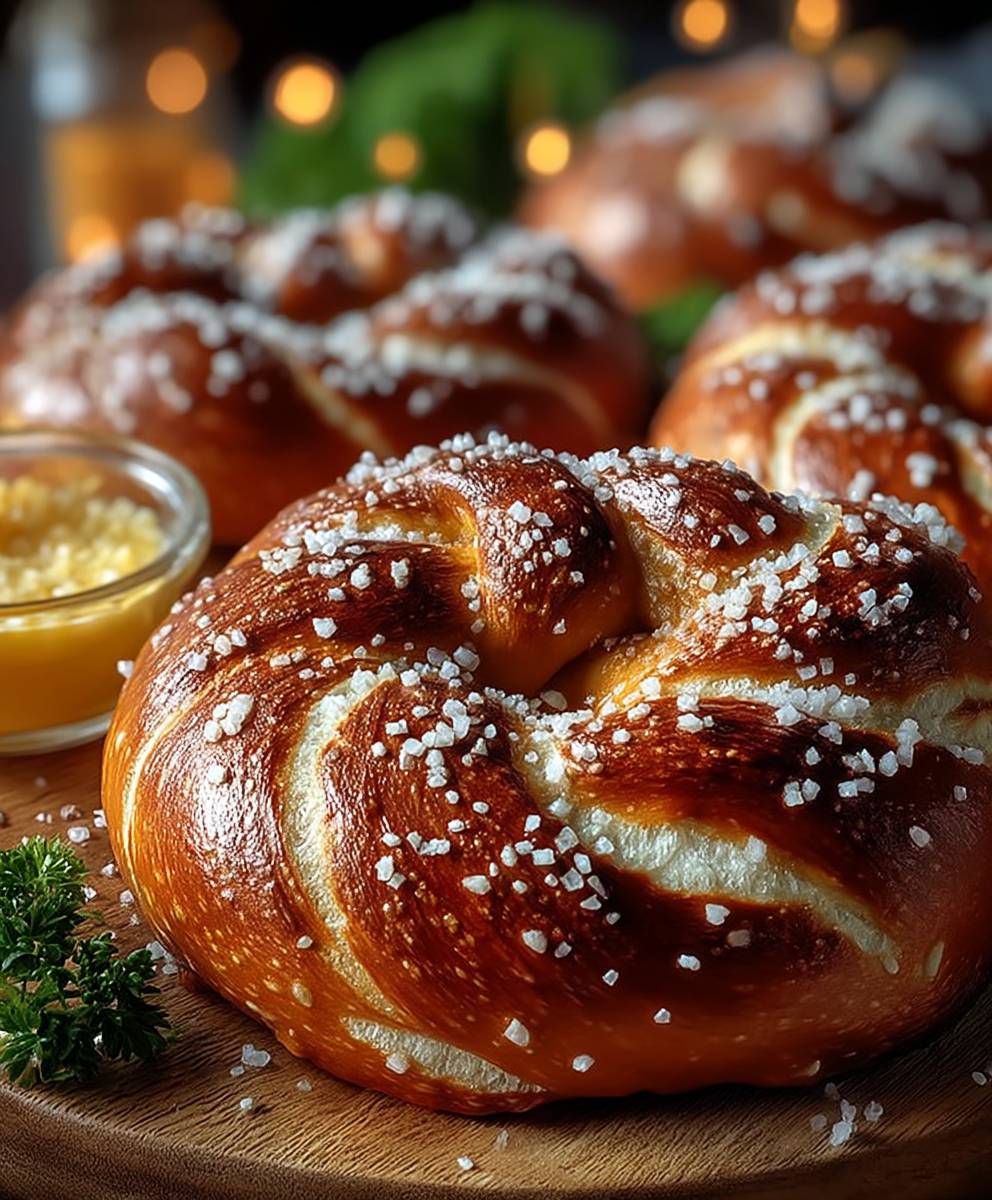
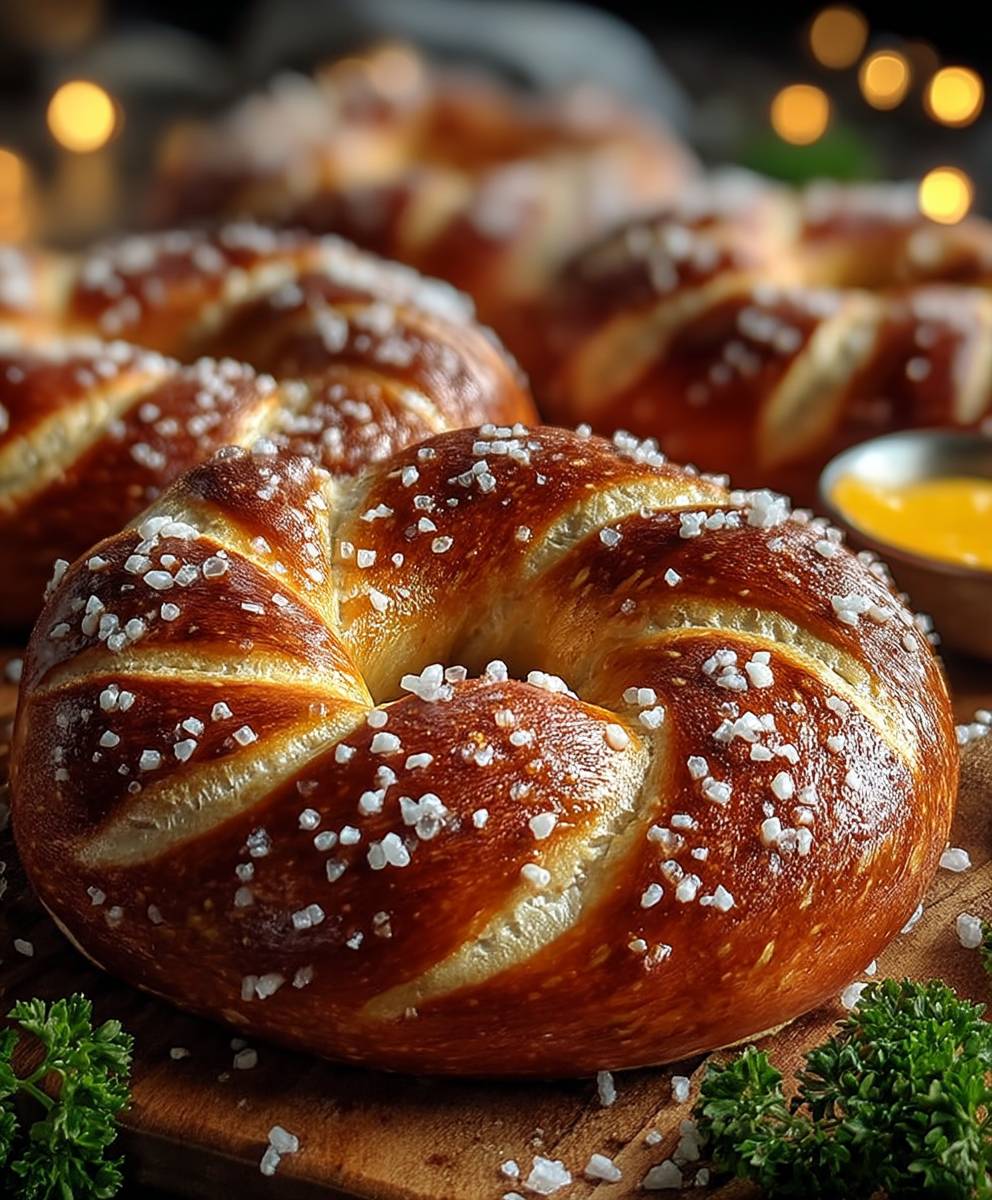
Soft Chewy Pretzels, fresh from the oven, are a culinary experience that transcends mere snacking. Imagine sinking your teeth into a warm, golden-brown exterior, yielding to a delightfully soft and chewy interior, all while the aroma of freshly baked dough fills your kitchen. Is your mouth watering yet? Mine certainly is!
The history of the pretzel stretches back centuries, with roots in European monastic traditions. Legend has it that pretzels were first created by monks as a reward for children who learned their prayers. The shape, resembling arms crossed in prayer, further solidified its religious significance. Over time, the pretzel journeyed across continents, evolving into the beloved treat we know today.
But what is it about Soft Chewy Pretzels that makes them so irresistible? It’s the perfect combination of textures – that satisfying chewiness paired with a tender crumb. The slightly salty crust enhances the subtle sweetness of the dough, creating a flavor profile that’s both comforting and addictive. Whether enjoyed plain, dipped in mustard, or transformed into a gourmet creation with cheese and toppings, these pretzels are incredibly versatile. Plus, making them at home is surprisingly easy and rewarding, offering a fun activity for the whole family. So, let’s get baking and create some pretzel magic!
Ingredients:
- For the Dough:
- 4 cups (500g) all-purpose flour, plus more for dusting
- 1 1/2 cups (360ml) warm water (105-115°F / 40-46°C)
- 1 tablespoon granulated sugar
- 2 teaspoons kosher salt
- 2 1/4 teaspoons (1 packet) active dry yeast
- 2 tablespoons unsalted butter, melted
- For the Boiling Water Bath:
- 10 cups water
- 1/2 cup baking soda
- For the Egg Wash:
- 1 large egg
- 1 tablespoon water
- For Topping:
- Coarse sea salt, pretzel salt, or any other desired topping (sesame seeds, cinnamon sugar, etc.)
Making the Dough:
- Proof the Yeast: In the bowl of a stand mixer (or a large bowl if kneading by hand), combine the warm water, sugar, and yeast. Let it sit for 5-10 minutes, or until foamy. This indicates that the yeast is active and ready to use. If it doesn’t foam, your yeast might be old or your water too hot/cold, and you’ll need to start again with fresh yeast.
- Combine Wet and Dry Ingredients: Add the melted butter and salt to the yeast mixture. Gradually add the flour, one cup at a time, mixing on low speed with the dough hook attachment (or with a wooden spoon if kneading by hand).
- Knead the Dough: Once all the flour is incorporated, increase the mixer speed to medium and knead for 5-7 minutes, or until the dough is smooth and elastic. If kneading by hand, turn the dough out onto a lightly floured surface and knead for 8-10 minutes. The dough should be slightly tacky but not sticky. If it’s too sticky, add a tablespoon of flour at a time until it reaches the right consistency.
- First Rise: Form the dough into a ball and place it in a lightly oiled bowl, turning to coat. Cover the bowl with plastic wrap or a clean kitchen towel and let it rise in a warm place for 1 hour, or until doubled in size. This rise is crucial for developing the flavor and texture of the pretzels.
Shaping the Pretzels:
- Divide the Dough: After the dough has doubled, gently punch it down to release the air. Turn it out onto a lightly floured surface and divide it into 8 equal pieces.
- Roll into Ropes: Roll each piece of dough into a long rope, about 24-30 inches long. Try to keep the rope consistent in thickness throughout. This will ensure even baking.
- Shape the Pretzels: To shape the pretzel, form the rope into a U-shape. Cross the ends over each other twice, then press them onto the bottom of the U to form the classic pretzel shape. Don’t worry if they aren’t perfect; each pretzel will have its own unique character!
- Rest the Shaped Pretzels: Place the shaped pretzels on a parchment-lined baking sheet. Cover them loosely with plastic wrap or a clean kitchen towel and let them rest for 15-20 minutes. This allows the gluten to relax and prevents the pretzels from shrinking during baking.
The Baking Soda Bath:
- Prepare the Baking Soda Bath: While the pretzels are resting, preheat your oven to 425°F (220°C). In a large pot, bring 10 cups of water to a boil. Carefully add the baking soda. Be careful, as the mixture will foam up when you add the baking soda.
- Boil the Pretzels: Gently drop each pretzel into the boiling water bath, one or two at a time. Boil for 30-60 seconds per side. This step is essential for achieving that characteristic pretzel chewiness and dark brown color.
- Return to Baking Sheet: Use a slotted spoon or spatula to remove the pretzels from the water bath and place them back on the parchment-lined baking sheet.
Baking the Pretzels:
- Prepare the Egg Wash: In a small bowl, whisk together the egg and water.
- Brush with Egg Wash: Brush each pretzel with the egg wash. This will give them a beautiful golden-brown sheen.
- Add Toppings: Sprinkle the pretzels with coarse sea salt, pretzel salt, or your desired toppings. Press the toppings gently into the dough to help them adhere.
- Bake: Bake for 12-15 minutes, or until the pretzels are deep golden brown. Keep a close eye on them, as they can burn quickly.
- Cool and Enjoy: Remove the pretzels from the oven and let them cool slightly on the baking sheet before transferring them to a wire rack to cool completely. Serve warm or at room temperature. They are delicious on their own or with your favorite dipping sauces, like mustard, cheese sauce, or even a sweet glaze.
Tips for Success:
- Water Temperature: Make sure your water is the correct temperature (105-115°F / 40-46°C) for proofing the yeast. Too hot, and you’ll kill the yeast; too cold, and it won’t activate. A kitchen thermometer is your best friend here.
- Kneading Time: Don’t skimp on the kneading time. Proper kneading develops the gluten, which gives the pretzels their chewy texture.
- Baking Soda Bath: The baking soda bath is crucial! It’s what gives pretzels their unique flavor and texture. Don’t skip it!
- Salt Type: Use coarse sea salt or pretzel salt for the best flavor and texture. Table salt will dissolve and won’t give you that satisfying salty crunch.
- Storage: Store leftover pretzels in an airtight container at room temperature for up to 2 days. They are best enjoyed fresh, but you can also reheat them in the oven or microwave.
- Freezing: You can freeze the shaped, unbaked pretzels. Place them on a baking sheet and freeze until solid. Then, transfer them to a freezer bag. When ready to bake, boil them in the baking soda bath while still frozen, then bake as directed. You can also freeze baked pretzels. Let them cool completely, then wrap them individually in plastic wrap and place them in a freezer bag. Thaw at room temperature or reheat in the oven.
- Experiment with Flavors: Feel free to experiment with different toppings and flavors. Try cinnamon sugar for a sweet treat, or add garlic powder and parmesan cheese for a savory twist.
Troubleshooting:
- Pretzels are too hard: This could be due to over-baking or not enough moisture in the dough. Make sure to follow the baking time closely and ensure your dough is properly hydrated.
- Pretzels are too soft: This could be due to under-baking or too much moisture in the dough. Bake them for a few more minutes or add a little more flour to the dough next time.
- Pretzels are not browning: Make sure you are using the egg wash and that your oven is at the correct temperature. The baking soda bath also contributes to browning.
- Pretzels are shrinking: This could be due to the gluten not being relaxed enough. Make sure to let the shaped pretzels rest for 15-20 minutes before boiling.
Enjoy your homemade soft chewy pretzels! They are a fun and rewarding baking project that everyone will love.

Conclusion:
And there you have it! I truly believe this recipe for Soft Chewy Pretzels is a must-try for anyone who loves that classic, comforting snack. From the satisfyingly chewy texture to the perfectly salty crust, these pretzels are a homemade delight that far surpasses anything you can buy at the store. The aroma alone, filling your kitchen with the yeasty, warm scent of baking bread, is enough to make you want to whip up a batch right now.
But beyond the incredible taste and texture, what makes this recipe so special is its versatility. While the traditional coarse salt topping is always a winner, don’t be afraid to experiment! For a sweeter treat, try sprinkling them with cinnamon sugar immediately after baking. Or, for a savory twist, consider topping them with everything bagel seasoning, grated Parmesan cheese, or even a sprinkle of chili flakes for a little kick.
These pretzels are also fantastic served with a variety of dips. A classic cheese sauce is always a crowd-pleaser, but don’t underestimate the power of a good mustard. Honey mustard, Dijon mustard, or even a spicy brown mustard can all complement the salty pretzel perfectly. And for those who prefer something a little lighter, a creamy ranch dressing or a tangy sour cream dip would also be delicious.
Serving suggestions are endless! These Soft Chewy Pretzels are perfect for game day gatherings, movie nights, or even just a cozy afternoon snack. They’re also a great option for parties and potlucks, as they’re always a hit with both kids and adults. Imagine serving them warm, fresh from the oven, alongside a selection of dips and toppings – your guests will be raving about them for days!
And if you’re feeling adventurous, why not try making pretzel bites instead of full-sized pretzels? Simply divide the dough into smaller pieces and shape them into bite-sized balls before baking. These are perfect for dipping and sharing, and they’re a great way to get the kids involved in the baking process.
I’ve poured my heart into perfecting this recipe, and I’m confident that you’ll love it as much as I do. The process is surprisingly simple, and the results are incredibly rewarding. There’s nothing quite like the feeling of biting into a warm, chewy pretzel that you made yourself.
So, what are you waiting for? Gather your ingredients, preheat your oven, and get ready to embark on a pretzel-making adventure! I promise you won’t regret it. And once you’ve tried this recipe, I’d love to hear about your experience. Share your photos, tips, and variations in the comments below. Let’s create a community of pretzel lovers and inspire each other to keep baking! I can’t wait to see what you create! Happy baking, and enjoy your delicious, homemade Soft Chewy Pretzels!
Soft Chewy Pretzels: The Ultimate Guide to Baking Perfection
Make delicious, chewy soft pretzels at home with this easy-to-follow recipe. Perfect for snacking, dipping, or enjoying on their own!
Ingredients
- 4 cups (500g) all-purpose flour, plus more for dusting
- 1 1/2 cups (360ml) warm water (105-115°F / 40-46°C)
- 1 tablespoon granulated sugar
- 2 teaspoons kosher salt
- 2 1/4 teaspoons (1 packet) active dry yeast
- 2 tablespoons unsalted butter, melted
- 10 cups water
- 1/2 cup baking soda
- 1 large egg
- 1 tablespoon water
- Coarse sea salt, pretzel salt, or any other desired topping (sesame seeds, cinnamon sugar, etc.)
Instructions
- Proof the Yeast: In the bowl of a stand mixer (or a large bowl if kneading by hand), combine the warm water, sugar, and yeast. Let it sit for 5-10 minutes, or until foamy. This indicates that the yeast is active and ready to use. If it doesn’t foam, your yeast might be old or your water too hot/cold, and you’ll need to start again with fresh yeast.
- Combine Wet and Dry Ingredients: Add the melted butter and salt to the yeast mixture. Gradually add the flour, one cup at a time, mixing on low speed with the dough hook attachment (or with a wooden spoon if kneading by hand).
- Knead the Dough: Once all the flour is incorporated, increase the mixer speed to medium and knead for 5-7 minutes, or until the dough is smooth and elastic. If kneading by hand, turn the dough out onto a lightly floured surface and knead for 8-10 minutes. The dough should be slightly tacky but not sticky. If it’s too sticky, add a tablespoon of flour at a time until it reaches the right consistency.
- First Rise: Form the dough into a ball and place it in a lightly oiled bowl, turning to coat. Cover the bowl with plastic wrap or a clean kitchen towel and let it rise in a warm place for 1 hour, or until doubled in size. This rise is crucial for developing the flavor and texture of the pretzels.
- Divide the Dough: After the dough has doubled, gently punch it down to release the air. Turn it out onto a lightly floured surface and divide it into 8 equal pieces.
- Roll into Ropes: Roll each piece of dough into a long rope, about 24-30 inches long. Try to keep the rope consistent in thickness throughout. This will ensure even baking.
- Shape the Pretzels: To shape the pretzel, form the rope into a U-shape. Cross the ends over each other twice, then press them onto the bottom of the U to form the classic pretzel shape. Don’t worry if they aren’t perfect; each pretzel will have its own unique character!
- Rest the Shaped Pretzels: Place the shaped pretzels on a parchment-lined baking sheet. Cover them loosely with plastic wrap or a clean kitchen towel and let them rest for 15-20 minutes. This allows the gluten to relax and prevents the pretzels from shrinking during baking.
- Prepare the Baking Soda Bath: While the pretzels are resting, preheat your oven to 425°F (220°C). In a large pot, bring 10 cups of water to a boil. Carefully add the baking soda. Be careful, as the mixture will foam up when you add the baking soda.
- Boil the Pretzels: Gently drop each pretzel into the boiling water bath, one or two at a time. Boil for 30-60 seconds per side. This step is essential for achieving that characteristic pretzel chewiness and dark brown color.
- Return to Baking Sheet: Use a slotted spoon or spatula to remove the pretzels from the water bath and place them back on the parchment-lined baking sheet.
- Prepare the Egg Wash: In a small bowl, whisk together the egg and water.
- Brush with Egg Wash: Brush each pretzel with the egg wash. This will give them a beautiful golden-brown sheen.
- Add Toppings: Sprinkle the pretzels with coarse sea salt, pretzel salt, or your desired toppings. Press the toppings gently into the dough to help them adhere.
- Bake: Bake for 12-15 minutes, or until the pretzels are deep golden brown. Keep a close eye on them, as they can burn quickly.
- Cool and Enjoy: Remove the pretzels from the oven and let them cool slightly on the baking sheet before transferring them to a wire rack to cool completely. Serve warm or at room temperature. They are delicious on their own or with your favorite dipping sauces, like mustard, cheese sauce, or even a sweet glaze.
Notes
- Water Temperature: Make sure your water is the correct temperature (105-115°F / 40-46°C) for proofing the yeast. Too hot, and you’ll kill the yeast; too cold, and it won’t activate. A kitchen thermometer is your best friend here.
- Kneading Time: Don’t skimp on the kneading time. Proper kneading develops the gluten, which gives the pretzels their chewy texture.
- Baking Soda Bath: The baking soda bath is crucial! It’s what gives pretzels their unique flavor and texture. Don’t skip it!
- Salt Type: Use coarse sea salt or pretzel salt for the best flavor and texture. Table salt will dissolve and won’t give you that satisfying salty crunch.
- Storage: Store leftover pretzels in an airtight container at room temperature for up to 2 days. They are best enjoyed fresh, but you can also reheat them in the oven or microwave.
- Freezing: You can freeze the shaped, unbaked pretzels. Place them on a baking sheet and freeze until solid. Then, transfer them to a freezer bag. When ready to bake, boil them in the baking soda bath while still frozen, then bake as directed. You can also freeze baked pretzels. Let them cool completely, then wrap them individually in plastic wrap and place them in a freezer bag. Thaw at room temperature or reheat in the oven.
- Experiment with Flavors: Feel free to experiment with different toppings and flavors. Try cinnamon sugar for a sweet treat, or add garlic powder and parmesan cheese for a savory twist.


