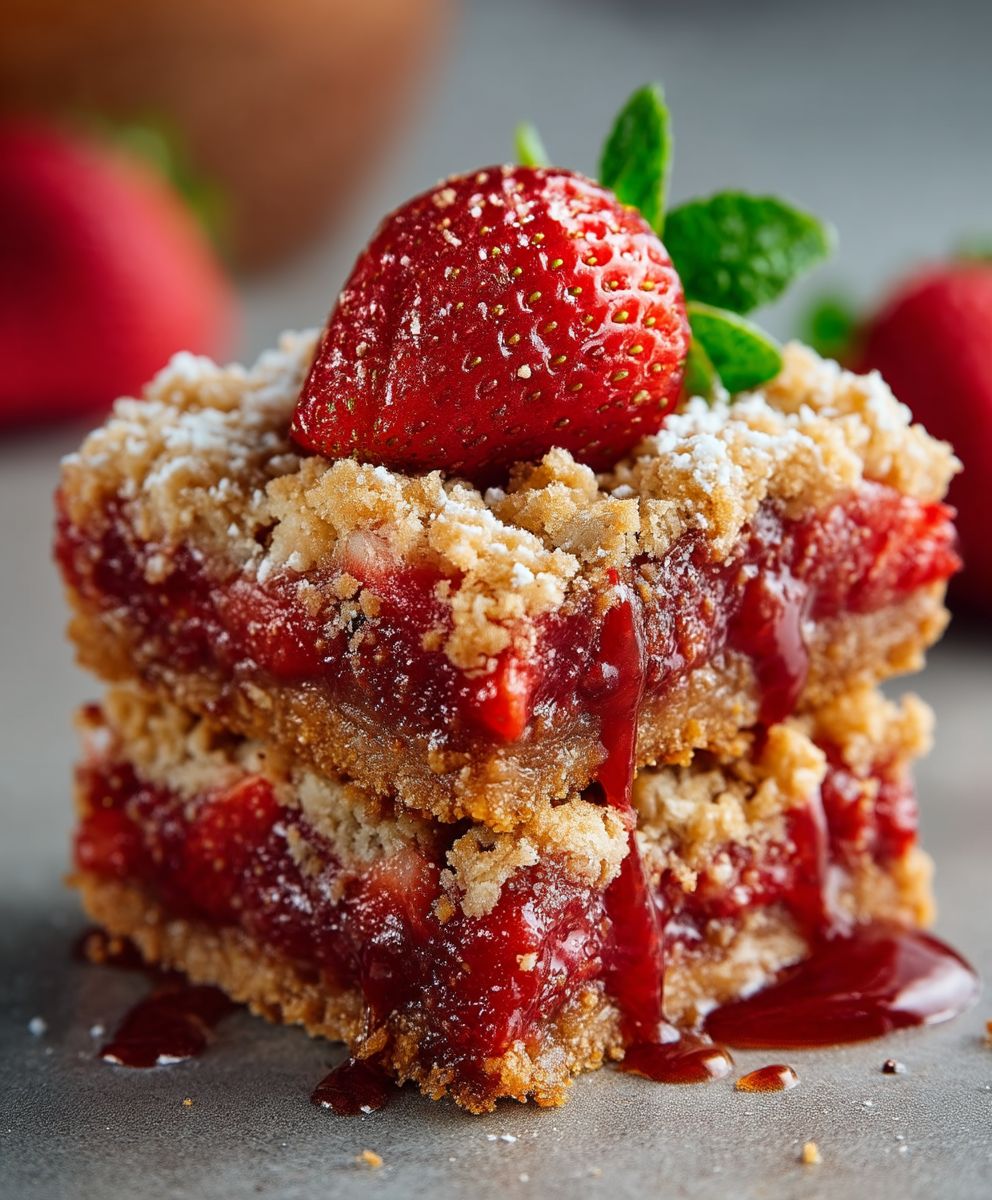
Strawberry Oatmeal Crumble Bars: Prepare to be captivated by a symphony of flavors and textures! Imagine sinking your teeth into a buttery, golden-brown oat crumble, giving way to a luscious layer of sweet and tangy strawberries. These bars aren’t just a dessert; they’re a delightful experience that will transport you to a sunny summer afternoon with every bite.
While the exact origins of crumble bars are somewhat hazy, the concept of combining a buttery oat topping with fruit fillings has been a beloved tradition in kitchens across the globe for generations. Think of the classic apple crumble, a comforting staple in British cuisine, or the various fruit crisps and cobblers found throughout American culinary history. These Strawberry Oatmeal Crumble Bars build upon that heritage, offering a convenient and portable twist on a timeless favorite.
What makes these bars so irresistible? It’s the perfect balance of textures – the satisfying crunch of the crumble, the soft and juicy strawberries, and the slightly chewy oat base. The combination of sweet and tart is also a winner, making them a crowd-pleasing dessert for any occasion. Plus, they’re incredibly easy to make, requiring minimal effort and readily available ingredients. Whether you’re looking for a quick breakfast treat, a satisfying afternoon snack, or a delightful dessert to share with friends and family, these bars are sure to become a new favorite.
Ingredients:
- For the Oatmeal Crumble Base:
- 2 cups rolled oats (not instant)
- 1 cup all-purpose flour
- 1 cup packed light brown sugar
- 1 teaspoon baking soda
- 1/2 teaspoon salt
- 1 cup (2 sticks) cold unsalted butter, cut into cubes
- For the Strawberry Filling:
- 4 cups fresh strawberries, hulled and sliced
- 1/2 cup granulated sugar
- 2 tablespoons cornstarch
- 1 tablespoon lemon juice
- 1/4 teaspoon almond extract (optional, but highly recommended!)
- Optional Glaze (for extra sweetness):
- 1 cup powdered sugar
- 2-3 tablespoons milk (or strawberry juice from the filling)
- 1/2 teaspoon vanilla extract
Preparing the Oatmeal Crumble Base
- Combine Dry Ingredients: In a large bowl, whisk together the rolled oats, all-purpose flour, light brown sugar, baking soda, and salt. Make sure everything is evenly distributed. This ensures a consistent texture and flavor in your crumble.
- Cut in the Butter: Add the cold, cubed butter to the dry ingredients. Using a pastry blender or your fingertips (working quickly to prevent the butter from melting), cut the butter into the dry ingredients until the mixture resembles coarse crumbs. You should have some pea-sized pieces of butter remaining – these are what create those lovely pockets of buttery goodness in the baked crumble. If you don’t have a pastry blender, you can use two knives to cut the butter in a criss-cross motion.
- Press Half into the Pan: Grease a 9×13 inch baking pan. I like to use baking spray with flour for easy release. Press half of the oatmeal crumble mixture firmly and evenly into the bottom of the prepared pan. Use the bottom of a measuring cup or your hands to create a compact and even base. This will prevent the filling from seeping through and creating a soggy bottom.
- Pre-bake the Base (Optional, but Recommended): For a crispier base, pre-bake the pressed oatmeal mixture in a preheated oven at 350°F (175°C) for 10-12 minutes, or until lightly golden. This step helps to set the base and prevent it from becoming too soft from the strawberry filling. If you skip this step, just be sure to bake the bars a little longer in the final baking stage.
Making the Strawberry Filling
- Prepare the Strawberries: In a large bowl, combine the sliced strawberries, granulated sugar, cornstarch, lemon juice, and almond extract (if using). Gently toss everything together until the strawberries are evenly coated. The sugar will help to draw out the juices from the strawberries, creating a delicious and slightly thickened sauce. The cornstarch will help to thicken the filling further during baking, preventing it from becoming too runny.
- Let the Strawberries Macerate: Allow the strawberry mixture to sit for about 10-15 minutes, stirring occasionally. This allows the sugar to dissolve and the strawberries to release their juices, creating a more flavorful and cohesive filling. You’ll notice the mixture becoming slightly saucier as it sits.
Assembling and Baking the Bars
- Pour the Filling: Pour the strawberry filling evenly over the pre-baked (or unbaked) oatmeal crumble base in the prepared pan. Spread the filling to ensure it reaches all corners of the pan.
- Sprinkle the Remaining Crumble: Sprinkle the remaining oatmeal crumble mixture evenly over the strawberry filling. Try to distribute it as uniformly as possible to create a nice, even crumble topping. Gently press the crumble topping down slightly to help it adhere to the filling.
- Bake the Bars: Bake in a preheated oven at 350°F (175°C) for 35-40 minutes, or until the topping is golden brown and the filling is bubbly. The baking time may vary depending on your oven, so keep an eye on the bars and adjust the time as needed. You want the topping to be nicely browned and the filling to be visibly bubbling around the edges.
- Cool Completely: Remove the bars from the oven and let them cool completely in the pan before cutting. This is crucial! If you try to cut them while they’re still warm, the filling will be too soft and the bars will fall apart. Cooling allows the filling to set and the bars to firm up, making them easier to cut and serve. I usually let them cool for at least 2-3 hours, or even overnight.
Optional Glaze
- Whisk the Glaze: In a small bowl, whisk together the powdered sugar, milk (or strawberry juice), and vanilla extract until smooth. Add more milk, a teaspoon at a time, until you reach your desired consistency. The glaze should be thick enough to drizzle but thin enough to spread easily.
- Drizzle and Serve: Once the bars are completely cool and cut, drizzle the glaze over the top. Let the glaze set for a few minutes before serving. Enjoy!
Tips and Variations
- Use Different Fruits: Feel free to substitute other fruits for the strawberries. Blueberries, raspberries, blackberries, peaches, or a combination of berries would all work well. Adjust the sugar and lemon juice according to the sweetness of the fruit.
- Add Nuts: For extra crunch and flavor, add chopped nuts to the crumble topping. Pecans, walnuts, or almonds would be delicious.
- Spice it Up: Add a pinch of cinnamon or nutmeg to the crumble topping for a warm, comforting flavor.
- Make it Gluten-Free: Use gluten-free rolled oats and a gluten-free all-purpose flour blend to make these bars gluten-free.
- Storage: Store the cooled bars in an airtight container at room temperature for up to 3 days, or in the refrigerator for up to 5 days.
- Freezing: These bars freeze well. Wrap them individually in plastic wrap and then place them in a freezer-safe bag or container. They can be frozen for up to 2 months. Thaw them in the refrigerator overnight before serving.
Troubleshooting
- Crumble Topping Too Dry: If your crumble topping seems too dry and crumbly, add a tablespoon or two of melted butter or milk until it comes together.
- Filling Too Runny: If your filling is too runny, you can try adding a little more cornstarch to the strawberry mixture before baking. You can also bake the bars a little longer to allow the filling to thicken.
- Bars Too Brown: If the bars are browning too quickly, you can tent them with aluminum foil during the last 10-15 minutes of baking.
Enjoy your delicious Strawberry Oatmeal Crumble Bars!
Conclusion:
And there you have it! These Strawberry Oatmeal Crumble Bars are more than just a dessert; they’re a delightful experience waiting to happen. From the sweet, juicy burst of strawberries to the comforting, nutty crunch of the oat crumble, every bite is a symphony of textures and flavors that will leave you wanting more. I truly believe this recipe is a must-try for anyone who loves a good homemade treat, and here’s why:
First, the simplicity. Let’s be honest, we all lead busy lives. This recipe is incredibly straightforward, using ingredients you likely already have in your pantry. No fancy techniques or complicated steps are required. You can whip up a batch of these bars in under an hour, making them perfect for a weeknight dessert or a weekend baking project with the kids.
Second, the versatility. While I’ve presented it as a Strawberry Oatmeal Crumble Bar, the possibilities are endless! Feel free to experiment with different fruits. Imagine a blueberry version, bursting with tangy sweetness, or a raspberry crumble, adding a touch of tartness. You could even try a combination of fruits for a truly unique flavor profile. Don’t be afraid to get creative with the crumble topping too! Add chopped nuts like pecans or walnuts for extra crunch, or sprinkle in some cinnamon or nutmeg for a warm, comforting spice.
Speaking of serving suggestions, these bars are fantastic on their own, warm from the oven. But they’re also incredible served with a scoop of vanilla ice cream or a dollop of whipped cream. For a more sophisticated touch, try drizzling them with a balsamic glaze or a light lemon sauce. They’re also perfect for packing in lunchboxes, taking on picnics, or serving at potlucks. They are truly a crowd-pleaser!
Beyond the taste and ease, these bars offer a comforting, homemade feel that you just can’t get from store-bought treats. There’s something special about baking from scratch, knowing exactly what ingredients are going into your food, and sharing that love with your family and friends.
Variations to Explore:
* Gluten-Free Option: Simply substitute the all-purpose flour with a gluten-free blend.
* Vegan Option: Use vegan butter and a flax egg (1 tablespoon flaxseed meal mixed with 3 tablespoons water) to replace the egg.
* Chocolate Chip Addition: Add 1/2 cup of chocolate chips to the crumble topping for a decadent twist.
* Spice it Up: Incorporate a pinch of cardamom or ginger into the crumble for a warm, aromatic flavor.
* Nutty Delight: Add chopped pecans or walnuts to the crumble for extra crunch and flavor.
I’m so excited for you to try this recipe! I truly believe you’ll love the combination of sweet strawberries, buttery crumble, and the overall ease of making these bars. Once you’ve given them a try, I would absolutely love to hear about your experience. Did you make any variations? What did your family think? Share your photos and stories in the comments below! Your feedback is invaluable and helps inspire others to get in the kitchen and bake something delicious. So go ahead, grab your ingredients, preheat your oven, and get ready to enjoy the most amazing Strawberry Oatmeal Crumble Bars you’ve ever tasted! Happy baking!
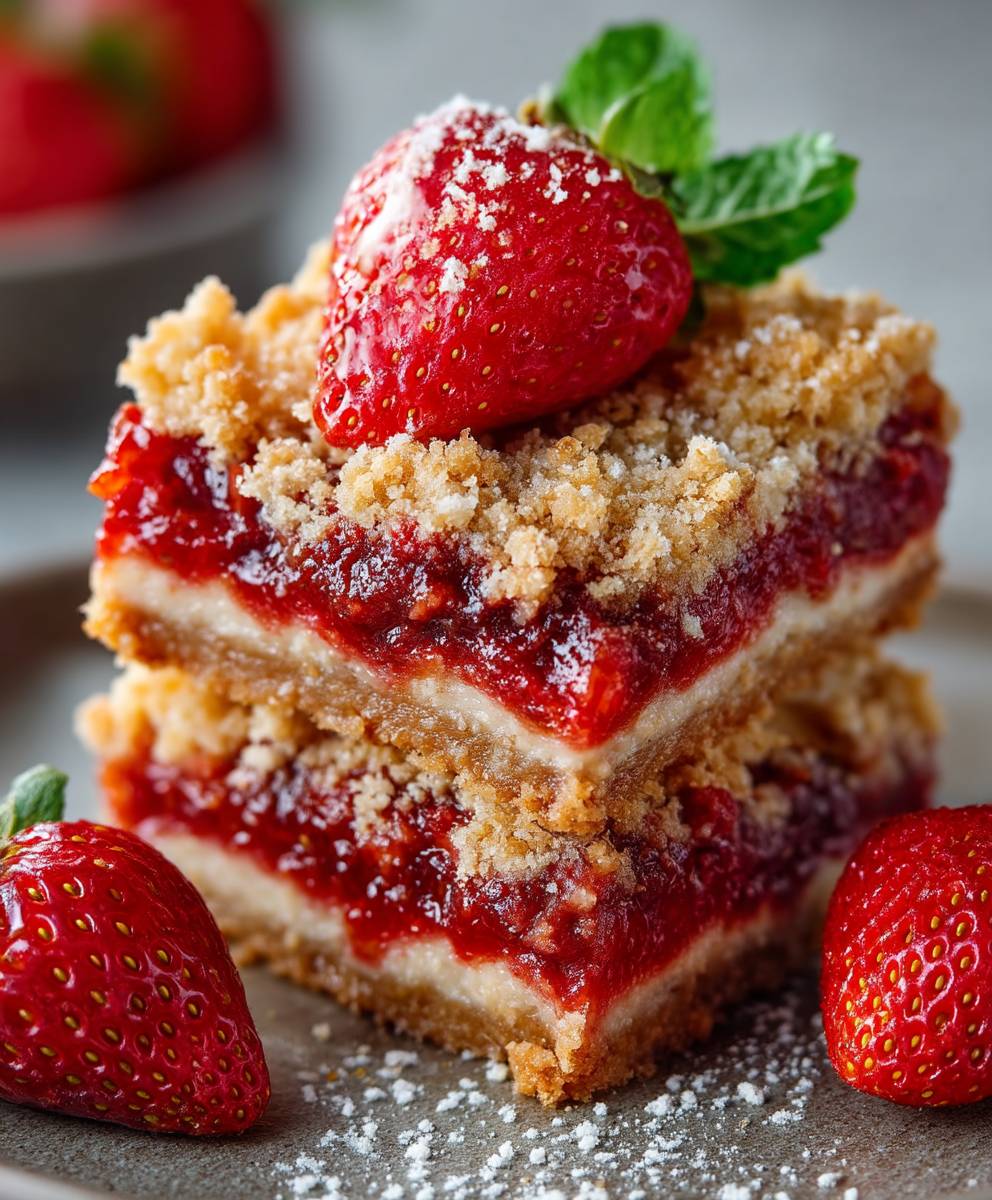
Strawberry Oatmeal Crumble Bars: The Perfect Recipe
Buttery oat bars with a sweet strawberry filling and optional vanilla glaze. A perfect summer treat!
Ingredients
- 2 cups rolled oats (not instant)
- 1 cup all-purpose flour
- 1 cup packed light brown sugar
- 1 teaspoon baking soda
- 1/2 teaspoon salt
- 1 cup (2 sticks) cold unsalted butter, cut into cubes
- 4 cups fresh strawberries, hulled and sliced
- 1/2 cup granulated sugar
- 2 tablespoons cornstarch
- 1 tablespoon lemon juice
- 1/4 teaspoon almond extract (optional)
- 1 cup powdered sugar
- 2-3 tablespoons milk (or strawberry juice)
- 1/2 teaspoon vanilla extract
Instructions
- Prepare Oatmeal Crumble Base: In a large bowl, whisk together oats, flour, brown sugar, baking soda, and salt. Cut in cold butter until mixture resembles coarse crumbs.
- Grease a 9×13 inch baking pan. Press half of the crumble mixture firmly into the bottom of the pan.
- Pre-bake Base (Optional): For a crispier base, pre-bake at 350°F (175°C) for 10-12 minutes, or until lightly golden.
- Make Strawberry Filling: In a large bowl, combine strawberries, granulated sugar, cornstarch, lemon juice, and almond extract (if using). Toss gently and let macerate for 10-15 minutes, stirring occasionally.
- Assemble and Bake: Pour strawberry filling over the pre-baked (or unbaked) base. Sprinkle remaining crumble mixture evenly over the filling.
- Bake at 350°F (175°C) for 35-40 minutes, or until topping is golden brown and filling is bubbly.
- Cool Completely: Let cool completely in the pan before cutting.
- Optional Glaze: Whisk together powdered sugar, milk (or strawberry juice), and vanilla extract until smooth. Drizzle over cooled bars.
Notes
- For best results, use cold butter for the crumble.
- Pre-baking the base helps prevent a soggy bottom.
- Letting the strawberry filling macerate enhances the flavor.
- Cooling the bars completely before cutting is essential for clean slices.
- Variations: Use different fruits, add nuts, or spice it up with cinnamon or nutmeg. Make it gluten-free by using gluten-free oats and flour.
- Storage: Store in an airtight container at room temperature for up to 3 days, or in the refrigerator for up to 5 days.
- Freezing: Wrap individually and freeze for up to 2 months. Thaw in the refrigerator overnight.
- Troubleshooting:
* Crumble Topping Too Dry: Add melted butter or milk.
* Filling Too Runny: Add more cornstarch or bake longer.
* Bars Too Brown: Tent with foil during the last 10-15 minutes of baking.