Strawberry Peach Pie: just the name conjures up images of sunny afternoons, picnics in the park, and the sweet, juicy flavors of summer. But what if I told you that this isn’t just a delicious dessert, it’s a slice of history too? Pies, in general, have been around for centuries, with early versions dating back to ancient Egypt. However, the fruit-filled pies we know and love today really took off in popularity during the medieval era in England.
Now, fast forward to today, and the combination of strawberries and peaches in a pie is a true celebration of seasonal bounty. The slight tartness of the strawberries perfectly complements the sweet, velvety texture of the peaches, creating a symphony of flavors that dance on your tongue. It’s no wonder that Strawberry Peach Pie is a beloved dessert for so many.
Beyond the incredible taste, this pie is also surprisingly versatile. It’s elegant enough to serve at a dinner party, yet simple enough to bake for a casual family gathering. The aroma alone, as it bakes, is enough to fill your home with warmth and happiness. So, are you ready to learn how to make the perfect Strawberry Peach Pie? Let’s get baking!
Ingredients:
- For the Crust:
- 2 ½ cups all-purpose flour, plus more for dusting
- 1 teaspoon salt
- 1 cup (2 sticks) unsalted butter, very cold and cut into ½-inch cubes
- ½ cup vegetable shortening, very cold
- 6-8 tablespoons ice water
- For the Filling:
- 6 cups fresh strawberries, hulled and sliced
- 4 cups fresh peaches, peeled and sliced
- ¾ cup granulated sugar, plus more for sprinkling
- ¼ cup all-purpose flour
- 2 tablespoons lemon juice
- 1 teaspoon vanilla extract
- ¼ teaspoon almond extract (optional, but adds a lovely depth)
- Pinch of salt
- 2 tablespoons butter, cut into small pieces
- For the Egg Wash (optional):
- 1 large egg
- 1 tablespoon milk or water
Preparing the Crust:
Okay, let’s tackle the crust first. A good pie starts with a great crust, and this one is flaky and delicious. Don’t be intimidated – just follow these steps carefully!
- Combine Dry Ingredients: In a large bowl, whisk together the flour and salt. This ensures the salt is evenly distributed throughout the flour, which is important for flavor and gluten development.
- Cut in the Butter and Shortening: Add the cold butter and shortening to the flour mixture. Using a pastry blender or your fingertips (work quickly!), cut the butter and shortening into the flour until the mixture resembles coarse crumbs. You should still see some pea-sized pieces of butter – these are what create those lovely flaky layers. The key here is to keep everything cold! If your hands are warm, try using the pastry blender.
- Add Ice Water: Gradually add the ice water, one tablespoon at a time, mixing gently after each addition. Use a fork or your hands to bring the dough together. Be careful not to overmix! You want the dough to just come together and form a shaggy mass. It’s better to have it a little dry than overworked.
- Divide and Chill: Divide the dough in half, flatten each half into a disc, wrap tightly in plastic wrap, and refrigerate for at least 2 hours, or preferably overnight. This allows the gluten to relax, making the dough easier to roll out and preventing it from shrinking during baking. Trust me, this chilling time is crucial!
Preparing the Filling:
While the crust is chilling, let’s get that delicious filling ready. The combination of strawberries and peaches is just heavenly!
- Prepare the Fruit: In a large bowl, combine the sliced strawberries and peaches. Make sure the peaches are peeled – nobody wants fuzzy peach skin in their pie!
- Combine Filling Ingredients: Add the granulated sugar, flour, lemon juice, vanilla extract, almond extract (if using), and salt to the fruit. Gently toss everything together until the fruit is evenly coated. The flour helps to thicken the juices as the pie bakes, preventing a soggy bottom.
- Let it Sit: Let the fruit mixture sit for about 15-20 minutes. This allows the sugar to draw out some of the juices from the fruit, creating a more flavorful and concentrated filling. You’ll notice the fruit becomes a bit more syrupy.
Assembling and Baking the Pie:
Now for the fun part – putting it all together and baking it to golden perfection!
- Preheat Oven: Preheat your oven to 400°F (200°C). Place a baking sheet on the lower rack of the oven. This will catch any drips and prevent your oven from getting messy.
- Roll Out the Bottom Crust: On a lightly floured surface, roll out one of the dough discs into a 12-inch circle. Gently transfer the dough to a 9-inch pie plate. Trim the edges of the dough, leaving about a 1-inch overhang. Crimp the edges of the dough using your fingers or a fork to create a decorative border.
- Add the Filling: Pour the strawberry-peach filling into the prepared pie crust. Dot the top of the filling with the 2 tablespoons of butter, cut into small pieces. This adds richness and flavor to the filling.
- Roll Out the Top Crust: On a lightly floured surface, roll out the second dough disc into a 12-inch circle. Carefully place the dough over the filling. Trim the edges of the dough, leaving about a 1-inch overhang. Crimp the edges of the top crust together with the bottom crust to seal the pie.
- Cut Vents: Cut several slits in the top crust to allow steam to escape during baking. This prevents the crust from puffing up and cracking. You can get creative with the vent designs!
- Egg Wash (Optional): In a small bowl, whisk together the egg and milk or water. Brush the top crust with the egg wash. This will give the crust a beautiful golden-brown color and a glossy finish.
- Sprinkle with Sugar: Sprinkle the top crust with a little granulated sugar. This adds a touch of sweetness and sparkle.
- Bake: Place the pie on the preheated baking sheet in the oven. Bake for 50-60 minutes, or until the crust is golden brown and the filling is bubbling. If the crust starts to brown too quickly, you can tent it with aluminum foil.
- Cool Completely: Let the pie cool completely on a wire rack before slicing and serving. This is crucial! If you cut into it while it’s still warm, the filling will be runny. Trust me, patience is key here. The cooling process allows the filling to set properly.
Tips for Success:
- Keep Everything Cold: This is the most important tip for making a flaky pie crust. Cold butter and shortening create steam during baking, which separates the layers of dough and results in a flaky crust.
- Don’t Overmix the Dough: Overmixing develops the gluten in the flour, which can result in a tough crust. Mix the dough just until it comes together.
- Chill the Dough: Chilling the dough allows the gluten to relax, making it easier to roll out and preventing it from shrinking during baking.
- Use a Baking Sheet: Placing the pie on a baking sheet in the oven will catch any drips and prevent your oven from getting messy.
- Tent with Foil: If the crust starts to brown too quickly, you can tent it with aluminum foil.
- Cool Completely: Let the pie cool completely before slicing and serving. This allows the filling to set properly.
Variations:
- Add Other Fruits: Feel free to add other fruits to the filling, such as blueberries, raspberries, or blackberries.
- Use Different Extracts: Experiment with different extracts, such as almond extract, lemon extract, or orange extract.
- Make a Crumble Topping: Instead of a top crust, you can make a crumble topping using flour, butter, sugar, and oats.
- Add Spices: Add a pinch of cinnamon, nutmeg, or ginger to the filling for a warm and cozy flavor.
Enjoy your homemade Strawberry Peach Pie! It’s perfect for summer gatherings, holidays, or any time you’re craving a delicious and comforting dessert.
Conclusion:
This Strawberry Peach Pie isn’t just a dessert; it’s a slice of summer sunshine baked into a flaky, golden crust. The sweet tang of strawberries perfectly complements the juicy, mellow peaches, creating a flavor explosion that will have everyone begging for seconds. I truly believe this pie is a must-try for anyone who appreciates a classic dessert with a fresh, vibrant twist. It’s the kind of pie that evokes memories of warm afternoons, family gatherings, and pure, unadulterated joy.
But don’t just take my word for it! The beauty of this recipe lies in its versatility. While I’ve shared my go-to method, feel free to experiment and make it your own. For a richer flavor, try adding a tablespoon of bourbon or rum to the fruit filling. A sprinkle of almond extract can also elevate the taste profile, adding a subtle nutty note that pairs beautifully with the peaches and strawberries. If you’re feeling adventurous, consider incorporating other stone fruits like nectarines or plums for a more complex flavor.
Serving suggestions? Oh, the possibilities are endless! A scoop of vanilla bean ice cream is a classic pairing that never fails to impress. For a lighter touch, try a dollop of freshly whipped cream or a drizzle of honey. And if you’re feeling particularly decadent, a sprinkle of toasted almonds or pecans adds a delightful crunch. I personally love serving it slightly warm, allowing the flavors to meld together even more beautifully.
Beyond the classic pie slice, consider transforming this recipe into individual hand pies for a portable treat. Simply cut the dough into smaller circles, fill with the strawberry peach mixture, and bake until golden brown. These are perfect for picnics, potlucks, or a quick and easy dessert on the go. You could even use the filling as a topping for waffles or pancakes for a truly indulgent breakfast.
I’ve poured my heart and soul into perfecting this recipe, and I’m confident that you’ll love it as much as I do. It’s a relatively simple recipe to follow, even for beginner bakers, and the results are truly spectacular. The combination of sweet, tart, and buttery flavors is simply irresistible.
So, what are you waiting for? Gather your ingredients, preheat your oven, and get ready to bake a Strawberry Peach Pie that will impress your family and friends. I’m so excited for you to experience the magic of this recipe.
And most importantly, I want to hear about your experience! Did you make any variations? What did your family think? Share your photos and stories with me in the comments below. I can’t wait to see your creations and hear about your baking adventures. Happy baking! I hope this Strawberry Peach Pie becomes a cherished recipe in your family for years to come. Remember to adjust the sugar based on the sweetness of your fruit for the perfect pie every time.
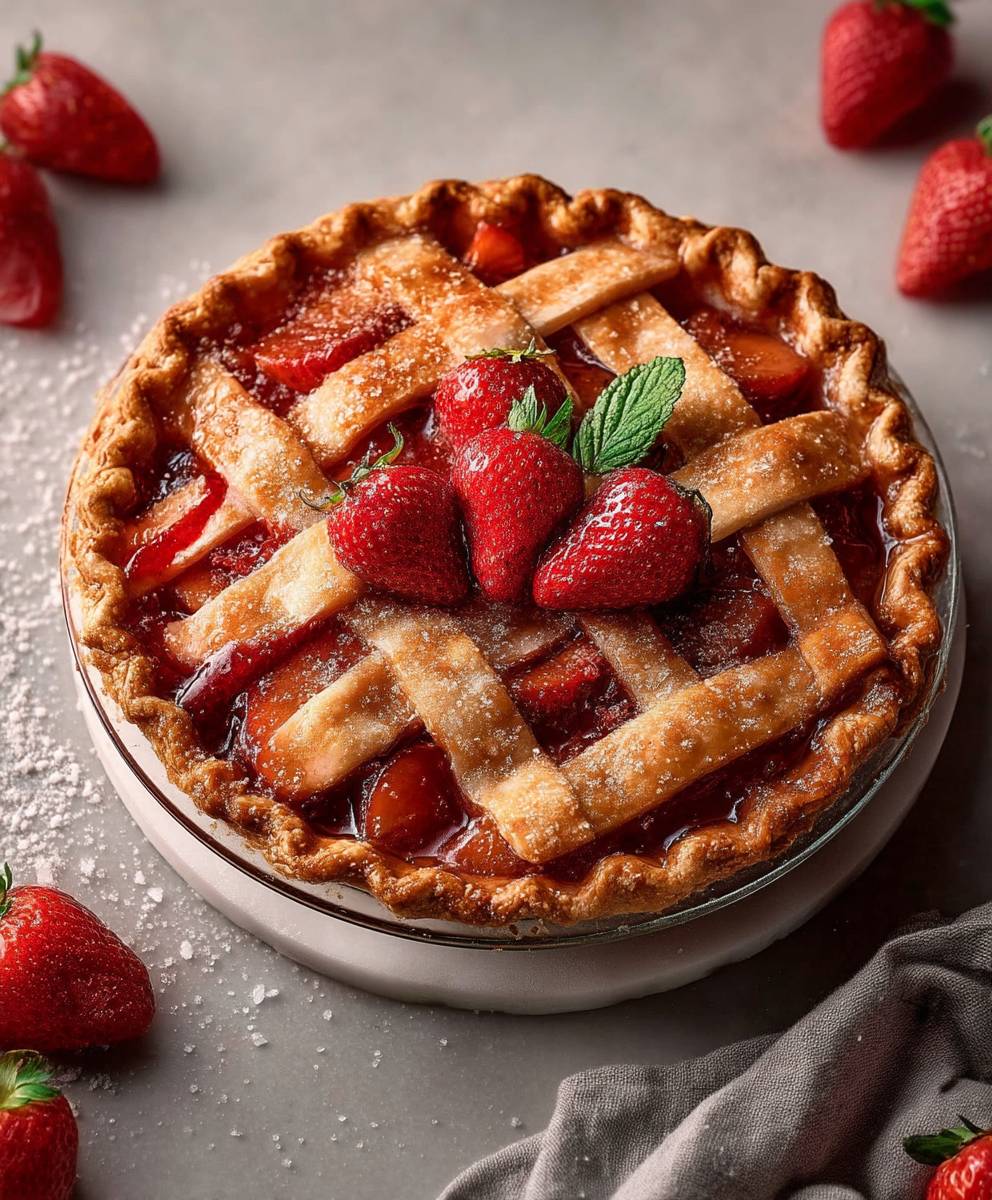
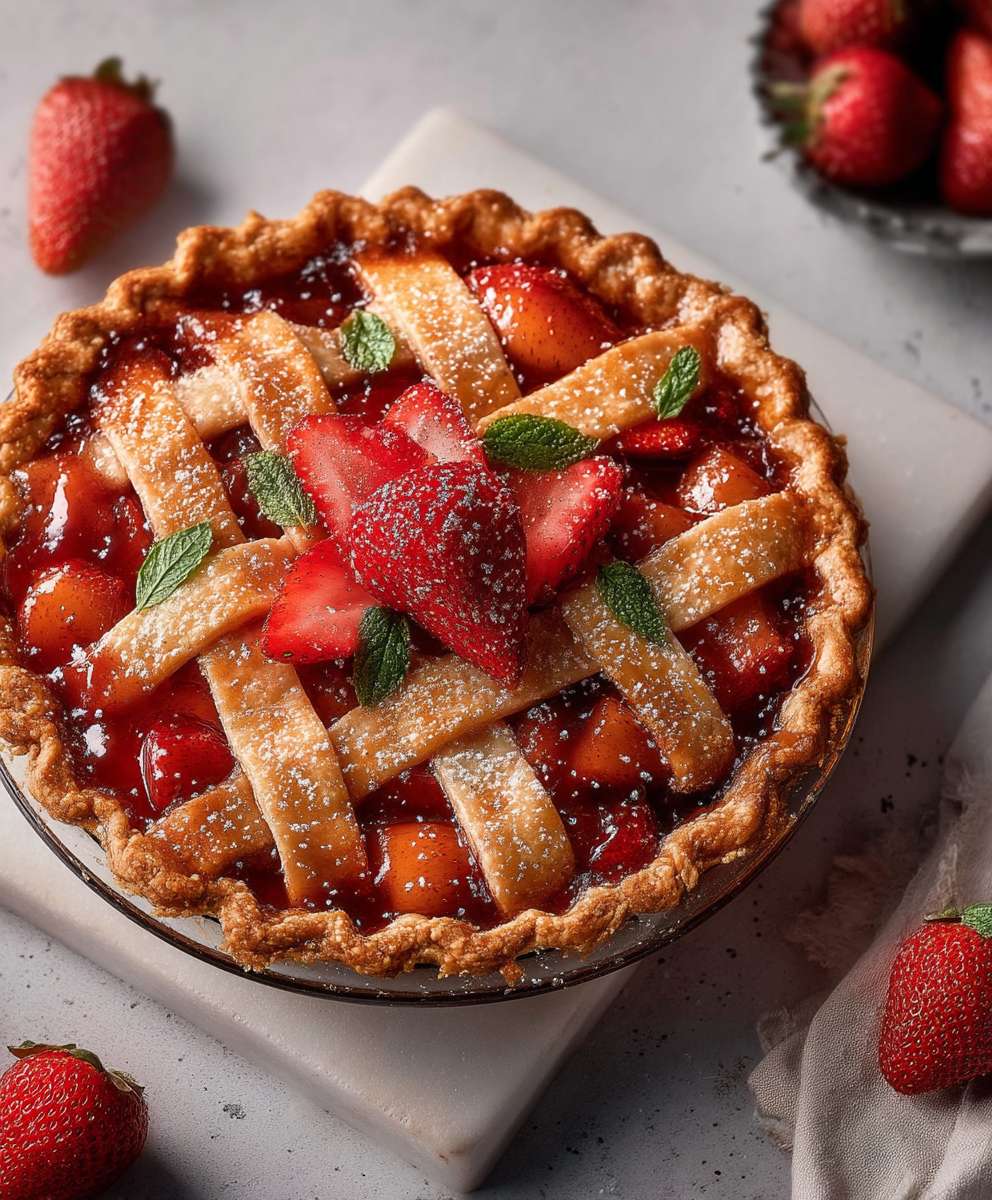
Strawberry Peach Pie: The Ultimate Summer Dessert Recipe
A classic summer pie bursting with fresh strawberries and peaches, encased in a flaky, homemade crust.
Ingredients
Instructions
Recipe Notes
- Keep all ingredients cold, especially the butter and shortening for the crust.
- Don’t overmix the dough for the crust.
- Chilling the dough is crucial for a flaky crust.
- Use a baking sheet to catch any drips.
- Tent the crust with foil if it browns too quickly.
- Cool the pie completely before slicing to allow the filling to set.
- Variations: Add other fruits, use different extracts, make a crumble topping, or add spices to the filling.