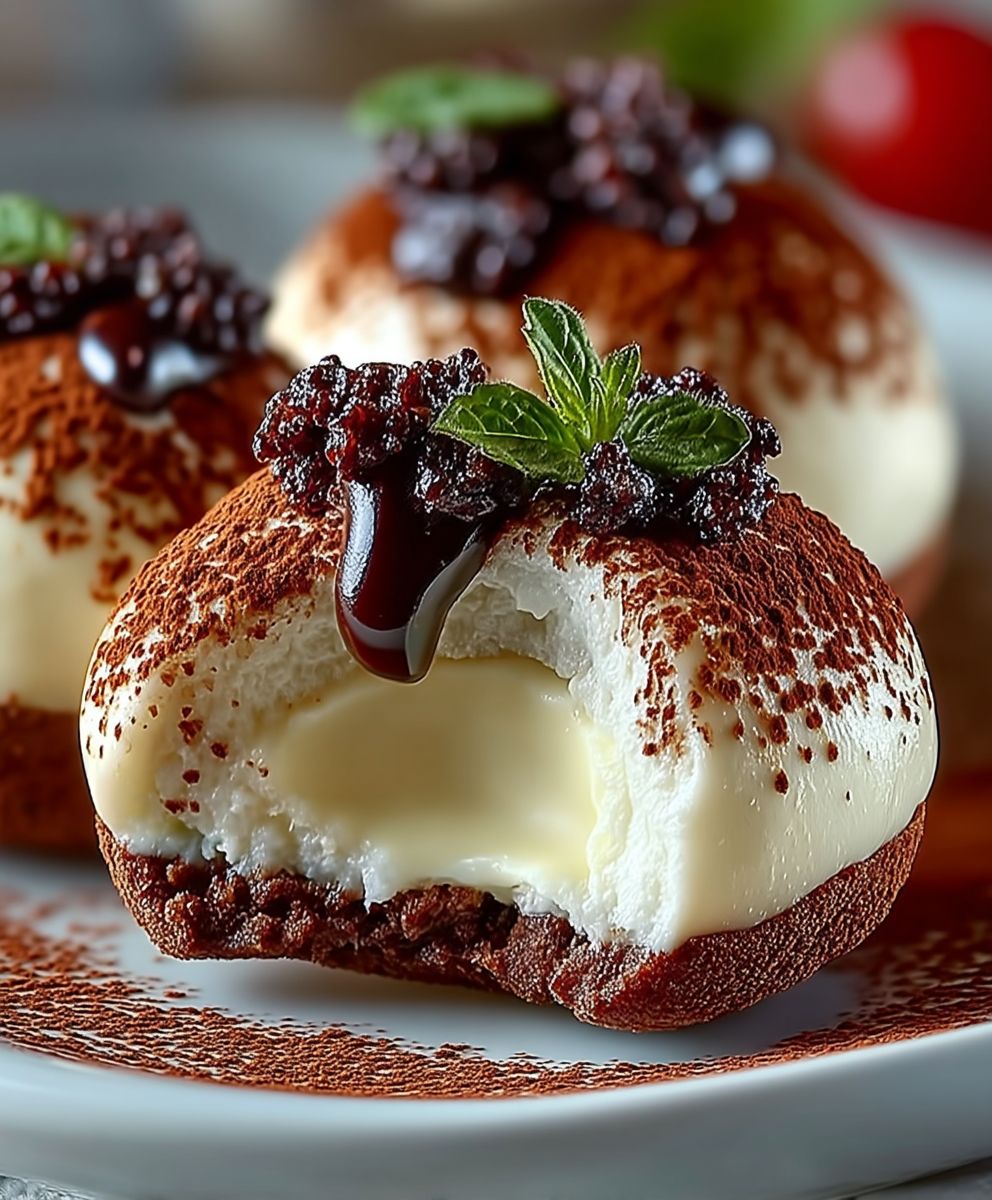
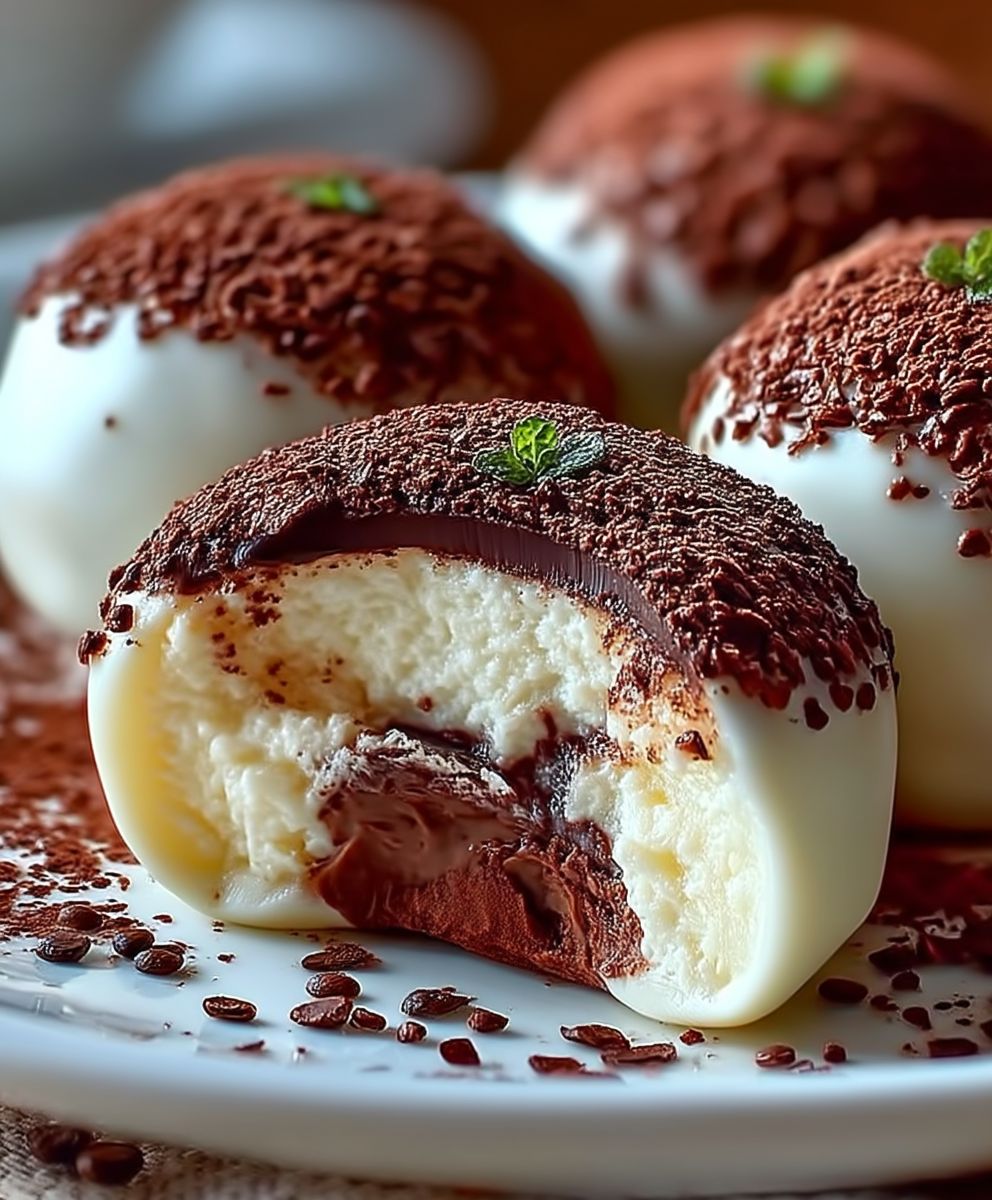
Tiramisu Truffles: Prepare to be transported to dessert heaven with these decadent, no-bake treats! Imagine the rich, coffee-soaked flavors of classic tiramisu, perfectly condensed into a bite-sized truffle that melts in your mouth. Forget fussy layers and complicated baking – this recipe delivers all the indulgence of the beloved Italian dessert in a fraction of the time and with minimal effort.
Tiramisu, meaning “pick me up” or “cheer me up” in Italian, has a relatively recent history, believed to have originated in the Veneto region of Italy in the latter half of the 20th century. While its exact origins are debated, its popularity quickly spread worldwide, becoming a staple dessert in Italian restaurants and homes alike. People adore tiramisu for its harmonious blend of textures and tastes: the creamy mascarpone, the bitter coffee, the sweet cocoa, and the delicate ladyfingers.
These Tiramisu Truffles capture that magic in a convenient, portable form. They’re perfect for parties, potlucks, or simply satisfying your sweet tooth after a long day. The creamy, coffee-infused center, coated in a dusting of cocoa powder, offers an irresistible combination of textures and flavors that will leave you craving more. Plus, the no-bake aspect makes them a breeze to whip up, even for novice bakers. Get ready to impress your friends and family with these delightful little bites of Italian-inspired bliss!
Ingredients:
- 1 (8 ounce) package cream cheese, softened
- 1/2 cup (1 stick) unsalted butter, softened
- 1/2 cup powdered sugar, sifted
- 1 teaspoon vanilla extract
- 1/4 teaspoon almond extract
- 1/4 cup strong brewed coffee, cooled
- 2 tablespoons coffee liqueur (such as Kahlua)
- 1 (10 ounce) package ladyfingers, finely crushed (about 3 cups)
- 1/2 cup unsweetened cocoa powder, for rolling
- Optional: Chocolate shavings, for garnish
Preparing the Tiramisu Truffle Mixture
- First, let’s get started by creaming together the cream cheese and butter. In a large bowl, using an electric mixer (either a stand mixer or a hand mixer), beat the softened cream cheese and butter together until they are light and fluffy. This usually takes about 3-5 minutes. Make sure to scrape down the sides of the bowl occasionally to ensure everything is evenly incorporated. We want a smooth and creamy base for our truffles!
- Next, we’ll add the powdered sugar. Gradually add the sifted powdered sugar to the cream cheese mixture, beating on low speed until fully incorporated. Sifting the powdered sugar is crucial to prevent any lumps in our truffle mixture. Again, scrape down the sides of the bowl as needed.
- Now for the flavor! Add the vanilla extract, almond extract, cooled strong brewed coffee, and coffee liqueur to the mixture. Beat until everything is well combined. The coffee and liqueur will give our truffles that classic tiramisu flavor we all love. Don’t worry about the alcohol content; it’s minimal and mostly just adds flavor.
- It’s time to incorporate the ladyfingers. Gradually add the finely crushed ladyfingers to the cream cheese mixture, mixing on low speed until everything is evenly distributed. The ladyfingers will provide the structure and texture for our truffles. Make sure there are no large clumps of ladyfingers remaining. You want a consistent mixture throughout. If the mixture seems too wet, you can add a bit more crushed ladyfingers, a tablespoon at a time, until you reach the desired consistency. The mixture should be firm enough to hold its shape when rolled into balls.
- Once everything is thoroughly combined, cover the bowl with plastic wrap and refrigerate the mixture for at least 2 hours, or preferably overnight. This chilling time is essential because it allows the mixture to firm up, making it much easier to roll into truffles. Trust me, you don’t want to skip this step! The longer it chills, the better the truffles will hold their shape.
Rolling and Coating the Truffles
- After the mixture has chilled sufficiently, it’s time to roll the truffles. Remove the bowl from the refrigerator. Line a baking sheet with parchment paper or wax paper. This will prevent the truffles from sticking to the sheet.
- Using a small cookie scoop or a spoon, scoop out about 1 tablespoon of the chilled mixture. Roll it between your palms to form a smooth ball. Don’t worry if they’re not perfectly round; they’ll still taste amazing! If the mixture is sticking to your hands, you can lightly dust your hands with powdered sugar or cocoa powder.
- Place the rolled truffle onto the prepared baking sheet. Repeat this process with the remaining mixture, spacing the truffles evenly on the sheet.
- Once all the truffles are rolled, place the baking sheet back into the refrigerator for another 30 minutes. This will help them firm up even further before we coat them. This step is optional, but I highly recommend it, especially if your kitchen is warm.
- While the truffles are chilling for the second time, prepare your cocoa powder for coating. Place the unsweetened cocoa powder in a shallow dish or bowl.
- Remove the baking sheet from the refrigerator. One at a time, gently roll each truffle in the cocoa powder, ensuring it is completely coated. You can use a fork or a spoon to help roll the truffles in the cocoa powder without getting your hands too messy.
- Place the coated truffles back onto the baking sheet.
Finishing Touches and Storage
- If desired, garnish the truffles with chocolate shavings. You can use a vegetable peeler to create chocolate shavings from a bar of dark chocolate or milk chocolate. Gently press the shavings onto the tops of the truffles.
- Refrigerate the finished truffles for at least 30 minutes before serving. This will allow the cocoa powder to set and the truffles to firm up completely.
- Store the tiramisu truffles in an airtight container in the refrigerator for up to 1 week. They are best enjoyed cold.
- For longer storage, you can freeze the truffles. Place them in a single layer on a baking sheet and freeze for about 2 hours, or until solid. Then, transfer them to a freezer-safe container or bag. They can be stored in the freezer for up to 2 months. Thaw them in the refrigerator before serving.
Tips and Variations:
- Coffee Strength: The strength of your brewed coffee will affect the overall flavor of the truffles. I recommend using a strong, dark roast coffee for the best results. You can also use espresso if you have it on hand.
- Liqueur Options: If you don’t have coffee liqueur, you can substitute it with another liqueur, such as amaretto or rum. Or, you can simply omit it altogether. The truffles will still be delicious!
- Ladyfinger Alternatives: If you can’t find ladyfingers, you can use sponge cake or biscotti as a substitute. Just make sure to crush them finely.
- Coating Variations: Instead of cocoa powder, you can coat the truffles in melted chocolate, chopped nuts, or sprinkles. Get creative and experiment with different coatings!
- Chocolate Drizzle: For an extra touch of elegance, drizzle the truffles with melted chocolate after they have been coated in cocoa powder.
- Espresso Powder: Adding a teaspoon of espresso powder to the truffle mixture will intensify the coffee flavor.
- Mascarpone Cheese: For a richer and more authentic tiramisu flavor, you can substitute half of the cream cheese with mascarpone cheese.
- Serving Suggestions: These tiramisu truffles are perfect for parties, holidays, or any special occasion. They also make a great homemade gift. Serve them with a cup of coffee or espresso for the ultimate tiramisu experience.
Troubleshooting:
- Truffle Mixture Too Soft: If the truffle mixture is too soft to roll, add more crushed ladyfingers, a tablespoon at a time, until you reach the desired consistency. You can also chill the mixture for a longer period of time.
- Truffles Sticking to Hands: If the truffles are sticking to your hands, lightly dust your hands with powdered sugar or cocoa powder.
- Cocoa Powder Not Sticking: If the cocoa powder is not sticking to the truffles, make sure the truffles are cold and slightly damp. You can also lightly spray them with water before rolling them in the cocoa powder.
These Tiramisu Truffles are a delightful and easy-to-make treat that captures the essence of classic tiramisu in a bite-sized form. Enjoy!

Conclusion:
And there you have it! These Tiramisu Truffles are truly a must-try for any dessert lover, especially if you’re a fan of the classic Italian treat. The rich, coffee-soaked ladyfinger flavor combined with the creamy mascarpone and a hint of cocoa creates an irresistible bite-sized indulgence. They’re elegant enough for a special occasion, yet simple enough to whip up for a weeknight treat. Trust me, once you taste one, you won’t be able to stop!
What makes these truffles so special is their perfect balance of flavors and textures. The slight bitterness of the coffee beautifully complements the sweetness of the mascarpone and chocolate, while the dusting of cocoa powder adds a touch of sophistication. Plus, they’re incredibly easy to make – no baking required! This makes them a fantastic option when you’re short on time but still want to impress.
But the best part? You can easily customize these Tiramisu Truffles to your liking. For a boozier version, add a tablespoon or two of your favorite coffee liqueur, like Kahlua or Tia Maria, to the mascarpone mixture. If you prefer a stronger coffee flavor, use espresso powder instead of instant coffee. You could even experiment with different types of chocolate for coating – dark chocolate for a more intense flavor, or white chocolate for a sweeter twist.
Serving suggestions are endless! These truffles are perfect on their own as an after-dinner treat, or you can arrange them on a platter for a beautiful dessert display. They also make a wonderful addition to a gift basket or a homemade food gift. Imagine surprising your friends and family with a batch of these decadent delights! You can also serve them alongside a scoop of vanilla ice cream or a cup of hot coffee for an extra special treat. For a truly indulgent experience, try pairing them with a glass of dessert wine, such as Vin Santo or Moscato d’Asti.
I’m so excited for you to try this recipe and experience the magic of Tiramisu Truffles for yourself. They’re guaranteed to be a crowd-pleaser, and I have a feeling they’ll become a new favorite in your household. Don’t be afraid to get creative with the variations and make them your own!
So, what are you waiting for? Gather your ingredients, put on some music, and get ready to embark on a truffle-making adventure. I promise you won’t regret it! And when you do make them, please, please, please share your experience with me! I’d love to hear what you think, what variations you tried, and how much everyone enjoyed them. You can leave a comment below, tag me on social media (I’m always lurking!), or even send me an email. I can’t wait to see your creations and hear your stories. Happy truffle-making! I hope you enjoy these little bites of heaven as much as I do. They are truly a special treat.
Tiramisu Truffles: The Ultimate Guide to Making Delicious Dessert
Creamy, coffee-infused Tiramisu Truffles coated in cocoa powder. These decadent, bite-sized treats require no baking and are the perfect dessert.
Ingredients
Instructions
Recipe Notes
- Coffee Strength: Use a strong, dark roast coffee or espresso for the best flavor.
- Liqueur Options: Substitute coffee liqueur with amaretto, rum, or omit it.
- Ladyfinger Alternatives: Use sponge cake or biscotti if you can’t find ladyfingers.
- Coating Variations: Coat in melted chocolate, chopped nuts, or sprinkles instead of cocoa powder.
- Chocolate Drizzle: Drizzle with melted chocolate after coating in cocoa powder.
- Espresso Powder: Add a teaspoon of espresso powder to the truffle mixture for a stronger coffee flavor.
- Mascarpone Cheese: Substitute half of the cream cheese with mascarpone cheese for a richer flavor.
- Truffle Mixture Too Soft: Add more crushed ladyfingers or chill for longer.
- Truffles Sticking to Hands: Dust hands with powdered sugar or cocoa powder.
- Cocoa Powder Not Sticking: Make sure truffles are cold and slightly damp. Lightly spray with water before rolling.


