Thanksgiving Mocktail Recipe is a delightful way to elevate your holiday gathering without the buzz of alcohol. As families come together to celebrate gratitude, this refreshing drink brings everyone to the table, allowing both adults and kids to indulge in something special. The significance of a Thanksgiving Mocktail Recipe lies not just in its vibrant flavors, but also in its ability to foster inclusivity. While traditional Thanksgiving feasts often focus on rich flavors and hearty dishes, this mocktail serves as a bright, sparkling centerpiece that everyone can enjoy. With a blend of seasonal ingredients like cranberries, apples, and spices, it perfectly captures the essence of fall festivities, making it a favorite among those seeking a festive yet non-alcoholic option.
What Is Thanksgiving Mocktail Recipe
The Thanksgiving Mocktail Recipe is a delightful beverage that combines the best flavors of the season into a non-alcoholic treat. Featuring ingredients that evoke the warmth and spice of Thanksgiving, it boasts a fizzy, refreshing texture that dances on your palate. Unlike traditional cocktails that might pack a punch, this mocktail offers a harmonious blend of sweetness from fruits and a hint of spice, making it a great alternative for those who prefer to keep it light. Imagine a drink that’s as festive as a pumpkin pie, yet effervescent enough to brighten your holiday spirit—this is what the Thanksgiving Mocktail delivers.
Why You’ll Fall in Love with This Recipe
- Easy to make with simple ingredients.
- Deliciously festive and visually appealing.
- Family-friendly—perfect for guests of all ages.
- A refreshing alternative to traditional holiday drinks.
How Does It Taste?
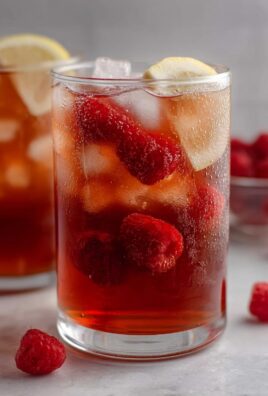
When you take a sip of the Thanksgiving Mocktail Recipe, you are greeted with a burst of sweet cranberry, a hint of tart apple, and a whisper of cinnamon that warms the soul. The sparkling water adds a playful fizz, while the vibrant colors invite you to indulge. Each sip envelops your senses, offering a perfect balance of sweetness and spice that feels both comforting and celebratory. It’s like wrapping yourself in a cozy blanket by the fireplace while surrounded by loved ones, making this mocktail not just a drink but an experience.
Health & Ingredient Benefits
This mocktail is not only delicious but also packed with wholesome ingredients. Cranberries are known for their antioxidant properties, while fresh apple juice provides a natural sweetness without added sugars. A dash of cinnamon not only enhances the flavor but also supports digestion. Together, these ingredients create a festive drink that’s as good for your body as it is for your spirit, making the Thanksgiving Mocktail Recipe a guilt-free indulgence during the holiday season.

Ingredients You’ll Need
- 2 cups apple cider – This sweet and tangy base captures the essence of fall.
- 1 cup cranberry juice – Adds a vibrant color and tartness that balances the sweetness.
- 1 cup sparkling water – Provides fizz and a refreshing lightness to the mocktail.
- 1 tablespoon fresh lime juice – Brightens the flavors and adds a zesty kick.
- 1 teaspoon ground cinnamon – Infuses warm spice notes that evoke the Thanksgiving spirit.
- 1/2 teaspoon ground ginger – Adds a subtle warmth and spiciness to the drink.
- Fresh apple slices and cranberries – For garnish, adding visual appeal and a hint of freshness.
- Ice cubes – To chill the drink and keep it refreshing.
Tools You’ll Need
- Large pitcher – For mixing and serving the mocktail.
- Measuring cups – To ensure accurate ingredient quantities.
- Spoon or whisk – For stirring the mixture well.
- Serving glasses – To present the mocktail beautifully.
- Juicer (optional) – If you prefer to squeeze fresh limes.
Optional Substitutions & Additions
- Use pear juice instead of apple cider for a different flavor profile.
- Opt for flavored sparkling water (like cranberry-lime) to enhance the drink.
- For a sweeter mocktail, add a splash of maple syrup or honey.
- Experiment with fresh herbs like mint or rosemary for added aroma and taste.
How to Make Thanksgiving Mocktail Recipe
Step 1: Prepare the Base
In a large pitcher, combine the apple cider and cranberry juice. Stir gently until well mixed, creating a beautiful blend of rich colors.
Step 2: Add the Flavors
Pour in the fresh lime juice, ground cinnamon, and ground ginger. Stir the mixture thoroughly with a spoon or whisk, allowing the spices to infuse their warmth into the juices.
Step 3: Incorporate the Fizz
Slowly add the sparkling water to the pitcher, stirring gently to maintain the carbonation. You’ll notice the bubbles dancing, adding a festive feel to your mocktail.
Step 4: Chill and Serve
Add ice cubes to serving glasses. Pour the mocktail mixture over the ice, filling each glass to your desired level. Top with fresh apple slices and cranberries for a pop of color and freshness.
What to Serve With
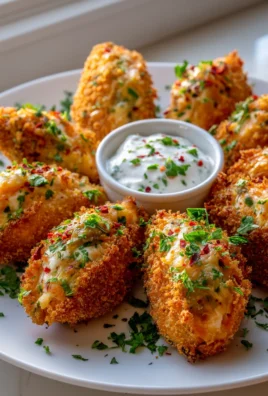
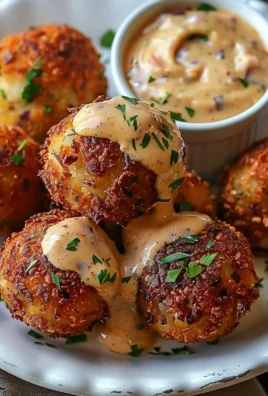
This Thanksgiving mocktail pairs wonderfully with roasted turkey, cranberry sauce, and savory stuffing. For a complete festive experience, serve alongside pumpkin pie or pecan pie. It also complements light appetizers like cheese platters or veggie trays.
Tips for Success
- Make the mocktail ahead of time, but add the sparkling water just before serving to maintain its fizz.
- Chill your ingredients in advance to keep the drink cool and refreshing without diluting it with ice.
- Adjust the sweetness by experimenting with the ratios of apple cider to cranberry juice based on your taste preference.
- Garnish each glass with a cinnamon stick for a festive touch and an extra hint of flavor.
Common Mistakes to Avoid
- Using flat sparkling water – Always add it last to keep the drink bubbly and lively.
- Skipping the garnishes – They not only enhance presentation but also add aromatic elements.
- Not tasting as you go – Adjust sweetness and spice levels based on your personal preference during the mixing process.
- Over-mixing – Stir gently to preserve the carbonation in the sparkling water.
How to Store & Reheat
Storing
If you have leftover mocktail, store it in an airtight container in the refrigerator for up to 24 hours. Remember to keep the sparkling water separate if possible, to maintain fizziness.
Reheating
This mocktail is best served chilled and should not be reheated. Instead, consider making a warm version by heating the apple cider and spices in a pot, but skip the carbonation.
Frequently Asked Questions
- Can I make this mocktail in advance? Yes, you can prepare the juice mixture ahead of time, but add the sparkling water just before serving.
- Is it suitable for kids? Absolutely! This mocktail is alcohol-free and perfect for all ages.
- Can I add alcohol if desired? Yes, you can easily add a splash of rum or vodka for an adult version.
- What other juices can I use? Feel free to experiment with pomegranate juice or grape juice for different flavors.
Nutritional Info
This Thanksgiving mocktail contains approximately 80 calories per serving, with a balanced mix of carbohydrates (20g), sugars (15g), and negligible fat and protein. It’s a festive drink that’s light yet flavorful, perfect for celebrating the holiday without the extra calories from alcohol.

Final Thoughts
If you’re looking for a delightful way to celebrate the holiday spirit without the alcohol, then the Thanksgiving Mocktail Recipe is a must-try! This refreshing and festive drink not only captures the vibrant flavors of the season but also brings everyone together, whether they’re sipping responsibly or simply enjoying a delicious beverage. With its beautiful colors and aromatic ingredients, this mocktail is sure to impress your guests and add a special touch to your Thanksgiving gathering. So gather your friends and family, mix up this delightful concoction, and toast to gratitude and joy this holiday season!
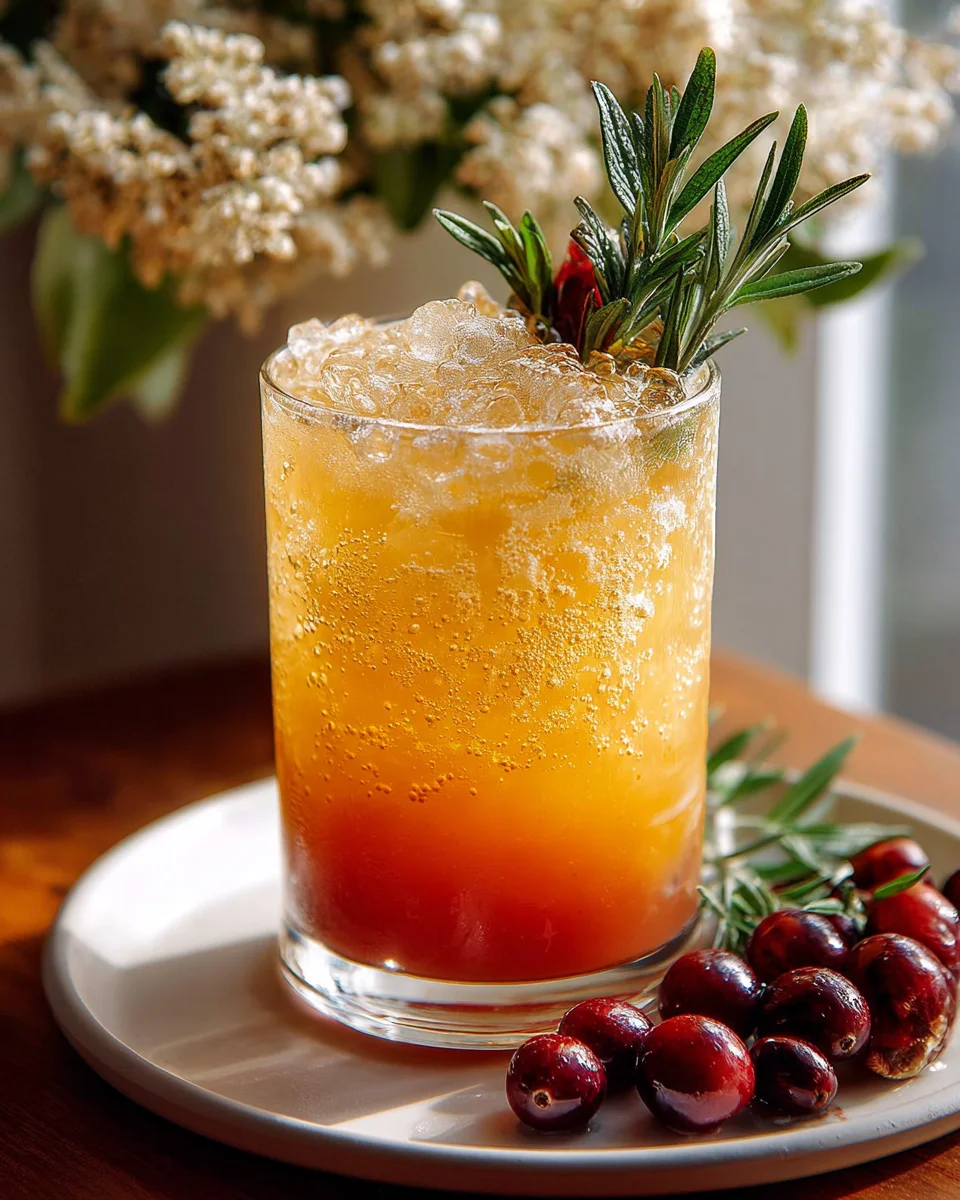
Thanksgiving Mocktail Recipe
A festive, non-alcoholic drink made with cranberry, orange, and lemon juice, sweetened with honey and finished with bubbly club soda. It’s refreshing, vibrant, and perfect for the holiday table.
Ingredients You’ll Need
- 2 cups cranberry juice
- 1 cup fresh orange juice
- 1/2 cup club soda
- 2 tbsp honey
- 1 tbsp fresh lemon juice
- 4 sprigs fresh rosemary
- 1 cup fresh cranberries
Instructions
-
Step 1
In a large pitcher, combine cranberry juice, orange juice, club soda, honey, and lemon juice. Stir until honey dissolves completely. -
Step 2
Add rosemary sprigs and fresh cranberries. Stir gently to incorporate garnishes. -
Step 3
Fill serving glasses with ice, then pour mocktail over the top. -
Step 4
Garnish each glass with extra rosemary and cranberries. Serve immediately.
Important Information
Nutrition Facts
Per serving: ~350 calories. Based on a 2000 calorie diet.
Allergy Information
Always check labels for specific allergen information.