
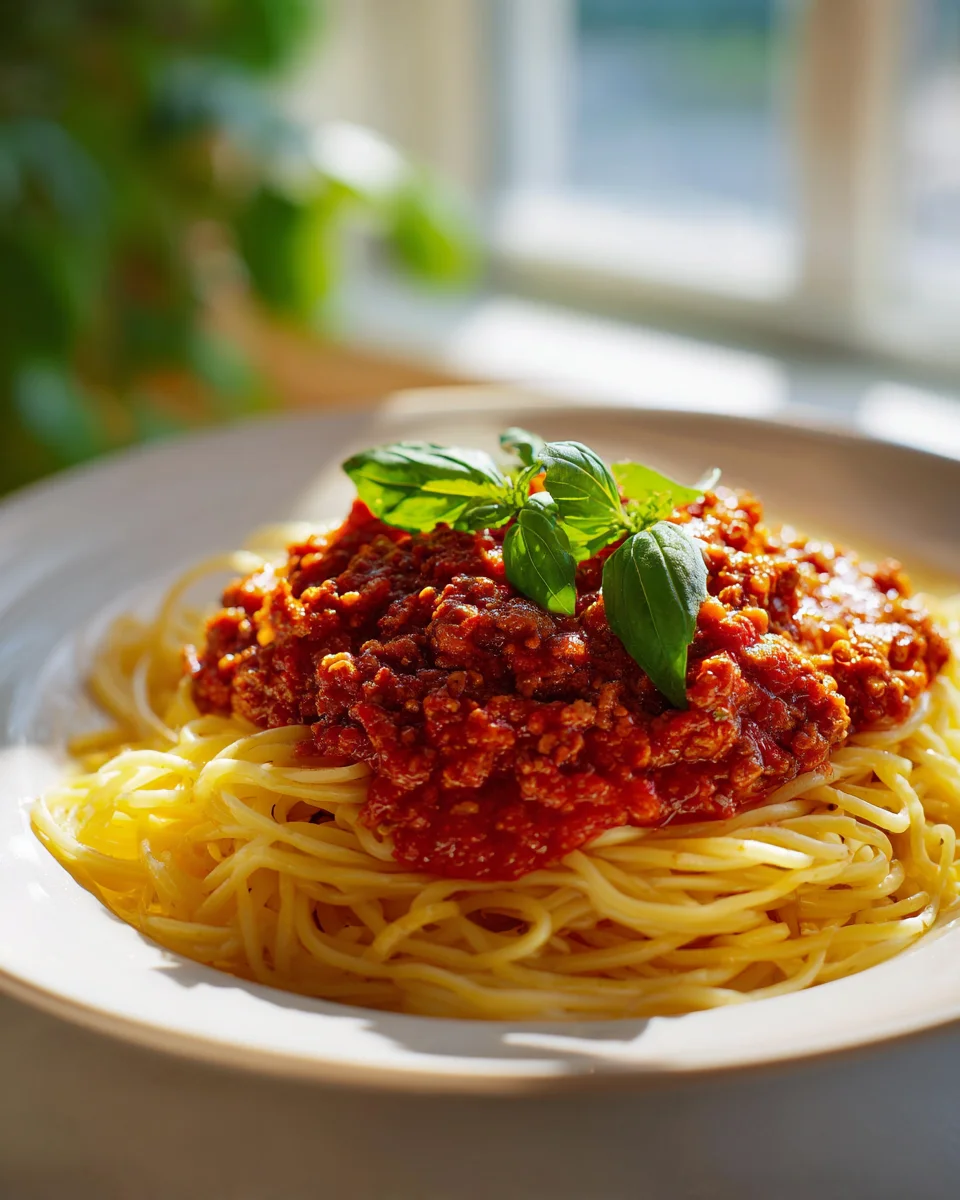
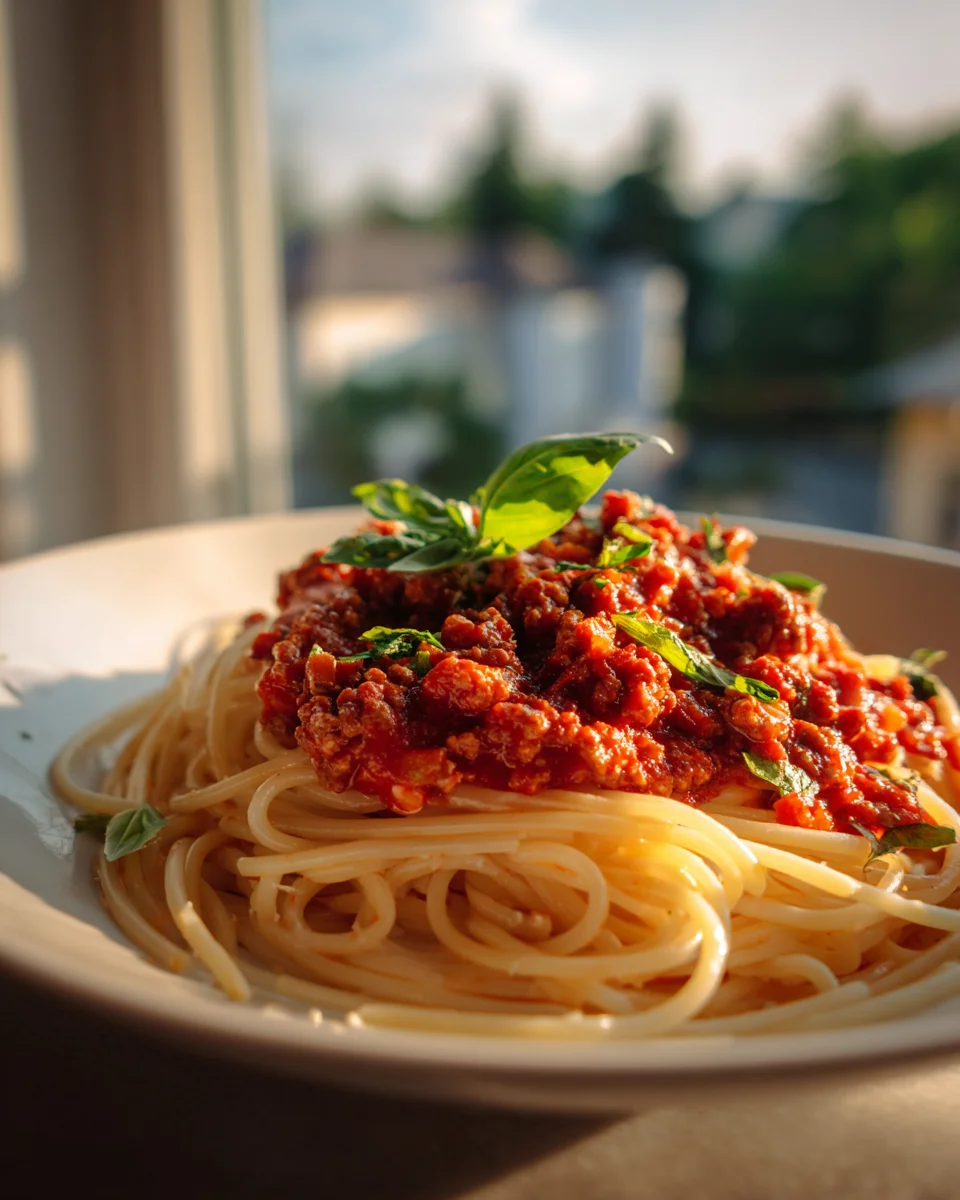
Classic Spaghetti With Rich Tomato Meat Sauce
Ah, there’s nothing quite like a truly authentic Classic Spaghetti With Rich Tomato Meat Sauce, is there? For me, this isn’t just a recipe; it’s a warm embrace in a bowl, a timeless go-to that consistently brings smiles and contented sighs to the table. What makes this particular Classic Spaghetti With Rich Tomato Meat Sauce so incredibly special? It’s all in the dedication to that rich, slow-simmered sauce, my friends. We’re talking about a deeply flavorful, hearty masterpiece built around tender ground beef, sweet, ripe tomatoes, aromatic herbs, and those essential foundational ingredients that make a truly great meat sauce sing.
You are going to absolutely adore this recipe because it delivers on every promise of a truly classic spaghetti dish: it’s comforting, incredibly satisfying, and utterly delicious. It’s the kind of meal that transforms a busy weeknight into a cozy family dinner, and it’s always, always a crowd-pleaser. The deep, complex flavors of the sauce, enhanced beautifully by a non-alcohol alternative that adds wonderful depth without any fuss, are incredibly rewarding and easier to achieve than you might think.
In a nutshell, we’ll be crafting perfectly al dente spaghetti, generously coated in a robust, savory tomato and ground beef sauce that has been simmered patiently until every ingredient melds into a harmonious symphony of flavor. Get ready for pure comfort and a meal that tastes like home!
Ingredient Notes
Crafting a truly classic spaghetti with a rich tomato meat sauce starts with understanding the role each ingredient plays. It’s about building layers of flavor that will simmer together beautifully. Here’s what I find essential and some handy substitutions.
- Ground Beef: For that rich, hearty meat sauce, I always go for a good quality ground beef. A blend like 80/20 lean-to-fat ratio is ideal as the fat renders down, infusing the sauce with incredible flavor. If you prefer a leaner sauce, 90/10 works too, but you might want to add a little extra olive oil when browning the meat. This is the heart of our meat sauce, providing deep umami and texture.
- Canned Tomatoes: This is where the richness truly comes from! I swear by San Marzano crushed tomatoes. Their natural sweetness and balanced acidity are unmatched. If you can’t find San Marzano, a high-quality brand of crushed tomatoes, diced tomatoes, or even whole peeled tomatoes that you crush by hand will work wonderfully. Avoid anything with added sugar or seasonings if possible, as we want to control the flavor profile ourselves.
- Aromatics (Onion, Garlic, Celery, Carrot): This “soffritto” base is non-negotiable for me. Finely diced yellow onion, minced garlic, and a little finely diced celery and carrot create a sweet, aromatic foundation that gives the sauce incredible depth right from the start. They soften and practically melt into the sauce, making it taste like it’s been cooking all day.
- Tomato Paste: This little powerhouse is crucial for intensifying the tomato flavor. When you cook it down with the aromatics, it develops a deep, concentrated sweetness and acidity that provides a backbone for the entire sauce. Don’t skip this step!
- Beef Broth (or Vegetable Broth): Instead of alcohol, I love using beef broth (or even vegetable broth) to deglaze the pan and add moisture and flavor to the sauce. It contributes to the rich, savory profile without overpowering the tomatoes or meat. Make sure it’s a good quality broth for the best results.
- Herbs & Spices: Dried oregano and basil are my go-to’s for an authentic Italian-American flavor. A bay leaf added during simmering also works wonders, lending a subtle aromatic note. Fresh parsley at the end adds brightness. Of course, salt and freshly ground black pepper are essential for seasoning throughout.
- Spaghetti: It’s called “Classic Spaghetti” for a reason! Long, thin strands are perfect for twirling and clinging to that luscious meat sauce. I always choose a good quality durum wheat spaghetti that holds its shape well when cooked al dente.
- Parmesan Cheese: Freshly grated Parmesan or Pecorino Romano cheese for serving is a must. Its salty, nutty flavor perfectly complements the richness of the sauce.
Step-by-Step Instructions
Let’s get cooking! This is how I build my classic spaghetti with a rich tomato meat sauce, step by delicious step. The key is patience, especially during the simmering stage.
- Prepare Your Base (Soffritto): In a large, heavy-bottomed pot or Dutch oven, heat about 2 tablespoons of olive oil over medium heat. Add your finely diced onion, celery, and carrot. Sauté gently, stirring occasionally, until they are very soft and translucent, about 8-10 minutes. This slow cooking allows their sweetness to develop.
- Brown the Beef: Add your ground beef to the pot with the softened aromatics. Break it up with a wooden spoon and cook, stirring frequently, until it’s evenly browned and no pink remains. This usually takes about 7-10 minutes. Once browned, carefully drain off any excess fat from the pot. This keeps the sauce from becoming greasy.
- Deepen the Tomato Flavor: Push the beef and vegetables to one side of the pot. Add 2 tablespoons of tomato paste to the cleared spot. Cook the tomato paste, stirring it for about 2-3 minutes, until it darkens slightly and becomes fragrant. This caramelizes the paste and significantly deepens its flavor. Then, stir in the minced garlic and cook for just 1 minute more, until fragrant, being careful not to burn it.
- Deglaze and Add Liquid: Pour in 1 cup of beef broth. Use your wooden spoon to scrape up any browned bits stuck to the bottom of the pot. These bits are packed with flavor! Let the broth simmer for a minute or two, reducing slightly.
- Bring on the Tomatoes & Seasonings: Now, add your 28-ounce can of crushed tomatoes to the pot. Stir in 1 teaspoon of dried oregano, 1 teaspoon of dried basil, and tuck in a bay leaf. Season generously with salt and freshly ground black pepper. Give everything a good stir to combine.
- Simmer for Richness: Bring the sauce to a gentle simmer. Once simmering, reduce the heat to low, cover the pot partially (leaving a small gap for steam to escape), and let it cook for at least 1 to 2 hours, or even longer if you have the time. The longer it simmers, the more the flavors meld and deepen, and the sauce will thicken beautifully. Stir occasionally to prevent sticking. Towards the end of the simmering time, taste and adjust seasoning as needed. You might find a pinch of sugar helps balance the acidity of the tomatoes.
- Cook the Spaghetti: About 20 minutes before you’re ready to serve, bring a large pot of heavily salted water to a rolling boil. Add the spaghetti and cook according to package directions until al dente – tender but still with a slight bite. Remember to reserve about 1 cup of the starchy pasta cooking water before draining the spaghetti.
- Combine and Serve: Drain the spaghetti well. You can either toss the spaghetti directly with a generous amount of sauce in the pot, or serve individual portions of spaghetti topped with the rich meat sauce. If the sauce seems too thick, add a splash of the reserved pasta water to loosen it up. Garnish with fresh parsley (if using) and plenty of freshly grated Parmesan cheese. Enjoy!
Tips & Suggestions
Making a fantastic spaghetti with meat sauce is all about those little touches that elevate it from good to truly memorable. Here are some of my favorite tips:
- Don’t Rush the Simmer: Seriously, this is the most important tip. While the sauce is edible after 30 minutes, giving it a good 1.5 to 2 hours (or even more!) to gently simmer allows all those flavors to truly meld and deepen. It transforms from a collection of ingredients into a harmonious, rich sauce.
- Taste and Adjust Seasoning: Throughout the cooking process, especially towards the end of the simmer, taste your sauce. Add more salt, pepper, or even a tiny pinch of sugar (to balance acidity) if needed. Each batch of tomatoes can be different, so trust your palate!
- The Magic of Pasta Water: Never forget to reserve some of that starchy pasta water! When you toss the spaghetti with the sauce, adding a splash of this water helps the sauce cling to the pasta beautifully. It also helps to emulsify the sauce and thicken it slightly, creating a more cohesive dish.
- Al Dente is Key: Overcooked, mushy pasta is a tragedy. Cook your spaghetti just until it’s al dente – firm to the bite. It will continue to cook slightly when tossed with the hot sauce.
- Fresh Herbs at the End: While dried herbs are great for simmering, a sprinkle of fresh chopped basil or parsley just before serving adds a wonderful burst of freshness and color that brightens the whole dish.
- Choose Your Cheese Wisely: Freshly grated Parmesan or Pecorino Romano makes all the difference. Pre-grated cheeses often lack flavor and can have an undesirable texture. A microplane makes grating easy!
- Make Extra: This sauce freezes beautifully, and frankly, it often tastes even better the next day. You’ll thank yourself later for having a batch ready to go.
Storage
One of the best things about this classic spaghetti with rich tomato meat sauce is how well it stores. It’s perfect for meal prep or enjoying leftovers!
- Refrigeration:
- Sauce Only: Allow the meat sauce to cool completely before transferring it to an airtight container. It will keep beautifully in the refrigerator for up to 3-4 days.
- Combined (Sauce & Pasta): If you’ve already tossed the spaghetti with the sauce, it can also be stored in an airtight container in the refrigerator for 2-3 days. Note that the pasta might absorb more sauce and soften slightly over time.
- Freezing:
- Sauce Only: The meat sauce freezes exceptionally well! Once cooled completely, transfer it to freezer-safe containers or heavy-duty freezer bags. It can be frozen for up to 3 months. For best results, thaw overnight in the refrigerator before reheating.
- Combined (Sauce & Pasta): While you can freeze combined spaghetti and sauce, the pasta texture can become a bit mushy upon thawing and reheating. I generally recommend freezing the sauce separately for the best quality results.
- Reheating:
- From the Refrigerator: Reheat the sauce gently in a saucepan over medium-low heat, stirring occasionally, until heated through. If it’s too thick, add a splash of water or broth. If reheating combined spaghetti and sauce, you can warm it gently in a pan or microwave, adding a tiny bit of water if needed to loosen it.
- From the Freezer: Thaw the sauce in the refrigerator overnight. Then, reheat it on the stovetop as described above.
Final Thoughts
So there you have it! My take on the truly comforting Classic Spaghetti With Rich Tomato Meat Sauce. I find that this recipe isn’t just about feeding hunger; it’s about creating warmth and joy around the table. The deep, savory notes from the beef, simmered to perfection in that luscious tomato sauce, truly make every bite a delight. And for those who prefer, knowing that you can achieve such incredible depth of flavor with non-alcohol alternatives makes it even more accessible and universally loved. This isn’t just another pasta dish; it’s a timeless classic, perfected to bring pure satisfaction. I promise, once you experience the hearty, comforting embrace of this Classic Spaghetti With Rich Tomato Meat Sauce, you’ll understand why it’s a cherished favorite and a definite must-try in your culinary repertoire.

Classic Spaghetti & Rich Beef Tomato Sauce Recipe
- Total Time: 2 hours 15 minutes
- Yield: 4 servings 1x
Description
Experience the comforting embrace of Classic Spaghetti With Rich Tomato Meat Sauce, a timeless dish that brings smiles to the table. This hearty meal features a slow-simmered sauce filled with tender ground beef and aromatic herbs, perfect for any family dinner.
Ingredients
- 2 tablespoons olive oil
- 1 finely diced yellow onion
- 1 finely diced celery
- 1 finely diced carrot
- 1 pound ground beef (80/20 or 90/10)
- 2 tablespoons tomato paste
- 1 cup beef broth (or vegetable broth)
- 28 ounces crushed tomatoes (preferably San Marzano)
- 1 teaspoon dried oregano
- 1 teaspoon dried basil
- 1 bay leaf
- Salt to taste
- Freshly ground black pepper to taste
- Spaghetti (durum wheat)
- Fresh parsley (for garnish)
- Freshly grated Parmesan or Pecorino Romano cheese (for serving)
Instructions
- In a large, heavy-bottomed pot or Dutch oven, heat about 2 tablespoons of olive oil over medium heat. Add your finely diced onion, celery, and carrot. Sauté gently, stirring occasionally, until they are very soft and translucent, about 8-10 minutes.
- Add your ground beef to the pot with the softened aromatics. Break it up with a wooden spoon and cook, stirring frequently, until it's evenly browned and no pink remains, about 7-10 minutes. Carefully drain off any excess fat from the pot.
- Push the beef and vegetables to one side of the pot. Add 2 tablespoons of tomato paste to the cleared spot. Cook the tomato paste, stirring it for about 2-3 minutes, until it darkens slightly and becomes fragrant. Stir in the minced garlic and cook for just 1 minute more.
- Pour in 1 cup of beef broth. Use your wooden spoon to scrape up any browned bits stuck to the bottom of the pot. Let the broth simmer for a minute or two, reducing slightly.
- Add your 28-ounce can of crushed tomatoes to the pot. Stir in 1 teaspoon of dried oregano, 1 teaspoon of dried basil, and tuck in a bay leaf. Season generously with salt and freshly ground black pepper. Give everything a good stir to combine.
- Bring the sauce to a gentle simmer. Once simmering, reduce the heat to low, cover the pot partially, and let it cook for at least 1 to 2 hours, stirring occasionally.
- About 20 minutes before you're ready to serve, bring a large pot of heavily salted water to a rolling boil. Add the spaghetti and cook according to package directions until al dente. Reserve about 1 cup of the starchy pasta cooking water before draining the spaghetti.
- Drain the spaghetti well. Toss the spaghetti directly with a generous amount of sauce in the pot or serve individual portions topped with the rich meat sauce. Garnish with fresh parsley and plenty of freshly grated Parmesan cheese.
- Prep Time: 15 mins
- Cook Time: 2 hours
- Category: Dinner
- Method: Stovetop
- Cuisine: Italian
Nutrition
- Serving Size: 1 bowl
- Calories: 600
- Sugar: 6 g
- Sodium: 800 mg
- Fat: 30 g
- Saturated Fat: 12 g
- Unsaturated Fat: 18 g
- Trans Fat: 0 g
- Carbohydrates: 70 g
- Fiber: 5 g
- Protein: 30 g
- Cholesterol: 80 mg
Keywords: Don't rush the simmer; allowing the sauce to simmer for 1.5 to 2 hours enhances the flavors. Reserve some pasta water to help the sauce cling to the spaghetti, and always taste and adjust seasoning as needed.