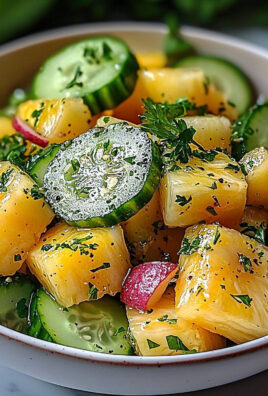
Cucumber Strawberry Salad: Prepare to be amazed by this unexpectedly delightful combination! Have you ever craved something refreshing, sweet, and savory all at once? This vibrant salad is the answer. It’s a symphony of flavors and textures that will tantalize your taste buds and leave you wanting more.
While the exact origins of Cucumber Strawberry Salad are difficult to pinpoint, the pairing of fruits and vegetables in salads has a long and rich history across various cultures. From the Mediterranean’s use of olives and citrus to Asian-inspired salads with mango and herbs, the concept of blending sweet and savory elements is nothing new. This particular combination, however, feels like a modern twist on a classic idea, perfectly suited for warm weather gatherings and light lunches.
People adore this salad for its simplicity and the sheer burst of freshness it delivers. The cool, crisp cucumber provides a hydrating base, while the juicy strawberries offer a sweet and slightly tart counterpoint. A light vinaigrette ties everything together, enhancing the natural flavors without overpowering them. It’s incredibly easy to prepare, making it a perfect option for busy weeknights or impromptu picnics. Plus, it’s a visually stunning dish that’s sure to impress your guests. Get ready to experience a salad that’s both delicious and good for you!
Ingredients:
- 2 English cucumbers, thinly sliced
- 1 pound fresh strawberries, hulled and halved (or quartered if large)
- 1/4 cup red onion, thinly sliced
- 1/4 cup fresh mint leaves, chopped
- 1/4 cup crumbled feta cheese (optional, but highly recommended!)
Dressing:
- 3 tablespoons extra virgin olive oil
- 2 tablespoons balsamic vinegar
- 1 tablespoon honey (or maple syrup for a vegan option)
- 1 teaspoon Dijon mustard
- 1/4 teaspoon salt (or to taste)
- 1/8 teaspoon black pepper (or to taste)
Instructions:
Preparing the Salad:
- Slice the Cucumbers: I like to use an English cucumber for this salad because the skin is thin and doesn’t need to be peeled. Just give them a good wash and slice them thinly. A mandoline slicer can be helpful for achieving uniform slices, but a sharp knife works just as well. Aim for slices about 1/8 inch thick. If you’re using regular cucumbers with thicker skin, you might want to peel them first.
- Prepare the Strawberries: Wash the strawberries thoroughly and remove the hulls. Depending on the size of your strawberries, you can halve them or quarter them. I find that halving works best for medium-sized berries, while larger ones benefit from being quartered. This ensures that each bite has a good balance of cucumber and strawberry.
- Slice the Red Onion: Red onion adds a nice bite to the salad, but it can be overpowering if not sliced thinly enough. I recommend using a very sharp knife or a mandoline to get paper-thin slices. After slicing, you can soak the red onion in cold water for about 10 minutes to mellow out its flavor. This step is optional, but it can make a big difference if you’re sensitive to the sharpness of raw onion.
- Chop the Mint: Fresh mint is a key ingredient in this salad, adding a refreshing and aromatic element. Wash the mint leaves and pat them dry. Then, stack a few leaves together and roll them up tightly. Use a sharp knife to thinly slice the rolled-up leaves, creating chiffonade. This method helps to prevent bruising and releases the mint’s essential oils.
- Combine the Ingredients: In a large bowl, gently combine the sliced cucumbers, strawberries, red onion, and chopped mint. Be careful not to overmix, as this can bruise the strawberries and make them mushy.
Making the Dressing:
- Whisk the Olive Oil and Balsamic Vinegar: In a small bowl, whisk together the extra virgin olive oil and balsamic vinegar. I prefer using a good quality balsamic vinegar for the best flavor. The ratio of oil to vinegar is important for achieving the right balance of acidity and richness.
- Add the Honey and Dijon Mustard: Add the honey (or maple syrup) and Dijon mustard to the bowl. The honey adds a touch of sweetness that complements the tartness of the balsamic vinegar, while the Dijon mustard helps to emulsify the dressing and adds a subtle tang.
- Season with Salt and Pepper: Season the dressing with salt and pepper to taste. Start with the recommended amounts and adjust as needed. Remember that the feta cheese (if using) will also add some saltiness to the salad, so you might want to be conservative with the salt at this stage.
- Whisk Until Emulsified: Whisk all the ingredients together until the dressing is well emulsified and slightly thickened. This may take a minute or two of vigorous whisking. The dressing should be smooth and creamy, with no separation of the oil and vinegar.
Assembling the Salad:
- Pour the Dressing Over the Salad: Pour the dressing over the cucumber and strawberry mixture. Be sure to distribute the dressing evenly, so that every piece of cucumber and strawberry is coated.
- Gently Toss the Salad: Gently toss the salad to combine the dressing with the other ingredients. Again, be careful not to overmix, as this can bruise the strawberries.
- Add the Feta Cheese (Optional): If you’re using feta cheese, now is the time to add it. Crumble the feta cheese over the salad and gently toss to distribute it evenly. The feta cheese adds a salty and creamy element that complements the sweetness of the strawberries and the coolness of the cucumbers.
- Chill Before Serving (Optional): While this salad can be enjoyed immediately, I find that it tastes even better if it’s chilled for about 30 minutes before serving. This allows the flavors to meld together and the salad to become even more refreshing.
- Serve and Enjoy: Serve the cucumber strawberry salad chilled and enjoy! This salad is perfect as a light lunch, a side dish, or even a refreshing dessert. It’s also a great option for potlucks and picnics.
Tips and Variations:
- Add Avocado: For a creamier and more substantial salad, add diced avocado. The avocado’s richness complements the other ingredients beautifully.
- Use Different Herbs: If you’re not a fan of mint, you can substitute other fresh herbs, such as basil or dill. Basil adds a sweet and peppery flavor, while dill adds a slightly tangy and citrusy flavor.
- Add Nuts: For a crunchy texture, add toasted nuts, such as almonds, pecans, or walnuts. Toasting the nuts enhances their flavor and adds a pleasant aroma.
- Make it Spicy: For a touch of heat, add a pinch of red pepper flakes to the dressing.
- Use Different Vinegars: Experiment with different types of vinegar, such as white balsamic vinegar or champagne vinegar. Each vinegar will impart a slightly different flavor to the salad.
- Add Grilled Chicken or Shrimp: To make this salad a complete meal, add grilled chicken or shrimp. The protein will add substance and make the salad more filling.
- Make it Vegan: To make this salad vegan, simply omit the feta cheese and use maple syrup instead of honey in the dressing.
- Prepare Ahead: You can prepare the individual components of this salad ahead of time. Slice the cucumbers, strawberries, and red onion, and chop the mint. Make the dressing and store it in a separate container. When you’re ready to serve, simply combine the ingredients and toss with the dressing.
- Storage: This salad is best enjoyed fresh, but it can be stored in the refrigerator for up to 24 hours. However, the cucumbers and strawberries may become slightly soggy over time.
Nutritional Information (Approximate):
(Note: Nutritional information is an estimate and may vary based on specific ingredients and portion sizes.)
- Calories: Approximately 200-250 per serving
- Fat: 15-20 grams
- Carbohydrates: 15-20 grams
- Protein: 3-5 grams
Enjoy this refreshing and flavorful Cucumber Strawberry Salad! It’s a perfect way to celebrate the flavors of summer.
Conclusion:
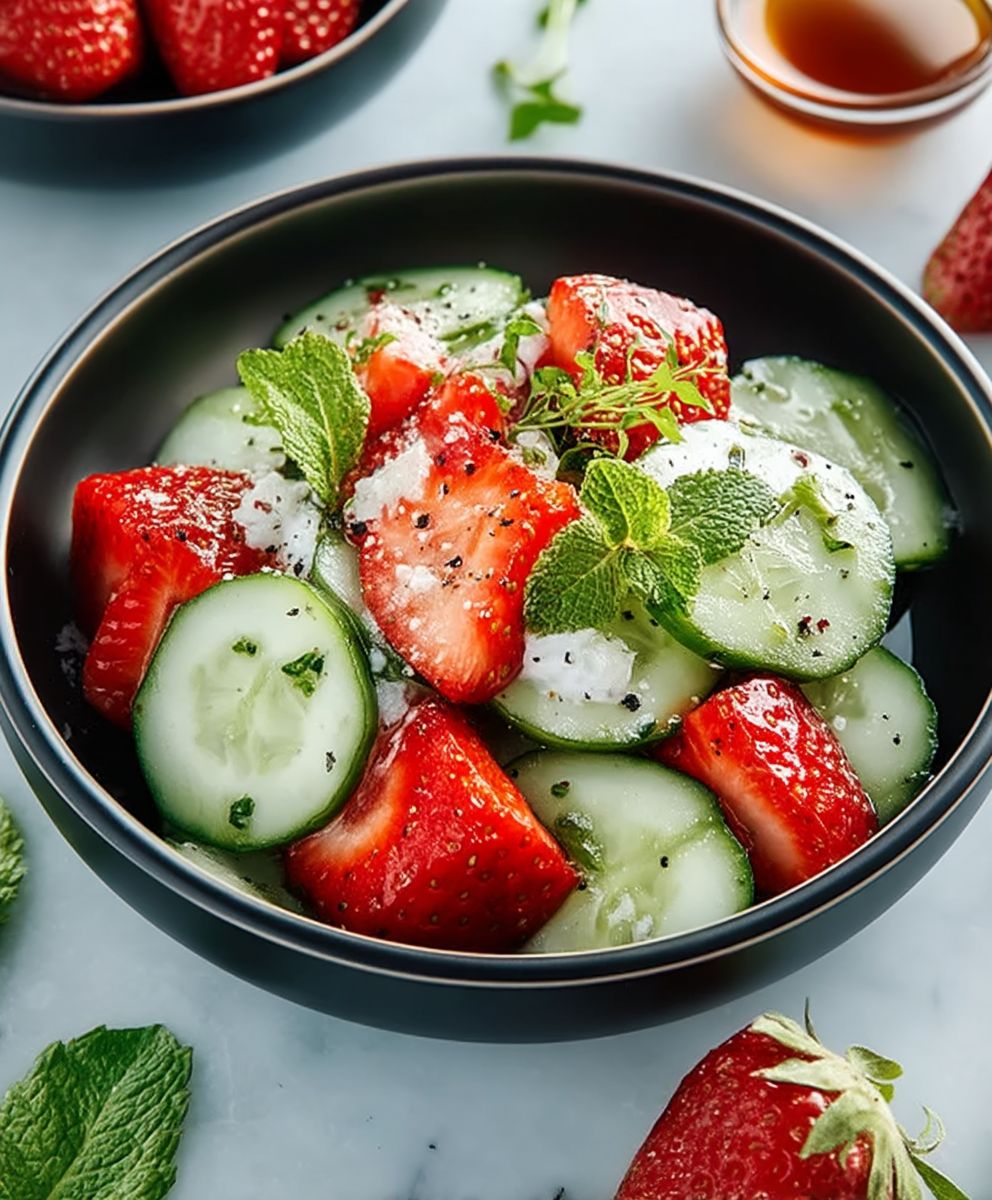
This Cucumber Strawberry Salad isn’t just another salad; it’s a vibrant celebration of summer flavors that I wholeheartedly believe you need to experience. The crisp coolness of the cucumber perfectly complements the sweet burst of strawberries, all tied together with a light and tangy dressing that will leave you wanting more. It’s quick, easy, and incredibly refreshing – the trifecta of a perfect recipe!
But why is this salad a must-try? Beyond the delightful taste, it’s incredibly versatile. It’s the perfect side dish for a summer barbecue, adding a touch of elegance and freshness to grilled meats or fish. Imagine serving it alongside grilled chicken or salmon – the contrast of flavors is simply divine! It also works beautifully as a light lunch on a hot day, providing a healthy and satisfying meal without weighing you down. And let’s not forget its visual appeal! The vibrant colors of the cucumber and strawberries make it a stunning addition to any table.
Serving Suggestions and Variations:
Don’t be afraid to get creative with this recipe! Feel free to experiment with different herbs. A sprinkle of fresh mint or basil can elevate the flavors to a whole new level. For a creamier texture, consider adding a dollop of Greek yogurt to the dressing. If you’re looking for a bit of crunch, toasted almonds or pecans would be a fantastic addition. And for those who enjoy a little heat, a pinch of red pepper flakes can add a subtle kick.
Another variation I love is adding a salty element. A sprinkle of crumbled feta cheese or goat cheese adds a wonderful tang and creaminess that balances the sweetness of the strawberries perfectly. You could even try adding some thinly sliced red onion for a bit of sharpness.
For a more substantial salad, consider adding some protein. Grilled shrimp or chicken would be excellent choices. You could also add some cooked quinoa or chickpeas for a vegetarian option.
Ready to Dive In?
I truly believe that this Cucumber Strawberry Salad will become a staple in your summer rotation. It’s a simple yet elegant dish that’s perfect for any occasion. The beauty of this recipe lies in its adaptability – feel free to adjust the ingredients and proportions to suit your own taste preferences.
I’m so excited for you to try this recipe and experience the magic of this flavor combination for yourself. Once you’ve made it, I’d absolutely love to hear about your experience! Did you make any variations? What did you serve it with? What did your family and friends think?
Please, don’t hesitate to share your thoughts and photos in the comments below. Your feedback is invaluable, and I’m always eager to learn from your culinary adventures. So go ahead, give this recipe a try, and let me know what you think! Happy cooking! I am confident that you will love this refreshing and easy-to-make salad. Enjoy!
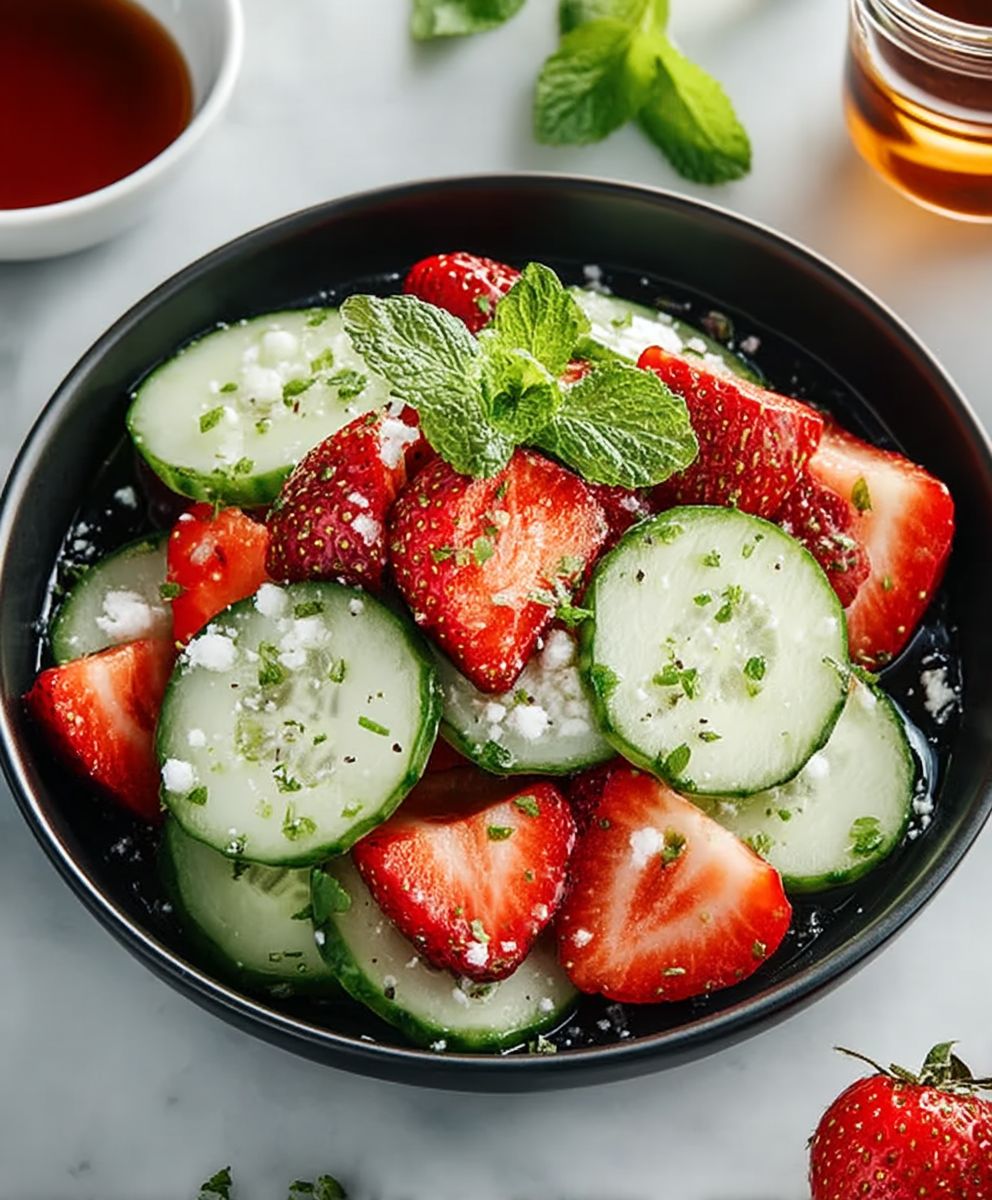
Cucumber Strawberry Salad: A Refreshing Summer Recipe
Refreshing cucumber and strawberry salad with balsamic vinaigrette, optional feta. Perfect light lunch, side, or summer dish!
Ingredients
- 2 English cucumbers, thinly sliced
- 1 pound fresh strawberries, hulled and halved (or quartered if large)
- 1/4 cup red onion, thinly sliced
- 1/4 cup fresh mint leaves, chopped
- 1/4 cup crumbled feta cheese (optional, but highly recommended!)
- 3 tablespoons extra virgin olive oil
- 2 tablespoons balsamic vinegar
- 1 tablespoon honey (or maple syrup for a vegan option)
- 1 teaspoon Dijon mustard
- 1/4 teaspoon salt (or to taste)
- 1/8 teaspoon black pepper (or to taste)
Instructions
Notes
- Add Avocado: For a creamier salad, add diced avocado.
- Use Different Herbs: Substitute basil or dill for mint.
- Add Nuts: Add toasted almonds, pecans, or walnuts for crunch.
- Make it Spicy: Add a pinch of red pepper flakes to the dressing.
- Use Different Vinegars: Experiment with white balsamic or champagne vinegar.
- Add Grilled Chicken or Shrimp: Make it a complete meal with grilled protein.
- Make it Vegan: Omit feta and use maple syrup.
- Prepare Ahead: Prep ingredients separately and combine just before serving.
- Storage: Best enjoyed fresh, but can be stored in the refrigerator for up to 24 hours.