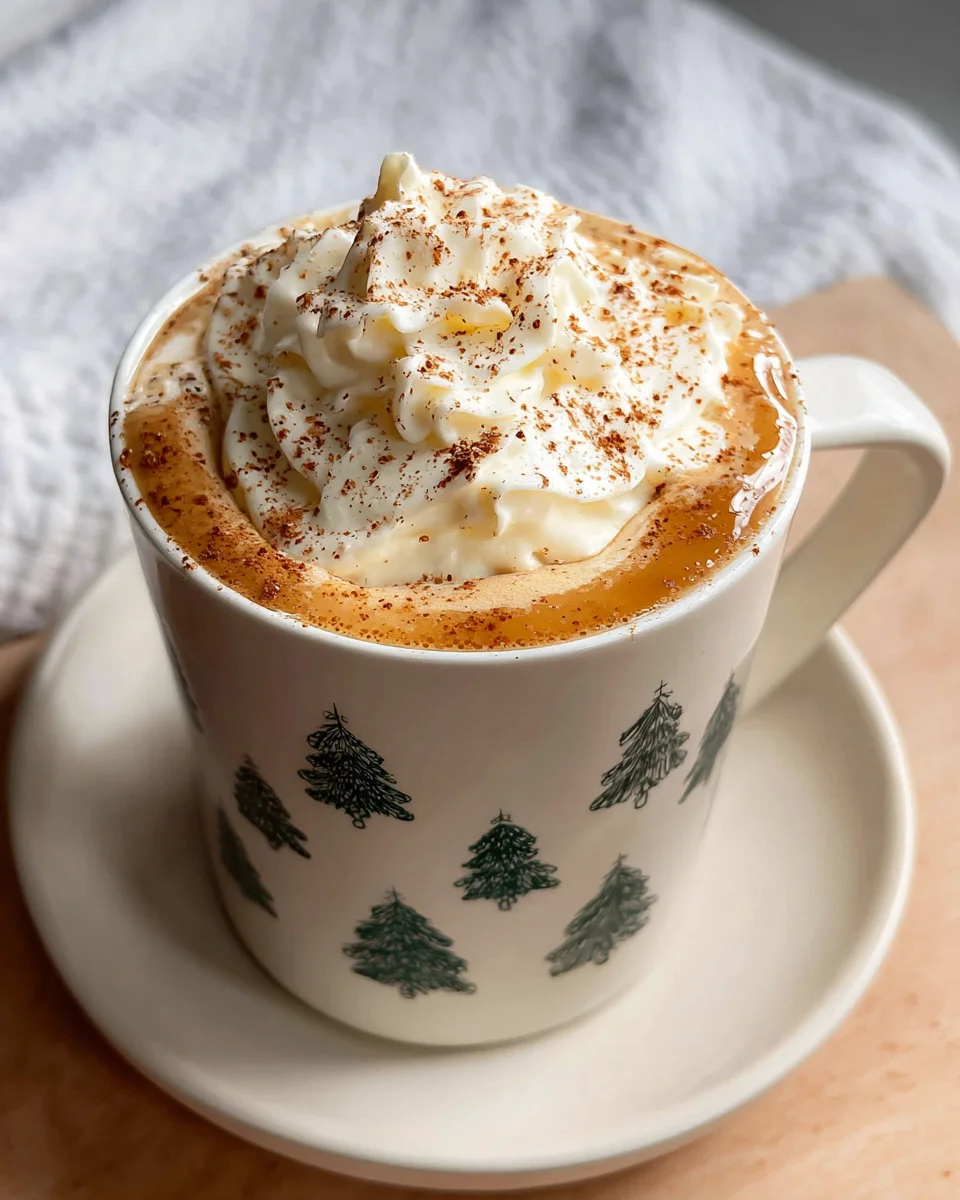
Christmas Chai Latte
There’s something truly magical about the holidays, and what better way to embrace that spirit than with a warm, cozy cup of Christmas Chai Latte? This delightful beverage is a festive twist on the traditional chai latte, blending the comforting spices of cinnamon, cardamom, and ginger with a hint of holiday cheer. As the aroma fills your home, you’ll feel the warmth of the season wrapping around you like a snug blanket.
What makes this Christmas Chai Latte so special is its ability to evoke memories of holiday gatherings, cozy evenings by the fire, and the joyous anticipation of the season. With every sip, you’ll experience a symphony of flavors that dances on your palate, making it the perfect drink to share with loved ones or enjoy during a quiet moment of reflection. Plus, it’s easy to customize! Whether you prefer yours with a dash of whipped cream or a sprinkle of nutmeg, this recipe invites you to get creative.
So, let’s dive into this festive creation and discover how to make your own Christmas Chai Latte that will surely become a cherished part of your holiday traditions. Trust me, you won’t want to miss out on this delightful treat!
Ingredient Notes
When crafting the perfect Christmas Chai Latte, the right ingredients are essential for that festive flavor. Here’s a breakdown of what you’ll need and some easy substitutions:
- Chai Tea Bags: Traditional black chai tea is ideal, but you can use green chai or even herbal chai if you prefer a caffeine-free option.
- Milk: I love using whole milk for a creamy texture, but you can substitute with almond milk, oat milk, or soy milk for a dairy-free version.
- Sweetener: I typically use brown sugar or honey for a rich sweetness, but maple syrup or coconut sugar work beautifully as alternatives.
- Spices: The heart of any chai is its spices. I use a combination of cinnamon, ginger, cloves, and cardamom. If you’re missing a spice, you can use a pre-made chai spice blend.
- Vanilla Extract: A splash of vanilla adds a lovely warmth. If you don’t have any, a bit of almond extract can be a delightful substitute.
- Whipped Cream: This is optional, but it adds a festive flair. Consider using coconut whipped cream for a dairy-free option.
Step-by-Step Instructions
Making a Christmas Chai Latte is a cozy process that fills your kitchen with delightful aromas. Follow these simple steps:
- Brew the Chai: Start by boiling 2 cups of water in a medium saucepan. Once boiling, add 2 chai tea bags and remove from heat. Let it steep for about 5 minutes to extract those rich flavors.
- Add Spices: While the tea steeps, add 1 cinnamon stick, 4-5 slices of fresh ginger, 4-5 whole cloves, and 4-5 cardamom pods to the saucepan. Let the spices infuse for an additional 5 minutes.
- Heat the Milk: In a separate pot, heat 1 cup of your chosen milk over medium heat. You want it warm but not boiling. Stir occasionally to prevent burning.
- Sweeten the Mixture: Remove the chai tea and spices from the heat. Add 2 tablespoons of brown sugar or your preferred sweetener to the hot chai mixture. Stir until dissolved.
- Combine the Ingredients: Pour the warm milk into the spiced chai mixture. Add 1 teaspoon of vanilla extract and stir gently to combine, creating a creamy, aromatic latte.
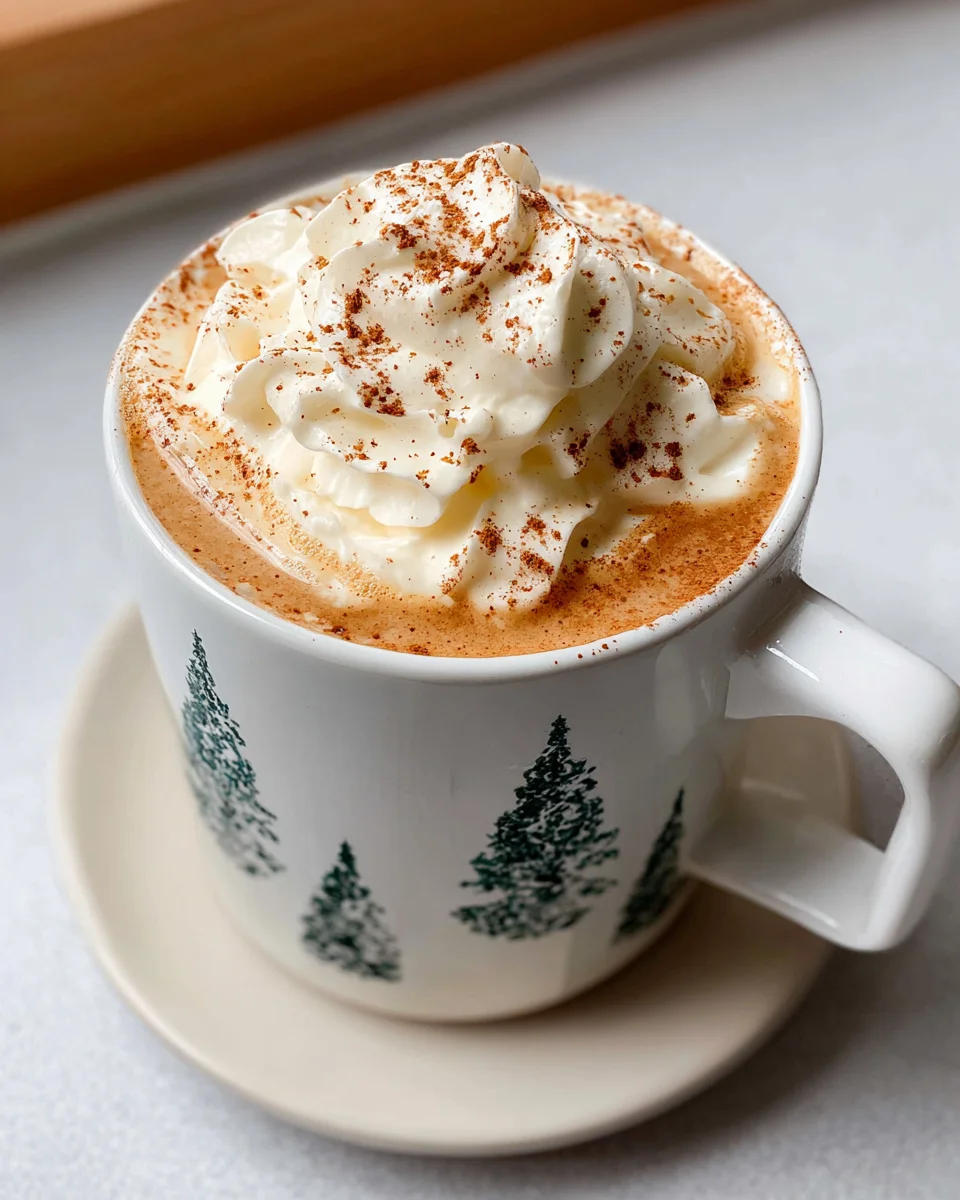
- Serve: Pour the Christmas Chai Latte into mugs. Top with whipped cream, a sprinkle of cinnamon, and a dash of nutmeg for that holiday touch.
Tips & Suggestions
Creating the perfect Christmas Chai Latte is all about personalizing it to your taste. Here are some tips to enhance your experience:
- Experiment with Spice Levels: If you love a stronger spice flavor, feel free to add more spices during the brewing process. A pinch of cayenne can also add a surprising kick!
- Garnishes Galore: Get creative with your toppings! Try crushed peppermint candies, a drizzle of caramel, or even a sprinkle of cocoa powder for a festive flair.
- Make it a Latte Brulee: For an indulgent twist, use a kitchen torch to lightly caramelize the sugar on top of your whipped cream. It adds a delightful crunchy texture!
- Chill It: If you prefer iced beverages, simply cool the brewed chai and milk mixture, then pour it over ice. It’s a refreshing take on this holiday classic.
Storage
While I recommend enjoying your Christmas Chai Latte fresh, you can store any leftover mixture for later. Here’s how:
- Refrigeration: Store any leftover chai mixture in an airtight container in the refrigerator for up to 2 days.
- Reheating: When you’re ready to enjoy it again, gently reheat the mixture on the stove or in the microwave. Avoid boiling to preserve the flavors.
- Freezing: If you want to prepare in advance, consider freezing the chai base (without milk). You can thaw and add fresh milk when you’re ready to serve.
With these instructions, tips, and storage suggestions, your Christmas Chai Latte will become a beloved holiday tradition in no time. Enjoy the warmth and flavors of the season!
Final Thoughts
If you’re looking to add a touch of warmth and holiday spirit to your winter days, the Christmas Chai Latte is an absolute must-try! This delightful beverage combines the rich, spiced flavors of traditional chai with the cozy essence of Christmas. Each sip is like a warm hug, perfect for those chilly evenings spent by the fire or as a festive treat to share with friends and family. With its inviting aroma and comforting taste, the Christmas Chai Latte is sure to become a cherished part of your holiday traditions. So gather your ingredients, embrace the festive spirit, and indulge in this deliciously spiced drink that will surely bring joy to your holiday season!

Delicious Christmas Chai Latte Recipe for the Holidays
- Total Time: 25 minutes
- Yield: 2 servings 1x
Description
Embrace the festive spirit with a warm cup of Christmas Chai Latte, blending comforting spices and holiday cheer. This delightful beverage is perfect for sharing with loved ones or enjoying during a quiet moment of reflection.
Ingredients
- 2 chai tea bags
- 2 cups of water
- 1 cinnamon stick
- 4–5 slices of fresh ginger
- 4–5 whole cloves
- 4–5 cardamom pods
- 1 cup of whole milk (or almond milk, oat milk, or soy milk)
- 2 tablespoons of brown sugar (or honey, maple syrup, or coconut sugar)
- 1 teaspoon of vanilla extract (or almond extract)
- Whipped cream (optional)
- Cinnamon (for garnish)
- Nutmeg (for garnish)
Instructions
- Start by boiling 2 cups of water in a medium saucepan. Once boiling, add 2 chai tea bags and remove from heat. Let it steep for about 5 minutes to extract those rich flavors.
- While the tea steeps, add 1 cinnamon stick, 4-5 slices of fresh ginger, 4-5 whole cloves, and 4-5 cardamom pods to the saucepan. Let the spices infuse for an additional 5 minutes.
- In a separate pot, heat 1 cup of your chosen milk over medium heat. You want it warm but not boiling. Stir occasionally to prevent burning.
- Remove the chai tea and spices from the heat. Add 2 tablespoons of brown sugar or your preferred sweetener to the hot chai mixture. Stir until dissolved.
- Pour the warm milk into the spiced chai mixture. Add 1 teaspoon of vanilla extract and stir gently to combine, creating a creamy, aromatic latte.
- Pour the Christmas Chai Latte into mugs. Top with whipped cream, a sprinkle of cinnamon, and a dash of nutmeg for that holiday touch.
- Prep Time: 10 mins
- Cook Time: 15 mins
- Category: Beverage
- Method: Stovetop
- Cuisine: American
Nutrition
- Serving Size: 1 cup
- Calories: 250
- Sugar: 20 g
- Sodium: 100 mg
- Fat: 10 g
- Saturated Fat: 5 g
- Unsaturated Fat: 3 g
- Trans Fat: 0 g
- Carbohydrates: 35 g
- Fiber: 1 g
- Protein: 5 g
- Cholesterol: 20 mg
Keywords: Feel free to experiment with spice levels and garnishes. You can also chill the beverage for an iced version or caramelize the sugar on top of whipped cream for a crunchy texture.