Hawaiian Banana Bread is a delightful twist on the classic banana bread that many of us know and love. This recipe brings a taste of the tropics right into your kitchen, combining the sweetness of ripe bananas with the rich flavors of coconut and macadamia nuts. Originating from the lush landscapes of Hawaii, this bread has become a beloved treat not just in the islands but around the world. The combination of moist texture and tropical flavors makes Hawaiian Banana Bread a favorite for breakfast, snacks, or even dessert.
People adore this dish for its incredible taste and the way it fills the kitchen with a warm, inviting aroma as it bakes. The addition of coconut adds a subtle chewiness, while the macadamia nuts provide a satisfying crunch. Plus, it’s incredibly convenient to whip up, making it a perfect recipe for both novice and experienced bakers alike. Join me as we explore how to create this scrumptious Hawaiian Banana Bread that will surely become a staple in your home!

Ingredients:
- 3 ripe bananas, mashed
- 1/3 cup melted butter
- 1 teaspoon baking soda
- Pinch of salt
- 3/4 cup sugar (you can use brown sugar for a richer flavor)
- 1 large egg, beaten
- 1 teaspoon vanilla extract
- 1 1/2 cups all-purpose flour
- 1/2 cup crushed pineapple, drained
- 1/2 cup shredded coconut (sweetened or unsweetened, based on preference)
- 1/2 cup chopped macadamia nuts (optional)
Preparing the Batter
- Preheat your oven to 350°F (175°C). This is an important step to ensure that your banana bread bakes evenly and rises properly.
- In a large mixing bowl, mash the ripe bananas with a fork or a potato masher until smooth. I like to leave a few small chunks for added texture, but you can mash them to your desired consistency.
- Add the melted butter to the mashed bananas and mix well. The warmth of the butter will help to incorporate it smoothly into the bananas.
- Stir in the baking soda and salt. This is where the leavening magic begins! Make sure to mix it thoroughly so that the baking soda is evenly distributed.
- Add the sugar, beaten egg, and vanilla extract to the mixture. Stir until everything is well combined. The sugar will add sweetness, while the egg helps bind the ingredients together.
- Gradually add the all-purpose flour to the wet ingredients. I like to do this in two or three additions, gently folding the flour in with a spatula or wooden spoon. Be careful not to overmix; a few lumps are perfectly fine!
- Now, fold in the crushed pineapple, shredded coconut, and chopped macadamia nuts (if using). These ingredients will give your banana bread that tropical Hawaiian flair. Make sure they are evenly distributed throughout the batter.
Cooking Process
- Grease a 9×5-inch loaf pan with butter or non-stick cooking spray. This will help prevent the banana bread from sticking to the pan.
- Pour the batter into the prepared loaf pan, smoothing the top with a spatula. I like to give the pan a gentle tap on the counter to release any air bubbles that may have formed.
- Bake in the preheated oven for 60-70 minutes, or until a toothpick inserted into the center comes out clean. Keep an eye on it during the last 10 minutes of baking; if the top is browning too quickly, you can cover it loosely with aluminum foil.
- Once baked, remove the banana bread from the oven and let it cool in the pan for about 10 minutes. This will make it easier to remove from the pan without breaking.
- After 10 minutes, carefully turn the loaf out onto a wire rack to cool completely. If you don’t have a wire rack, you can place it on a plate or cutting board.
Assembling and Serving
- Once the banana bread has cooled completely, it’s time to slice it up! Use a serrated knife for clean cuts. I like to cut mine into thick slices, but you can adjust the thickness based on your preference.
- For an extra special touch, serve the banana bread warm with a pat of butter or a drizzle of honey. You can also top it with a dollop of cream cheese or a sprinkle of toasted coconut for added flavor.
- If you have any leftovers (which is rare in my house!), store them in an airtight container at room temperature for up to 3 days, or in the refrigerator for up to a week. You can also freeze slices for up to 3 months. Just wrap them tightly in plastic wrap and place them in a freezer-safe bag.
- When you’re ready to enjoy a slice from the freezer, simply thaw it at room temperature or pop it in the microwave for a few seconds to warm it up.
Tips and Variations
- Total Time: 75-85 minutes
- Yield: 1 loaf (approximately 10-12 slices) 1x
- 3 ripe bananas, mashed
- 1/3 cup melted butter
- 1 teaspoon baking soda
- Pinch of salt
- 3/4 cup sugar (brown sugar for richer flavor)
- 1 large egg, beaten
- 1 teaspoon vanilla extract
- 1 1/2 cups all-purpose flour
- 1/2 cup crushed pineapple, drained
- 1/2 cup shredded coconut (sweetened or unsweetened)
- 1/2 cup chopped macadamia nuts (optional)
- Preheat your oven to 350°F (175°C).
- In a large mixing bowl, mash the ripe bananas until smooth, leaving a few small chunks for texture if desired.
- Mix in the melted butter until well combined.
- Stir in the baking soda and salt, ensuring even distribution.
- Add the sugar, beaten egg, and vanilla extract, mixing until well combined.
- Gradually fold in the all-purpose flour in two or three additions, being careful not to overmix.
- Gently fold in the crushed pineapple, shredded coconut, and chopped macadamia nuts (if using).
- Grease a 9×5-inch loaf pan with butter or non-stick spray.
- Pour the batter into the prepared loaf pan, smoothing the top.
- Bake for 60-70 minutes, or until a toothpick inserted into the center comes out clean. Cover with aluminum foil if the top browns too quickly.
- Remove from the oven and let cool in the pan for 10 minutes before transferring to a wire rack to cool completely.
- Slice with a serrated knife and serve warm with butter, honey, or cream cheese if desired.
- Store leftovers in an airtight container at room temperature for up to 3 days, in the refrigerator for up to a week, or freeze for up to 3 months.
- For a richer flavor, consider using brown sugar instead of white sugar.
- Feel free to customize with other mix-ins like nuts or chocolate chips.
- Ensure the crushed pineapple is well-drained to avoid excess moisture in the batter.
- Prep Time: 15 minutes
- Cook Time: 60-70 minutes
Conclusion:
In summary, this Hawaiian Banana Bread is an absolute must-try for anyone looking to elevate their baking game. The combination of ripe bananas, tropical flavors, and a hint of coconut creates a delightful treat that is perfect for breakfast, a snack, or even dessert. I love serving it warm with a pat of butter or a drizzle of honey, and it pairs beautifully with a cup of coffee or a refreshing glass of iced tea. If you’re feeling adventurous, consider adding some chopped macadamia nuts or a handful of chocolate chips for an extra layer of flavor. You could also experiment with different spices, like nutmeg or allspice, to give it your own unique twist. I encourage you to give this Hawaiian Banana Bread a try and share your experience with friends and family. Whether you enjoy it fresh out of the oven or toasted the next day, I promise it will become a favorite in your household. Don’t forget to let me know how yours turns out—I’d love to hear about your baking adventures! Happy baking! Print
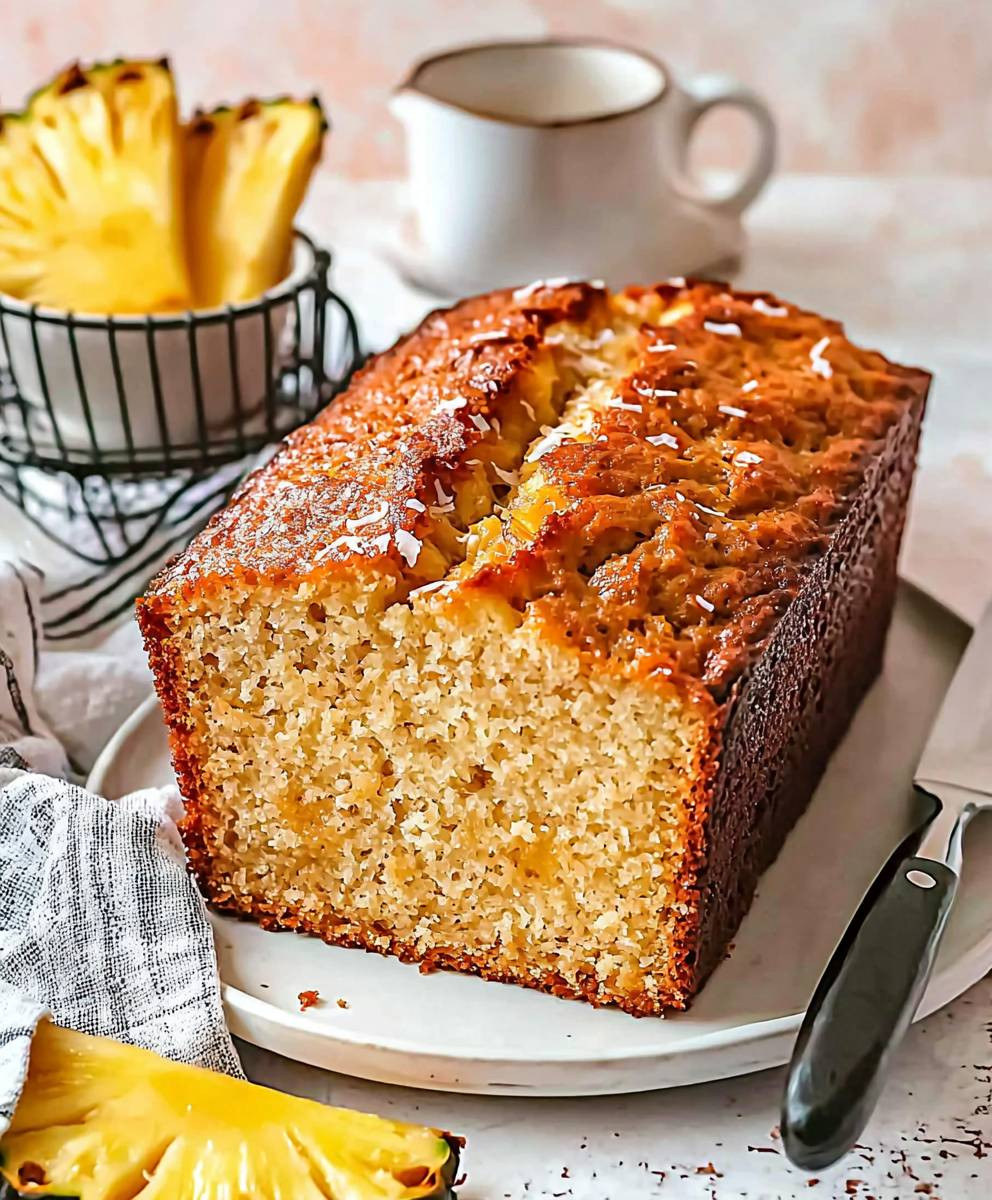
Hawaiian Banana Bread: A Delicious Twist on a Classic Recipe
Description
Enjoy a slice of this Tropical Banana Bread, featuring a delightful mix of ripe bananas, crushed pineapple, and shredded coconut. This moist and flavorful treat is perfect for breakfast or a snack, with an optional crunch from macadamia nuts for an extra tropical twist!