Homemade Cheez Its: Prepare to say goodbye to store-bought crackers forever! Imagine biting into a perfectly crisp, cheesy, and utterly addictive cracker, knowing you crafted it with your own two hands. This isn’t just a recipe; it’s a journey into the heart of snack perfection.
While the bright orange boxes of Cheez-Its have lined grocery store shelves since 1921, becoming a nostalgic staple for generations, the desire to create a fresher, more wholesome version has only grown stronger. We’re taking that classic, comforting flavor and elevating it with real ingredients and a touch of homemade love.
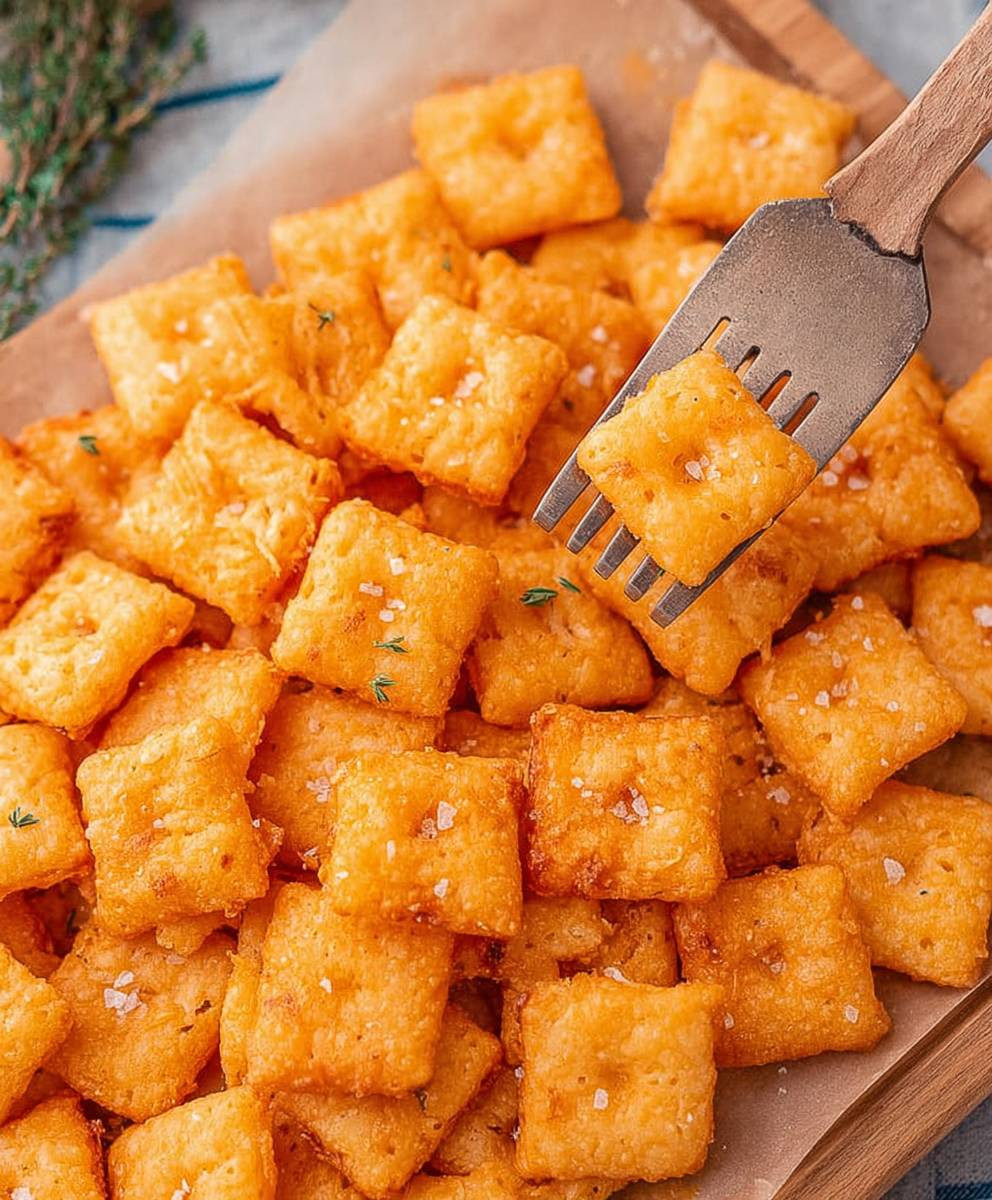
What makes Homemade Cheez Its so irresistible? It’s the satisfying crunch that gives way to a burst of sharp cheddar flavor, perfectly balanced with a hint of salt. They’re incredibly versatile – ideal for snacking straight from the oven, pairing with your favorite dips, or adding a cheesy crunch to soups and salads. Plus, knowing exactly what goes into them gives you peace of mind. Get ready to experience the joy of baking your own batch of these iconic crackers. Trust me, once you taste the difference, you’ll never go back!

Ingredients:
- For the Dough:
- 2 cups (250g) all-purpose flour, plus more for dusting
- 6 tablespoons (85g) cold unsalted butter, cut into small cubes
- 4 ounces (115g) sharp cheddar cheese, finely grated (about 1 cup packed)
- 1 teaspoon kosher salt
- 1/2 teaspoon paprika
- 1/4 teaspoon garlic powder
- 1/4 teaspoon onion powder
- 1/4 teaspoon cayenne pepper (optional, for a little kick)
- 6-8 tablespoons ice water
- For the Topping:
- 2 tablespoons unsalted butter, melted
- Coarse sea salt, for sprinkling
Preparing the Dough:
- Combine Dry Ingredients: In a large bowl, whisk together the flour, salt, paprika, garlic powder, onion powder, and cayenne pepper (if using). This ensures that the spices are evenly distributed throughout the dough. I like to use a whisk to really get everything incorporated.
- Incorporate the Butter: Add the cold, cubed butter to the flour mixture. Using a pastry blender or your fingertips, cut the butter into the flour until the mixture resembles coarse crumbs. The key here is to work quickly so the butter stays cold. If the butter melts, the Cheez-Its will be greasy. You can also use a food processor for this step; just pulse until the mixture is crumbly.
- Add the Cheese: Stir in the grated cheddar cheese until it’s evenly distributed throughout the flour and butter mixture. Make sure the cheese is finely grated; larger pieces can make the dough difficult to work with. I find that freshly grated cheese melts better and gives a superior flavor.
- Add Ice Water: Gradually add the ice water, one tablespoon at a time, mixing until the dough just comes together. Be careful not to overmix. You want the dough to be moist enough to form a ball, but not sticky. I usually start with 6 tablespoons and add more as needed. The amount of water you need may vary depending on the humidity.
- Form and Chill the Dough: Gently form the dough into a disc, wrap it tightly in plastic wrap, and refrigerate for at least 30 minutes, or up to 2 hours. Chilling the dough is crucial because it allows the gluten to relax, which will prevent the Cheez-Its from being tough. It also makes the dough easier to roll out.
Rolling and Cutting the Cheez-Its:
- Preheat Oven and Prepare Baking Sheets: Preheat your oven to 375°F (190°C). Line two baking sheets with parchment paper. Parchment paper prevents the Cheez-Its from sticking and makes cleanup a breeze.
- Roll Out the Dough: On a lightly floured surface, roll out the chilled dough to about 1/8-inch thickness. The thinner you roll the dough, the crispier the Cheez-Its will be. Work quickly and keep the dough moving to prevent it from sticking to the surface. If the dough becomes too warm and sticky, return it to the refrigerator for a few minutes.
- Cut into Squares: Using a pizza cutter or a sharp knife, cut the dough into small squares, about 1-inch in size. You can make them larger or smaller, depending on your preference. I like to use a ruler to ensure that the squares are uniform in size.
- Transfer to Baking Sheets: Carefully transfer the squares to the prepared baking sheets, leaving a little space between each one. They don’t spread much, but you want to ensure they bake evenly.
- Poke Holes: Use a toothpick or a skewer to poke a hole in the center of each square. This prevents the Cheez-Its from puffing up during baking. This is a crucial step for achieving that classic Cheez-It texture.
Baking and Finishing:
- Brush with Butter: Brush the tops of the Cheez-Its with melted butter. This gives them a beautiful golden color and adds a rich flavor.
- Sprinkle with Salt: Sprinkle the Cheez-Its with coarse sea salt. The salt enhances the cheesy flavor and adds a nice crunch. I prefer coarse sea salt, but you can use regular salt if that’s all you have.
- Bake: Bake for 12-15 minutes, or until the Cheez-Its are golden brown and crispy around the edges. Keep a close eye on them, as they can burn easily. The baking time may vary depending on your oven.
- Cool: Remove the baking sheets from the oven and let the Cheez-Its cool completely on the baking sheets before serving. They will crisp up even more as they cool.
Tips and Variations:
- Cheese Variations: Feel free to experiment with different types of cheese. Pepper jack, Colby jack, or even a smoked cheddar would be delicious. Just make sure the cheese is finely grated.
- Spice It Up: Add more cayenne pepper for a spicier kick, or try adding a pinch of chili powder. You could also add some dried herbs, such as rosemary or thyme, for a more savory flavor.
- Garlic Lovers: If you love garlic, add an extra 1/4 teaspoon of garlic powder to the dough. You could also use roasted garlic for a more intense flavor.
- Make Ahead: The dough can be made ahead of time and stored in the refrigerator for up to 2 days. Just bring it to room temperature slightly before rolling it out.
- Storage: Store the cooled Cheez-Its in an airtight container at room temperature for up to a week. They are best enjoyed fresh, but they will still be delicious after a few days.
- Gluten-Free Option: You can try making these with a gluten-free all-purpose flour blend. Just be sure to use a blend that contains xanthan gum, as this will help to bind the dough together. You may need to adjust the amount of water you use.
- Using a Food Processor: For even faster dough preparation, use a food processor. Pulse the flour, salt, paprika, garlic powder, onion powder, and cayenne pepper (if using) together. Add the cold butter and pulse until the mixture resembles coarse crumbs. Add the cheese and pulse briefly to combine. Then, with the processor running, slowly add the ice water until the dough just comes together.
- Rolling Technique: To prevent the dough from sticking, try rolling it out between two sheets of parchment paper. This also makes it easier to transfer the cut squares to the baking sheets.
- Even Baking: To ensure even baking, rotate the baking sheets halfway through the baking time. This will help to prevent some Cheez-Its from browning too quickly.
Troubleshooting:
- Dough is too dry: If the dough is too dry and crumbly, add a little more ice water, one tablespoon at a time, until it comes together.
- Dough is too sticky: If the dough is too sticky, add a little more flour, one tablespoon at a time, until it is easier to handle.
- Cheez-Its are not crispy: If the Cheez-Its are not crispy enough, try rolling the dough out thinner or baking them for a few minutes longer.
- Cheez-Its are burning: If the Cheez-Its are burning, lower the oven temperature slightly or move the baking sheets to a lower rack in the oven.
Enjoy your homemade Cheez-Its! They are so much better than store-bought, and you can customize them to your liking.
Conclusion:
And there you have it! These Homemade Cheez Its are so much more than just a snack; they’re a nostalgic trip down memory lane, a fun baking project, and a guaranteed crowd-pleaser all rolled into one crispy, cheesy bite. Seriously, if you’re looking for a way to impress your friends, family, or even just yourself, this recipe is an absolute must-try. The satisfaction of creating these iconic crackers from scratch is unparalleled, and the taste? Well, let’s just say they’re dangerously addictive!
But why are these Homemade Cheez Its so special? It’s the combination of simple ingredients, the surprisingly easy process, and the incredible flavor payoff. You control the quality of everything that goes in, so you can be sure you’re getting the best possible taste. Plus, you can customize them to your heart’s content!
Speaking of customization, let’s talk serving suggestions and variations. These crackers are fantastic on their own, perfect for snacking straight from the oven (once they’ve cooled a bit, of course!). But they also shine as part of a cheese board, paired with your favorite dips, or even crumbled over a salad for a crunchy, cheesy topping.
Want to take things to the next level? Consider these variations:
* Spice it up: Add a pinch of cayenne pepper or red pepper flakes to the dough for a fiery kick.
* Herb it up: Mix in some dried rosemary, thyme, or oregano for an herbaceous twist.
* Garlic lover’s delight: A touch of garlic powder adds a savory depth.
* Everything bagel seasoning: Sprinkle everything bagel seasoning on top before baking for an extra layer of flavor and texture.
* Different cheeses: Experiment with different types of cheese! Sharp cheddar is classic, but Gruyere, Parmesan, or even a smoked Gouda would be delicious. Just be sure the cheese is finely grated for even distribution.
Don’t be afraid to get creative and experiment with your own flavor combinations. The possibilities are endless!
I know baking from scratch can sometimes seem intimidating, but trust me, this recipe is incredibly straightforward. The dough comes together quickly, and the baking process is simple. The hardest part is waiting for them to cool down enough to eat!
So, what are you waiting for? Gather your ingredients, preheat your oven, and get ready to embark on a cheesy adventure. I promise you won’t regret it.
Once you’ve tried this recipe, I’d absolutely love to hear about your experience. Did you make any variations? What did you think of the taste? Share your photos and stories in the comments below! Let’s spread the cheesy goodness and inspire others to try these amazing Homemade Cheez Its. Happy baking! I can’t wait to see what you create!
Homemade Cheez Its: The Ultimate Guide to Baking Them Yourself
Cheesy, crispy, and flavorful homemade Cheez-Its! Easy to make and much better than store-bought.
Ingredients
Instructions
Recipe Notes
- Cheese Variations: Feel free to experiment with different types of cheese like pepper jack, Colby jack, or smoked cheddar.
- Spice It Up: Add more cayenne pepper or chili powder for a spicier kick. Try dried herbs like rosemary or thyme for a savory flavor.
- Garlic Lovers: Add an extra 1/4 teaspoon of garlic powder or use roasted garlic.
- Make Ahead: The dough can be made ahead and stored in the refrigerator for up to 2 days.
- Storage: Store cooled Cheez-Its in an airtight container at room temperature for up to a week.
- Gluten-Free Option: Use a gluten-free all-purpose flour blend with xanthan gum. Adjust water as needed.
- Food Processor: Use a food processor for faster dough preparation.
- Rolling Technique: Roll dough between parchment paper to prevent sticking.
- Even Baking: Rotate baking sheets halfway through baking.
- Dough is too dry: Add a little more ice water, one tablespoon at a time, until it comes together.
- Dough is too sticky: Add a little more flour, one tablespoon at a time, until it is easier to handle.
- Cheez-Its are not crispy: Try rolling the dough out thinner or baking them for a few minutes longer.
- Cheez-Its are burning: Lower the oven temperature slightly or move the baking sheets to a lower rack in the oven.