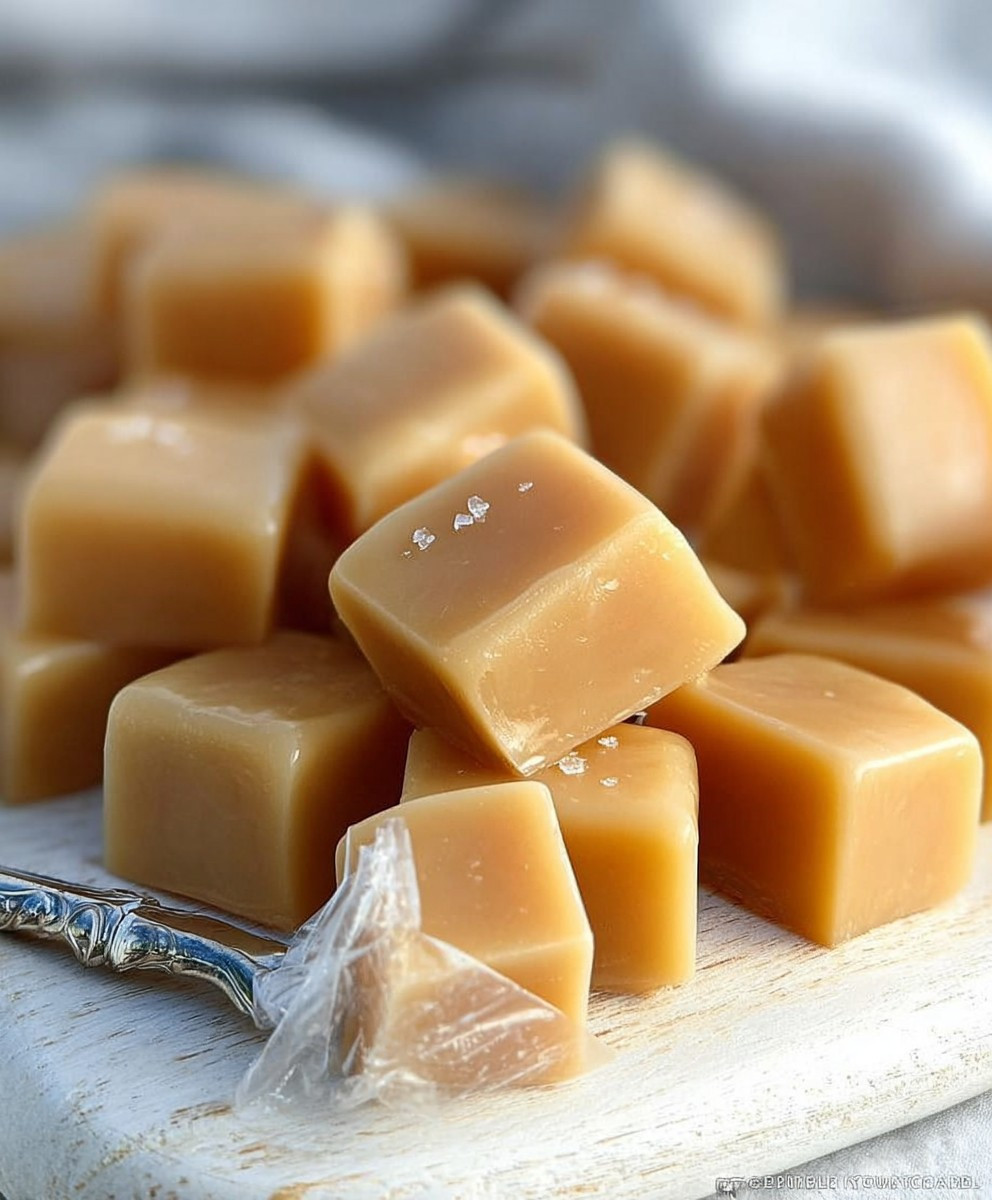
Ten Minute Microwave Caramels: Yes, you read that right! Imagine sinking your teeth into a soft, chewy, buttery caramel, made entirely in your microwave in just ten minutes. Sounds too good to be true? I promise you, it’s not! Forget slaving over a hot stove, constantly stirring and worrying about burning the sugar. This recipe is a game-changer for anyone who loves homemade candy but is short on time (or patience!).
While the history of caramel making stretches back centuries, with variations found across numerous cultures, this microwave version is a decidedly modern twist. Traditional caramels often involved hours of careful cooking and precise temperature control. This recipe throws all that out the window, offering a shortcut to caramel bliss.
So, why do people adore caramels? It’s the irresistible combination of sweet and buttery flavors, the satisfyingly chewy texture, and the sheer indulgence of it all. And with these Ten Minute Microwave Caramels, you can enjoy all that without the fuss. Whether you’re looking for a quick treat for yourself, a last-minute gift, or a fun activity to do with the kids, this recipe is sure to become a new favorite. Get ready to experience caramel-making magic!

Ingredients:
- 1 cup (2 sticks) unsalted butter, cut into cubes
- 1 cup packed light brown sugar
- 1 cup granulated sugar
- 1 cup light corn syrup
- 1 (14 ounce) can sweetened condensed milk
- 1 teaspoon vanilla extract
- 1/2 teaspoon sea salt, or to taste
Preparing the Caramel Mixture
Okay, let’s get started! These caramels are seriously the easiest thing you’ll ever make, and the microwave does all the heavy lifting. First things first, grab a large, microwave-safe bowl. I’m talking large – at least 3 quarts, because this mixture will bubble up quite a bit as it cooks. Trust me, you don’t want a caramel volcano erupting in your microwave!
- Combine the Ingredients: In your large microwave-safe bowl, add the cubed butter, brown sugar, granulated sugar, light corn syrup, and sweetened condensed milk. Make sure the butter is evenly distributed among the other ingredients. This will help it melt more evenly and prevent hot spots.
- Initial Mixing (Optional): You can give the ingredients a quick stir with a wooden spoon or spatula just to get them initially combined. This isn’t strictly necessary, but it can help the butter melt a little faster.
The Microwave Cooking Process
Now for the magic! This is where the microwave takes over. The key to perfect microwave caramels is to cook them in intervals, stirring in between each interval. This ensures even cooking and prevents the mixture from burning or scorching.
- First Cooking Interval: Microwave the mixture on high for 4 minutes. Keep a close eye on it – you’ll see it start to bubble and rise.
- First Stir: Carefully remove the bowl from the microwave (it will be hot!) and stir the mixture thoroughly with a wooden spoon or spatula. Make sure to scrape the bottom and sides of the bowl to incorporate any sugar that may have settled.
- Second Cooking Interval: Microwave for another 4 minutes on high. Again, watch it closely to prevent overflowing.
- Second Stir: Remove the bowl from the microwave and stir well, scraping the bottom and sides.
- Third Cooking Interval: Microwave for a final 4 minutes on high. By this point, the mixture should be a rich, golden brown color.
- Final Stir and Doneness Check: Remove the bowl from the microwave and give it one last good stir. Now, here’s the important part: we need to check for doneness. The caramels are ready when a small amount of the mixture dropped into a cup of cold water forms a soft ball. If it’s still too soft and dissolves in the water, microwave for another minute or two, and then test again. Be careful not to overcook, as this will result in hard, brittle caramels.
Adding the Finishing Touches
Almost there! Once the caramels have reached the right consistency, it’s time to add the final touches that will elevate them to caramel perfection.
- Stir in Vanilla and Salt: Remove the bowl from the microwave (if you haven’t already) and stir in the vanilla extract and sea salt. The vanilla adds a lovely depth of flavor, and the sea salt enhances the sweetness and creates a delicious sweet-and-salty contrast.
- Adjust Salt to Taste: Taste the caramel mixture and add more salt if desired. I personally love a good amount of salt in my caramels, but you can adjust it to your preference.
Setting the Caramels
Now that the caramel mixture is ready, we need to pour it into a prepared pan to set. This is a crucial step, so make sure you have everything ready to go before you start cooking the caramels.
- Prepare the Pan: Line an 8×8 inch baking pan with parchment paper, leaving an overhang on two sides. This will make it easy to lift the caramels out of the pan once they’ve set. You can also lightly grease the parchment paper with butter or cooking spray to ensure that the caramels don’t stick.
- Pour into Pan: Carefully pour the hot caramel mixture into the prepared pan, spreading it evenly with a spatula.
- Optional Toppings: If you want to add any toppings, such as chopped nuts, sprinkles, or a sprinkle of extra sea salt, now is the time to do it. Gently press the toppings into the caramel mixture.
- Cooling and Setting: Let the caramels cool completely at room temperature for at least 2-3 hours, or preferably overnight. This will allow them to firm up and set properly. You can also speed up the process by placing the pan in the refrigerator for a couple of hours.
Cutting and Serving
The moment we’ve all been waiting for! Once the caramels have set, it’s time to cut them into squares and enjoy.
- Lift from Pan: Use the parchment paper overhang to lift the caramels out of the pan.
- Cut into Squares: Place the caramels on a cutting board and use a sharp knife to cut them into squares. The size of the squares is up to you – I usually cut them into 1-inch squares. If the caramels are sticking to the knife, you can try dipping the knife in hot water between cuts.
- Wrap (Optional): If you want to wrap the caramels individually, you can cut squares of wax paper or cellophane and wrap each caramel. This will help keep them fresh and prevent them from sticking together.
- Enjoy! Now, the best part: grab a caramel and enjoy! These microwave caramels are soft, chewy, and incredibly delicious. They’re perfect for snacking, gifting, or adding to desserts.
Tips and Tricks for Perfect Microwave Caramels
Here are a few extra tips and tricks to help you make the best microwave caramels ever:
- Use a Large Bowl: I can’t stress this enough! The caramel mixture will bubble up a lot as it cooks, so you need a large bowl to prevent it from overflowing.
- Stir Frequently: Stirring the mixture between each cooking interval is essential for even cooking and preventing burning.
- Check for Doneness: The cold water test is the best way to determine if the caramels are ready. Don’t overcook them, or they will be hard and brittle.
- Adjust Cooking Time: Microwave ovens vary in power, so you may need to adjust the cooking time slightly. Keep a close eye on the mixture and adjust as needed.
- Add Flavor Variations: Get creative with your caramels! You can add different extracts, such as almond or peppermint, or mix in chopped nuts, chocolate chips, or dried fruit.
- Storage: Store the caramels in an airtight container at room temperature for up to a week. If you live in a warm climate, you may want to store them in the refrigerator to prevent them from melting.
Troubleshooting
Sometimes things don’t go exactly as planned. Here are a few common problems and how to fix them:
- Caramels are too hard: You probably overcooked them. Next time, check for doneness a little earlier.
- Caramels are too soft: You probably undercooked them. Microwave for another minute or two and test again.
- Caramels are grainy: This can happen if the sugar doesn’t dissolve completely. Make sure to stir the mixture well between each cooking interval.
- Caramels are burnt: You probably cooked them for too long or at too high of a power. Reduce the cooking time or power level next time.
I hope you enjoy making these easy and delicious microwave caramels! They’re a perfect treat for any occasion, and they’re sure to impress your friends and family. Happy caramel-making!
Conclusion:
So, there you have it! These Ten Minute Microwave Caramels are truly a game-changer. Forget slaving over a hot stove for hours, constantly stirring and worrying about burning the sugar. This recipe delivers that classic, chewy caramel flavor you crave, all with minimal effort and maximum deliciousness. I know, it sounds too good to be true, but trust me, it’s not! The simplicity of this recipe is what makes it so appealing, especially for those times when you need a quick and satisfying treat.
Why is this a must-try? Well, beyond the obvious time-saving aspect, these caramels are incredibly versatile. They’re perfect for satisfying a sweet tooth, adding to baked goods, or even gifting to friends and family. Imagine wrapping these little squares of golden goodness in parchment paper and tying them with a ribbon – a homemade gift that’s sure to impress! Plus, the ingredients are likely already in your pantry, making it a convenient option for those last-minute cravings.
But the best part? The taste! These caramels are rich, buttery, and perfectly sweet, with that delightful chewiness that makes them so addictive. They melt in your mouth, leaving behind a lingering caramel flavor that will have you reaching for another one (and another!).
Now, let’s talk serving suggestions and variations. While these caramels are fantastic on their own, there are endless possibilities for customization. For a salty-sweet twist, sprinkle a pinch of sea salt on top while they’re still warm. Or, add a handful of chopped nuts, like pecans or walnuts, for a crunchy texture. If you’re feeling adventurous, try incorporating a teaspoon of vanilla extract or a dash of cinnamon for added flavor.
Another fun variation is to dip these caramels in melted chocolate. Simply melt your favorite chocolate (milk, dark, or white) and dip the cooled caramels in, then sprinkle with sprinkles, chopped nuts, or even a drizzle of more chocolate. These chocolate-covered caramels are perfect for special occasions or as a decadent treat.
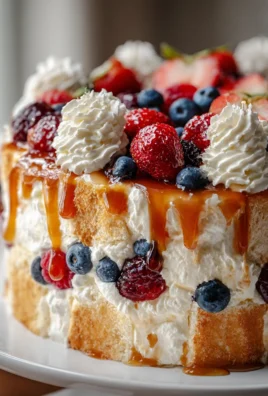
You could also use these caramels as a filling for cookies or brownies. Imagine biting into a warm, gooey brownie with a hidden pocket of melted caramel – pure bliss! Or, try adding chopped caramels to your favorite ice cream recipe for a caramel swirl effect. The possibilities are truly endless!
I’m so confident that you’ll love this recipe, and I can’t wait to hear about your experience. Don’t be intimidated by the idea of making caramels – this microwave version is foolproof and incredibly easy to follow. So, gather your ingredients, grab your microwave-safe dish, and get ready to whip up a batch of these irresistible Ten Minute Microwave Caramels.
I encourage you to try this recipe today! And when you do, please share your creations with me! Tag me in your photos on social media, or leave a comment below letting me know how they turned out. I’m always excited to see your variations and hear your feedback. Happy caramel-making! I hope you enjoy these as much as I do. Let me know what you think!
Ten Minute Microwave Caramels: Quick & Easy Recipe
Easy, chewy, and delicious microwave caramels made with simple ingredients. Perfect for snacking, gifting, or adding to desserts!
Ingredients
Instructions
Recipe Notes
- Use a large bowl to prevent overflowing.
- Stir frequently between cooking intervals for even cooking.
- The cold water test is crucial for determining doneness.
- Microwave power varies, so adjust cooking time as needed.
- Get creative with flavor variations by adding different extracts, nuts, or chocolate chips.
- Store in an airtight container at room temperature for up to a week, or in the refrigerator in warm climates.
- If caramels are too hard, you overcooked them. If too soft, you undercooked them.