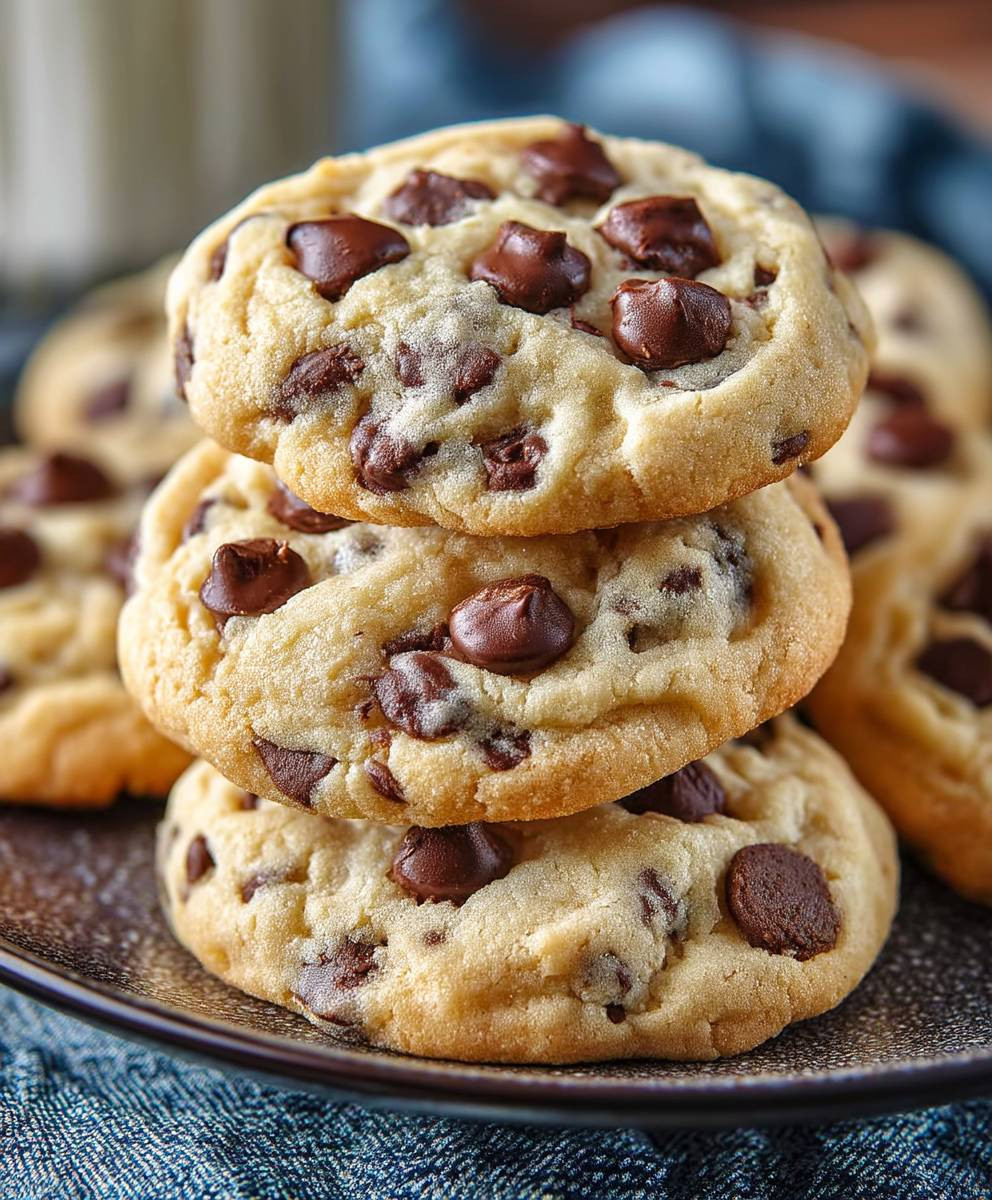
Yogurt chocolate chip cookies: prepare to meet your new favorite treat! Imagine sinking your teeth into a cookie that’s both incredibly soft and satisfyingly chewy, bursting with rich chocolate chips in every bite. But here’s the secret: these aren’t your average cookies. We’re elevating the classic with a tangy twist that adds a depth of flavor you won’t be able to resist.
The beauty of incorporating yogurt into baked goods isn’t new. For generations, bakers in various cultures have known that yogurt adds moisture and a subtle tang, resulting in a tender crumb and enhanced flavor. Think of the moistness of a perfectly baked yogurt cake! Now, we’re bringing that same magic to the beloved chocolate chip cookie.
What makes yogurt chocolate chip cookies so irresistible? It’s the perfect balance of textures and tastes. The yogurt creates a soft, almost melt-in-your-mouth texture, while the chocolate chips provide that classic sweetness and satisfying crunch. They are also incredibly easy to make, requiring minimal ingredients and effort. Whether you’re looking for a quick after-school snack, a delightful dessert to share with friends, or simply a comforting treat for yourself, these cookies are guaranteed to hit the spot. Get ready to experience a chocolate chip cookie like never before!

Ingredients:
- 1 cup (2 sticks) unsalted butter, softened
- 1 cup granulated sugar
- 1 cup packed light brown sugar
- 2 large eggs
- 1 teaspoon vanilla extract
- 1 cup plain Greek yogurt (full-fat or low-fat works)
- 3 cups all-purpose flour
- 1 teaspoon baking soda
- 1 teaspoon baking powder
- 1/2 teaspoon salt
- 2 cups chocolate chips (milk chocolate, semi-sweet, or dark chocolate – your choice!)
Preparing the Dough:
- First, let’s cream together the butter and sugars. In a large bowl (or the bowl of your stand mixer), beat the softened butter, granulated sugar, and brown sugar together until light and fluffy. This usually takes about 3-5 minutes. Don’t rush this step – it’s important for creating a good texture in your cookies. I like to use a stand mixer with the paddle attachment, but a hand mixer works just as well. Make sure to scrape down the sides of the bowl occasionally to ensure everything is evenly mixed.
- Next, beat in the eggs one at a time, mixing well after each addition. Then, stir in the vanilla extract. The mixture should be smooth and creamy at this point.
- Now for the secret ingredient: the Greek yogurt! Add the yogurt to the bowl and mix until just combined. Don’t overmix at this stage. The yogurt adds moisture and a slight tang that really elevates these cookies. I’ve found that both full-fat and low-fat Greek yogurt work well, so use whatever you have on hand.
- In a separate medium bowl, whisk together the flour, baking soda, baking powder, and salt. Whisking ensures that the dry ingredients are evenly distributed, which is important for consistent baking.
- Gradually add the dry ingredients to the wet ingredients, mixing on low speed until just combined. Be careful not to overmix the dough, as this can lead to tough cookies. Overmixing develops the gluten in the flour, which can make the cookies chewy in a bad way.
- Finally, stir in the chocolate chips. I like to use a spatula for this step to avoid overmixing. Make sure the chocolate chips are evenly distributed throughout the dough. You can also add other mix-ins at this point, such as chopped nuts, dried fruit, or sprinkles.
Chilling the Dough:
- This is a crucial step for preventing the cookies from spreading too thin while baking. Cover the bowl with plastic wrap and refrigerate the dough for at least 30 minutes, or up to 2 hours. Chilling the dough allows the butter to solidify, which helps the cookies hold their shape in the oven. I often chill the dough for longer, even overnight, if I’m not ready to bake them right away.
Baking the Cookies:
- Preheat your oven to 375°F (190°C). Line baking sheets with parchment paper or silicone baking mats. Parchment paper prevents the cookies from sticking and makes cleanup a breeze. Silicone baking mats are reusable and provide even heat distribution.
- Remove the chilled dough from the refrigerator. Use a cookie scoop or a spoon to drop rounded tablespoons of dough onto the prepared baking sheets, leaving about 2 inches between each cookie. The cookies will spread as they bake, so it’s important to give them enough room.
- Bake for 9-11 minutes, or until the edges are golden brown and the centers are set. The baking time will vary depending on your oven, so keep a close eye on the cookies. You want them to be golden brown around the edges but still slightly soft in the center.
- Remove the baking sheets from the oven and let the cookies cool on the baking sheets for a few minutes before transferring them to a wire rack to cool completely. This allows the cookies to firm up slightly and prevents them from breaking when you move them.
Tips and Variations:
- For extra chewy cookies: Use melted butter instead of softened butter. Melted butter creates a denser, chewier cookie.
- For softer cookies: Don’t overbake the cookies. Remove them from the oven when the edges are golden brown and the centers are still slightly soft. They will continue to bake on the baking sheet as they cool.
- For thicker cookies: Chill the dough for a longer period of time, such as overnight. This allows the butter to solidify even more, which helps the cookies hold their shape in the oven.
- Add-ins: Get creative with your add-ins! Try adding chopped nuts, dried fruit, sprinkles, or even peanut butter chips.
- Chocolate variations: Use different types of chocolate chips, such as milk chocolate, semi-sweet, dark chocolate, or even white chocolate. You can also chop up a chocolate bar and add it to the dough.
- Brown butter: For a richer, nuttier flavor, brown the butter before adding it to the dough. To brown the butter, melt it in a saucepan over medium heat, stirring constantly, until it turns a golden brown color and has a nutty aroma. Let it cool slightly before adding it to the dough.
- Sea salt: Sprinkle a pinch of sea salt on top of the cookies before baking for a salty-sweet flavor combination.
- Storage: Store the cookies in an airtight container at room temperature for up to 3 days. You can also freeze the cookies for longer storage.
- Freezing the dough: You can freeze the cookie dough for up to 2 months. Scoop the dough into individual balls and place them on a baking sheet lined with parchment paper. Freeze for 30 minutes, or until solid. Then, transfer the frozen dough balls to a freezer bag or container. When you’re ready to bake the cookies, simply bake them from frozen, adding a few extra minutes to the baking time.
Troubleshooting:
- Cookies are spreading too thin: Make sure you’re using the correct amount of flour and that your oven is at the correct temperature. Also, make sure you’re chilling the dough for a sufficient amount of time. If the dough is still too soft, add a tablespoon or two of flour to the dough and chill it for another 30 minutes.
- Cookies are too dry: Don’t overbake the cookies. Also, make sure you’re using enough butter and eggs. If the dough seems dry, add a tablespoon or two of milk or yogurt to the dough.
- Cookies are too tough: Don’t overmix the dough. Overmixing develops the gluten in the flour, which can make the cookies tough. Also, make sure you’re not using too much flour.
- Cookies are burning: Make sure your oven is at the correct temperature. Also, make sure you’re using a light-colored baking sheet. Dark-colored baking sheets can cause the cookies to burn.
- Cookies are not browning: Make sure your oven is at the correct temperature. Also, make sure you’re using enough sugar. If the cookies are not browning, you can brush them with a little milk or egg wash before baking.
Why Yogurt?
You might be wondering why I use yogurt in these cookies. Well, it’s a fantastic ingredient that adds moisture and a subtle tang that complements the sweetness of the chocolate chips. It also helps to create a softer, more tender cookie. Plus, it’s a great way to sneak in a little extra protein and calcium!
Enjoy!
I hope you enjoy these yogurt chocolate chip cookies as much as I do! They’re perfect for a quick and easy dessert, a snack, or even a special occasion. Don’t be afraid to experiment with different variations and add-ins to create your own signature cookie. Happy baking!
Conclusion:
And there you have it! These yogurt chocolate chip cookies are truly a game-changer in the world of baking. I know, I know, you might be thinking, “Yogurt in cookies? Really?” But trust me on this one. The yogurt adds an incredible tenderness and subtle tang that perfectly complements the sweetness of the chocolate chips. They’re soft, chewy, and have that irresistible melt-in-your-mouth quality that every cookie lover craves.
But beyond the amazing texture and flavor, what really makes these cookies a must-try is how easy they are to make. Seriously, you probably have most of the ingredients in your pantry right now. No fancy equipment or complicated techniques required. Just a few simple steps and you’ll be rewarded with a batch of warm, delicious cookies that will disappear faster than you can say “chocolate chip.”
I’ve made these cookies countless times, and they’re always a hit. Whether I’m baking them for a casual afternoon treat, a potluck with friends, or a special occasion, they never fail to impress. And the best part is, they’re so versatile!
Looking for serving suggestions? Well, a glass of cold milk is always a classic pairing. But these cookies are also fantastic with a scoop of vanilla ice cream for a decadent dessert. Or, if you’re feeling adventurous, try crumbling them over a bowl of yogurt (yes, more yogurt!) with some fresh berries for a healthy and satisfying snack.
And speaking of versatility, there are so many ways you can customize this recipe to make it your own. Not a fan of chocolate chips? No problem! Try using chopped nuts, dried cranberries, or even a swirl of peanut butter. You could also experiment with different types of yogurt, like Greek yogurt for an even tangier flavor, or flavored yogurt for a fun twist. I’ve even added a sprinkle of sea salt on top before baking for a sweet and salty sensation that’s absolutely addictive.
Another variation I love is to add a touch of cinnamon or nutmeg to the dough for a warm and cozy flavor. Or, for a truly indulgent treat, try dipping the baked cookies in melted chocolate and sprinkling them with sprinkles. The possibilities are endless!
These yogurt chocolate chip cookies are more than just a recipe; they’re an invitation to get creative in the kitchen and have some fun. They are a testament to the fact that sometimes the simplest ingredients can create the most extraordinary results. They are also a great way to use up that container of yogurt that’s been sitting in your fridge!
So, what are you waiting for? Preheat your oven, gather your ingredients, and get ready to bake a batch of these amazing cookies. I promise you won’t be disappointed. And once you’ve tried them, I’d love to hear what you think! Share your photos and comments on social media using [Your Hashtag Here] and let me know what variations you tried. I can’t wait to see your creations! Happy baking! I am confident that you will find that these yogurt chocolate chip cookies are a delightful addition to your baking repertoire.
Yogurt Chocolate Chip Cookies: The Ultimate Recipe
Soft, chewy chocolate chip cookies with a hint of tang from Greek yogurt. Easy to make and utterly delicious!
Ingredients
- 1 cup (2 sticks) unsalted butter, softened
- 1 cup granulated sugar
- 1 cup packed light brown sugar
- 2 large eggs
- 1 teaspoon vanilla extract
- 1 cup plain Greek yogurt (full-fat or low-fat works)
- 3 cups all-purpose flour
- 1 teaspoon baking soda
- 1 teaspoon baking powder
- 1/2 teaspoon salt
- 2 cups chocolate chips (milk chocolate, semi-sweet, or dark chocolate – your choice!)
Instructions
- Cream Butter and Sugars: In a large bowl (or the bowl of your stand mixer), beat the softened butter, granulated sugar, and brown sugar together until light and fluffy (3-5 minutes). Scrape down the sides of the bowl occasionally.
- Add Eggs and Vanilla: Beat in the eggs one at a time, mixing well after each addition. Then, stir in the vanilla extract.
- Mix in Yogurt: Add the Greek yogurt to the bowl and mix until just combined. Don’t overmix.
- Combine Dry Ingredients: In a separate medium bowl, whisk together the flour, baking soda, baking powder, and salt.
- Combine Wet and Dry: Gradually add the dry ingredients to the wet ingredients, mixing on low speed until just combined. Be careful not to overmix.
- Add Chocolate Chips: Stir in the chocolate chips using a spatula to avoid overmixing.
- Chill Dough: Cover the bowl with plastic wrap and refrigerate the dough for at least 30 minutes, or up to 2 hours (or even overnight).
- Preheat Oven: Preheat your oven to 375°F (190°C). Line baking sheets with parchment paper or silicone baking mats.
- Scoop and Bake: Remove the chilled dough from the refrigerator. Use a cookie scoop or a spoon to drop rounded tablespoons of dough onto the prepared baking sheets, leaving about 2 inches between each cookie.
- Bake: Bake for 9-11 minutes, or until the edges are golden brown and the centers are set.
- Cool: Remove the baking sheets from the oven and let the cookies cool on the baking sheets for a few minutes before transferring them to a wire rack to cool completely.
Notes
- Chewy Cookies: Use melted butter instead of softened butter.
- Softer Cookies: Don’t overbake.
- Thicker Cookies: Chill the dough longer (overnight).
- Add-ins: Get creative with nuts, dried fruit, sprinkles, etc.
- Chocolate Variations: Use different types of chocolate chips or chopped chocolate.
- Brown Butter: For a richer flavor, brown the butter before adding it to the dough.
- Sea Salt: Sprinkle a pinch of sea salt on top before baking.
- Storage: Store in an airtight container at room temperature for up to 3 days or freeze for longer storage.
- Freezing Dough: Scoop dough into balls, freeze on a baking sheet, then transfer to a freezer bag. Bake from frozen, adding a few extra minutes to the baking time.
- Troubleshooting: Refer to the original document for troubleshooting tips regarding spreading, dryness, toughness, burning, and browning issues.