
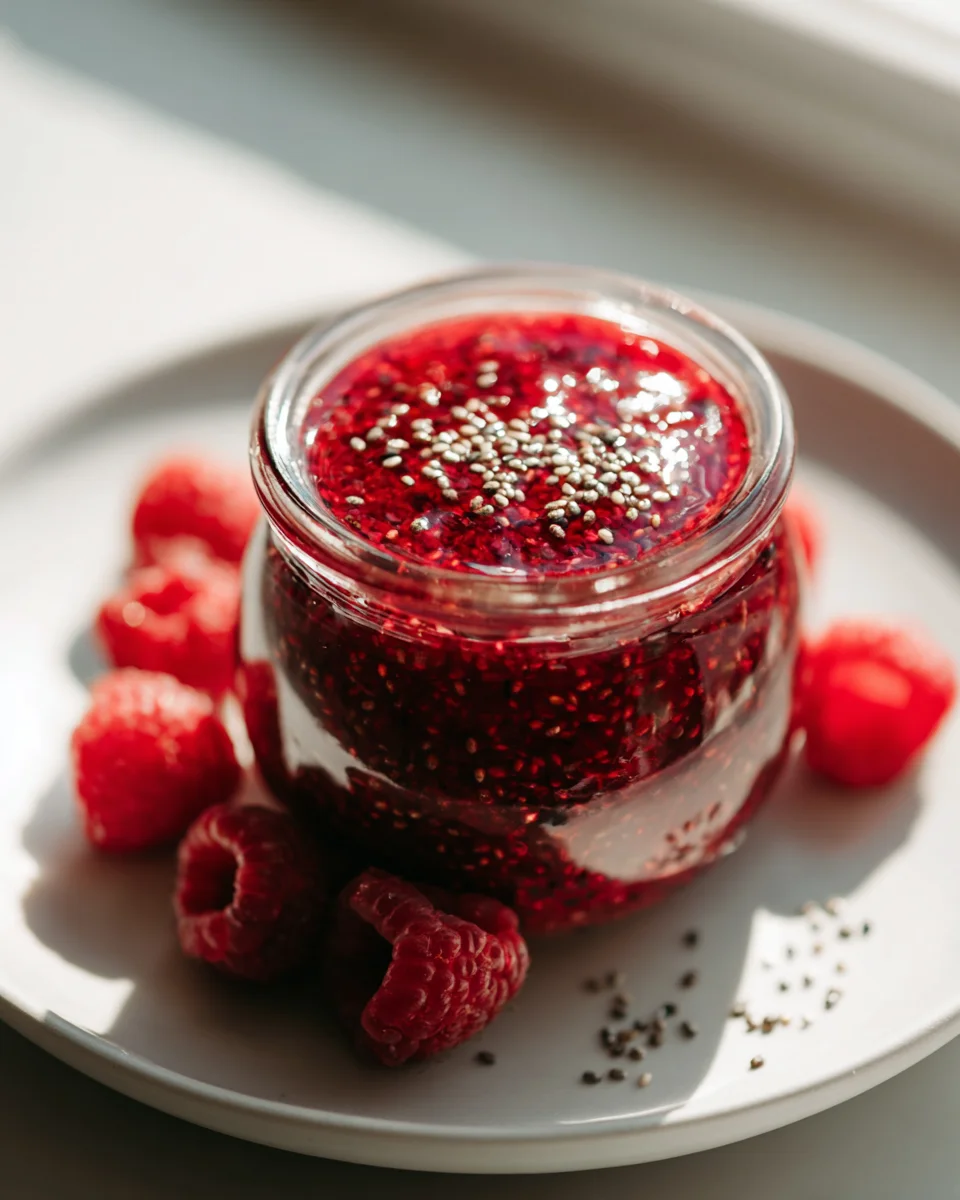
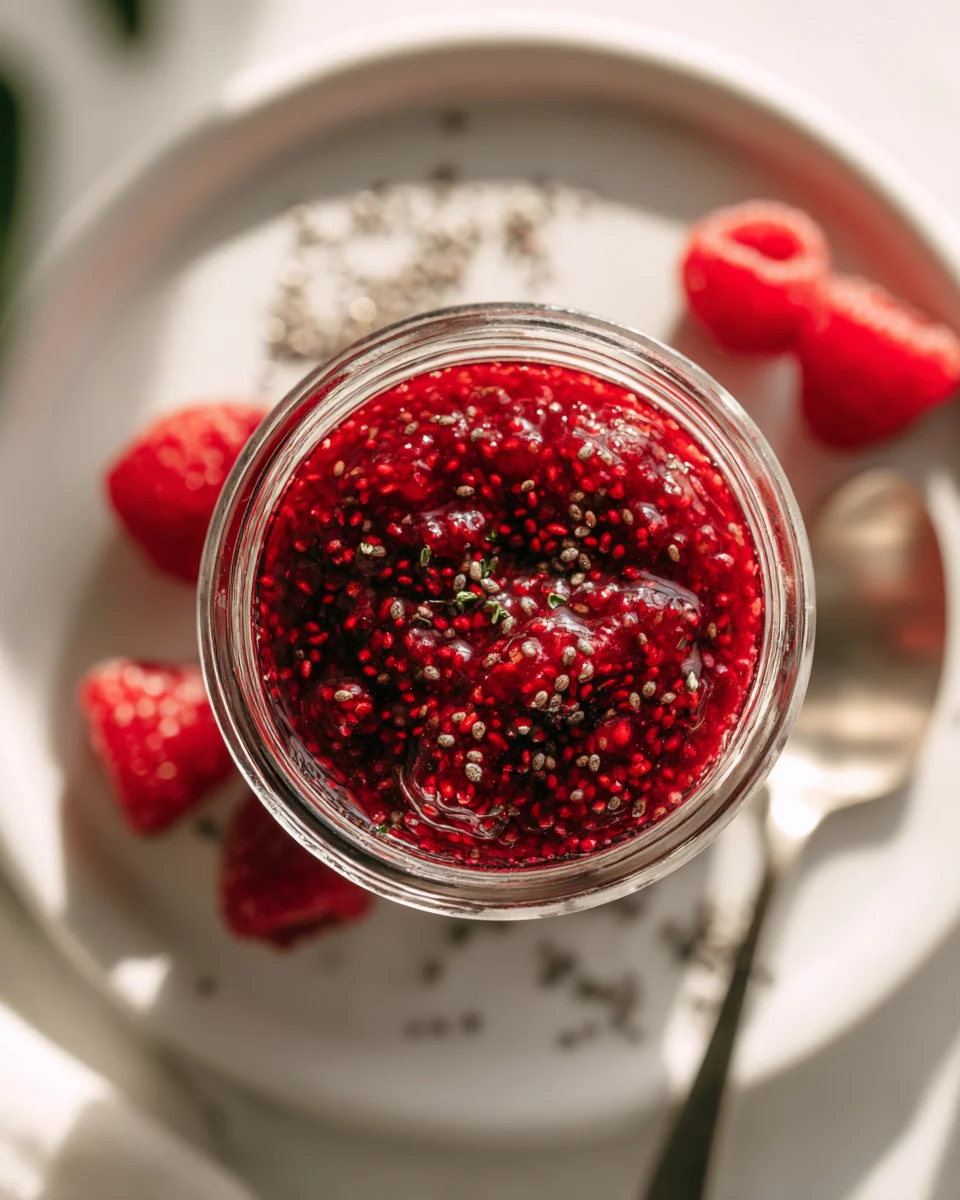
Raspberry Chia Jam (no Cook)
Oh my goodness, let me tell you why I am absolutely obsessed with this Raspberry Chia Jam (no Cook) recipe. If you’ve ever dreamt of having homemade jam but get intimidated by the thought of boiling fruit, sterilizing jars, and all that canning jazz, then this recipe is about to become your new best friend. Seriously, it’s a game-changer!
What makes this particular jam so incredibly special, you ask? Well, for starters, it’s all in the name: no cook! That means you get all the luscious, vibrant flavor of fresh raspberries transformed into a gorgeous spread without ever touching a stove. It’s ridiculously easy – we’re talking minutes of active prep time. But it’s not just about convenience; this jam is also packed with goodness. Thanks to the magical chia seeds, it’s rich in omega-3s, fiber, and protein, making it a much healthier alternative to traditional jams that often come loaded with refined sugar.
You are going to absolutely love how quickly you can whip up a batch of this beautiful jam. Imagine spreading this brightly flavored, naturally sweetened goodness on your morning toast, swirling it into your yogurt, topping your oatmeal, or even using it as a delightful filling for baked goods. It’s fresh, it’s wholesome, and honestly, it tastes like sunshine in a jar. Essentially, we’re simply mashing fresh raspberries, stirring in some chia seeds, a touch of sweetener (like maple syrup or honey), and a hint of vanilla or lemon if you like. The chia seeds work their magic in the fridge, thickening everything up into a perfect jammy consistency. Get ready to fall in love with homemade jam, the easiest way possible!
Ingredient Notes
Making a delicious batch of no-cook Raspberry Chia Jam is wonderfully simple, and the beauty of it lies in just a few key ingredients. I find that focusing on quality fresh produce really makes a difference, but there’s plenty of room for flexibility too! Let me walk you through what you’ll need and why each component is important.
- Raspberries: These are, of course, the star of our show! I love using fresh raspberries when they’re in season because their vibrant flavor is unmatched. However, frozen raspberries work absolutely beautifully for this recipe, and they’re often more convenient and affordable year-round. If you’re using frozen, there’s no need to thaw them completely before starting; a slight thaw will make them easier to mash. Just be aware that frozen berries might release a bit more liquid, which could mean your jam needs a tiny bit longer to thicken, or perhaps an extra half teaspoon of chia seeds.
- Chia Seeds: Ah, the magic ingredient! These tiny powerhouses are what transform a liquidy berry mixture into a jammy consistency, without any cooking or added pectin. When chia seeds are exposed to liquid, they absorb up to 10-12 times their weight and form a gelatinous coating, which is exactly what we want for our jam. Don’t be tempted to skip or drastically reduce them, or your jam won’t set properly. I typically use black chia seeds, but white chia seeds work just as well and can be less visible if that’s a preference.
- Sweetener: This is where you can really tailor the jam to your taste. My personal go-to is maple syrup. It adds a lovely depth of flavor that complements raspberries beautifully, and it’s a natural, unrefined sugar. Honey is another fantastic option if you prefer its distinct taste, and agave nectar or even a sugar-free alternative like stevia or erythritol can be used if you’re watching your sugar intake. Start with a smaller amount and add more to taste after you’ve combined everything. Remember, the sweetness of raspberries can vary, so taste as you go!
- Lemon Juice: A little squeeze of fresh lemon juice does wonders for this jam. It brightens up the flavor of the raspberries, cutting through some of the sweetness and adding a lovely tang. Beyond flavor, it also acts as a natural preservative, helping the jam stay fresh a little longer in the refrigerator. I always recommend using fresh lemon juice for the best results; bottled concentrate just doesn’t quite have the same zing.
- Optional Vanilla Extract: While not strictly necessary, a tiny splash of pure vanilla extract can add a warm, subtle complexity to your jam. It’s an optional addition that I sometimes include if I’m feeling a little extra fancy, and it really elevates the overall flavor profile.
The beauty of this recipe is its simplicity and adaptability. Don’t be afraid to experiment with the type and amount of sweetener, or even try swapping out a portion of the raspberries for other berries like blueberries or blackberries for a mixed berry chia jam!
Step-by-Step Instructions
Creating this no-cook Raspberry Chia Jam is incredibly straightforward and surprisingly quick. You’ll be amazed at how easily you can whip up a batch of fresh, healthy jam without ever needing to turn on the stove. Here’s exactly how I do it:
- Prepare Your Raspberries: If you’re using fresh raspberries, gently rinse them under cool water and pat them dry. If you’re using frozen raspberries, you can use them directly from the freezer, though letting them thaw for about 15-20 minutes can make mashing a bit easier. Transfer your chosen raspberries to a medium-sized bowl.
- Mash the Raspberries: This is the fun part! Using a fork, a potato masher, or even the back of a spoon, begin to mash the raspberries. You can go for a chunkier jam with plenty of whole berry pieces, or mash them more thoroughly for a smoother consistency. It’s entirely up to your preference! I usually aim for a mix, with some intact berries for texture.
- Combine with Chia Seeds and Lemon Juice: Once your raspberries are mashed to your liking, add the chia seeds and the fresh lemon juice to the bowl. Stir everything together really well. Make sure the chia seeds are evenly distributed throughout the berry mixture. This ensures they can absorb the liquid properly and create that lovely jammy texture.
- Add Sweetener to Taste: Now it’s time for the sweetener. Start by adding a conservative amount of your chosen sweetener (maple syrup, honey, etc.). I usually begin with about half of what the recipe suggests. Stir it in thoroughly and then taste. Raspberries can vary in sweetness, so this is your chance to adjust. Add more sweetener, a teaspoon at a time, until it tastes just right to you. If you’re using the optional vanilla extract, add it now too.
- Let it Rest and Thicken: This is the most crucial step for the ‘no-cook’ aspect. Cover the bowl and place it in the refrigerator. Let it chill for at least 2-4 hours. During this time, the chia seeds will work their magic, absorbing the liquid and thickening the mixture into a glorious jam. For the best results, I often let it sit overnight. You might want to give it a stir after the first hour or two, just to redistribute the seeds and ensure even gelling.
- Stir and Serve: Once the jam has thickened to your desired consistency, give it a final good stir before serving. It should be thick and spreadable, much like traditional jam. Now it’s ready to be enjoyed on toast, yogurt, pancakes, or whatever your heart desires!
See? No cooking, no fuss, and you’ve got a fantastic, fresh, and healthy raspberry jam ready to go!
Tips & Suggestions
Making Raspberry Chia Jam is already incredibly easy, but I’ve picked up a few tricks along the way that can help you get the absolute best results and even customize it to your heart’s content. Here are my top tips and suggestions for this versatile no-cook jam:
- Adjusting Consistency: If your jam seems too runny after the initial chilling period (remember, it needs at least 2-4 hours, or preferably overnight), don’t panic! Simply stir in another ½ to 1 teaspoon of chia seeds, mix well, and return it to the fridge for another hour or two. The chia seeds need time to absorb the liquid. If, on the other hand, your jam ends up too thick, you can thin it out a little by stirring in a tablespoon or two of water or a touch more lemon juice until it reaches your preferred spreadable consistency.
- Customizing Sweetness: As I mentioned in the instructions, tasting as you go is key. Raspberry sweetness can vary wildly depending on the ripeness and variety. Always start with less sweetener than you think you need and add more gradually. You can always add, but you can’t take away!
- Experiment with Fruits: While raspberry is fantastic, this method works beautifully with almost any berry or soft fruit. Try using blueberries, blackberries, strawberries, or even a mix! Just note that fruits with higher water content might require a little more chia seeds to achieve the same thickness. Stone fruits like peaches or plums can also work if you finely dice or purée them first.
- Flavor Enhancers: Beyond the optional vanilla extract, consider adding a tiny pinch of cinnamon, a grating of fresh ginger, or even a very small amount of finely chopped mint for an unexpected twist. These additions can elevate the flavor profile and make your jam truly unique.
- Smooth vs. Chunky: The level of mashing in step 2 is entirely up to you. For a smoother jam, use an immersion blender or a food processor to purée the raspberries before adding the chia seeds. If you love a jam with texture, a fork or potato masher is perfect for leaving plenty of fruit chunks.
- Beyond Toast: This jam is incredibly versatile! Of course, it’s amazing on toast, bagels, or English muffins. But don’t stop there! I love swirling it into plain yogurt or oatmeal for a burst of fruit flavor. It’s also fantastic as a topping for pancakes, waffles, or French toast. You can use it as a filling for tarts, a layer in a parfait, or even as a simple dessert topping for ice cream or a scoop of cottage cheese. For a savory twist, try pairing it with a creamy goat cheese on crackers – the sweet and tart notes are divine.
- Gift Giving: Because it’s so fresh and simple, homemade Raspberry Chia Jam makes a wonderful gift! Jar it up in cute small jars with a ribbon, and you’ve got a thoughtful, edible present that everyone will appreciate. Just be sure to include a note about keeping it refrigerated.
These little adjustments and ideas can transform your basic raspberry chia jam into something truly special and perfectly suited to your taste and needs.
Storage
One of the great things about this no-cook Raspberry Chia Jam is how easy it is to store, ensuring you can enjoy its fresh, vibrant flavor for days, or even weeks! Proper storage is key to maintaining its quality and extending its shelf life. Here’s what I recommend:
- Refrigeration: Because this is a no-cook jam and doesn’t contain the same level of sugar or preservatives as traditional cooked jams, it absolutely must be stored in the refrigerator. Transfer your freshly made jam into a clean, airtight container or jar. I prefer glass jars as they don’t absorb odors and are easy to sterilize. Stored properly in the fridge, your Raspberry Chia Jam will stay fresh and delicious for about 1 to 2 weeks. Always use a clean spoon each time you scoop out jam to prevent contamination, which can shorten its shelf life.
- Freezing for Longer Storage: If you’ve made a larger batch or simply want to keep some on hand for longer, this jam freezes beautifully! Spoon the jam into freezer-safe containers or jars, leaving about an inch of headspace at the top to allow for expansion as it freezes. You can also freeze it in smaller portions, like in an ice cube tray, which is perfect for adding a single serving to smoothies or oatmeal later. Once frozen solid, you can transfer the jam cubes to a freezer bag for more compact storage. Frozen chia jam can last for up to 2-3 months.
- Thawing Frozen Jam: When you’re ready to enjoy your frozen jam, simply transfer the container or desired portion to the refrigerator and let it thaw overnight. Give it a good stir once thawed, and it will be ready to use. The texture might be slightly softer than freshly made jam, but the flavor will still be fantastic.
- Signs of Spoilage: Always trust your senses. If you notice any unusual smells, visible mold, or discoloration, it’s best to discard the jam. While chia seeds themselves are quite stable, the fresh fruit component means you need to be mindful of its freshness.
By following these simple storage guidelines, you can ensure that every spoonful of your homemade Raspberry Chia Jam is as fresh and delicious as the first!
Final Thoughts
There you have it! I truly hope you give this incredible Raspberry Chia Jam (no Cook) a try. It’s more than just a recipe; it’s a game-changer for anyone looking for a quick, healthy, and utterly delicious way to elevate their breakfast, snacks, and even desserts. The vibrant burst of fresh raspberries combined with the amazing texture from the chia seeds makes for a spread that’s both nourishing and incredibly satisfying. Say goodbye to lengthy cooking times and hello to instant, wholesome goodness. I promise, once you experience the simplicity and delightful taste of this Raspberry Chia Jam (no Cook), you’ll wonder how you ever lived without it!

Healthy Raspberry Chia Jam (No Cook) – Fast & Delicious!
- Total Time: 15 minutes
- Yield: 1.5 cups 1x
Description
This no-cook Raspberry Chia Jam is a quick and healthy way to enjoy the vibrant flavor of fresh raspberries. Packed with omega-3s and fiber, it’s the perfect spread for your morning toast or a delightful topping for yogurt.
Ingredients
- 2 cups fresh raspberries (or frozen raspberries)
- 1/4 cup chia seeds
- 1/4 cup maple syrup (or honey, agave nectar, stevia, or erythritol)
- 1 tablespoon fresh lemon juice
- 1/2 teaspoon vanilla extract (optional)
Instructions
- Prepare Your Raspberries: If you're using fresh raspberries, gently rinse them under cool water and pat them dry. If you're using frozen raspberries, you can use them directly from the freezer, though letting them thaw for about 15-20 minutes can make mashing a bit easier. Transfer your chosen raspberries to a medium-sized bowl.
- Mash the Raspberries: Using a fork, a potato masher, or the back of a spoon, begin to mash the raspberries to your desired consistency.
- Combine with Chia Seeds and Lemon Juice: Add the chia seeds and fresh lemon juice to the bowl with the mashed raspberries. Stir everything together well.
- Add Sweetener to Taste: Start by adding a conservative amount of your chosen sweetener. Stir it in thoroughly and then taste. Adjust the sweetness as needed.
- Let it Rest and Thicken: Cover the bowl and place it in the refrigerator. Let it chill for at least 2-4 hours, or preferably overnight.
- Stir and Serve: Once the jam has thickened to your desired consistency, give it a final stir before serving.
- Prep Time: 15 mins
- Cook Time: 0 mins
- Category: Condiment
- Method: No Cook
- Cuisine: American
Nutrition
- Serving Size: 2 tablespoons
- Calories: 50
- Sugar: 5 g
- Sodium: 0 mg
- Fat: 2 g
- Saturated Fat: 0 g
- Unsaturated Fat: 2 g
- Trans Fat: 0 g
- Carbohydrates: 10 g
- Fiber: 2 g
- Protein: 1 g
- Cholesterol: 0 mg
Keywords: Adjust the consistency by adding more chia seeds if too runny, or a bit of water or lemon juice if too thick. Experiment with different berries for a mixed berry jam.