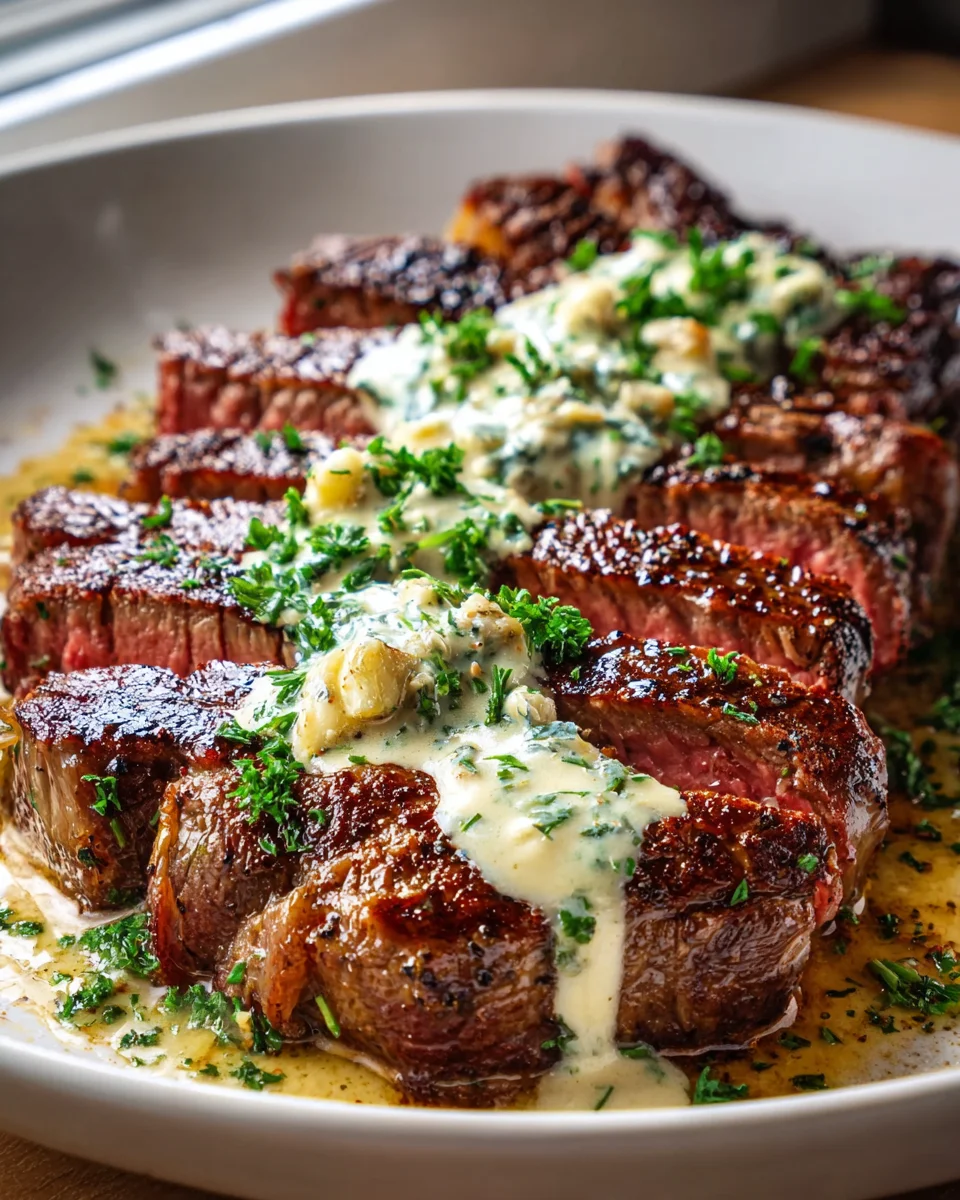
Garlic Butter Steak With Parmesan Cream Sauce
Oh boy, have I got a treat for you today! Get ready to elevate your dinner game because we’re diving headfirst into the magnificent world of Garlic Butter Steak With Parmesan Cream Sauce. This isn’t just any steak dinner; it’s an experience, a symphony of flavors that will make you feel like you’re dining at a five-star restaurant, all from the comfort of your own kitchen.
What makes this dish so incredibly special, you ask? Well, it’s the magical trifecta. We start with a perfectly seared, juicy beef steak, cooked to your desired doneness, then basted in an aromatic garlic butter that infuses every bite with incredible flavor. But we don’t stop there! The grand finale is a velvety, rich Parmesan cream sauce, a savory embrace that coats the steak beautifully and adds an unparalleled layer of decadence. It’s creamy, cheesy, and utterly irresistible.
I promise you, once you try this recipe, you’ll understand why it’s destined to become a new favorite. Readers absolutely adore this dish because it delivers on every front: it’s impressive enough for a special occasion or a romantic date night, yet surprisingly straightforward to make. It’s comforting, deeply satisfying, and will have everyone at your table asking for seconds. Get ready to indulge in pure deliciousness!
Welcome to one of my absolute favorite ways to enjoy a steak dinner! This Garlic Butter Steak with Parmesan Cream Sauce isn’t just a meal; it’s an experience. Imagine perfectly seared steak, infused with aromatic garlic and herb butter, then draped in a luscious, rich Parmesan cream sauce that will have you licking your plate clean. I’m going to walk you through exactly how to create this restaurant-quality dish right in your own kitchen. It’s truly a showstopper that’s surprisingly straightforward to master!
Ingredient Notes
Getting the right ingredients is half the battle for a truly spectacular dish like this. Here’s what you’ll need and why I choose them, along with some suggested substitutions.
-
Steak
For this recipe, I highly recommend using a good quality, thick-cut steak, about 1 to 1.5 inches thick. My go-to choices are boneless ribeye or New York strip steak. Their marbling ensures a tender, juicy result. A thicker cut allows for a beautiful sear on the outside while keeping the inside perfectly cooked to your preference.
-
For the Garlic Butter Baste
- Unsalted Butter: This is crucial for basting the steak and infusing it with flavor. Unsalted allows me to control the salt content precisely.
- Fresh Garlic: Minced fresh garlic is non-negotiable here. It provides that irresistible pungent aroma and flavor that marries so well with beef.
- Fresh Rosemary and Thyme Sprigs: These herbs release their essential oils into the butter as you baste, adding incredible depth and fragrance to the steak. Don’t skip them if you can help it!
-
For the Parmesan Cream Sauce
- Heavy Cream: This is the foundation of our rich sauce. Do not substitute with lighter creams or milk; you won’t achieve the desired luxurious texture.
- Freshly Grated Parmesan Cheese: This is perhaps the most important ingredient for the sauce. Pre-grated Parmesan often contains anti-caking agents that can make your sauce gritty or not melt properly. Take the extra minute to grate your own good quality Parmesan; it makes all the difference in flavor and texture.
- Garlic: A little more minced garlic for the sauce base builds another layer of flavor.
- Unsalted Butter: To start the sauce and give it a silky foundation.
- Chicken or Beef Broth: This acts as a deglazing liquid and adds depth to the sauce. It’s my preferred non-alcohol alternative to white wine in this recipe.
- Salt and Freshly Ground Black Pepper: To season the sauce perfectly.
-
Other Essentials
- Olive Oil: For searing the steak at high heat.
- Salt and Freshly Ground Black Pepper: Generously season your steak before cooking.
-
Substitutions I Recommend
- Steak Cuts: While ribeye and New York strip are ideal, you could also use a sirloin or flank steak (adjusting cooking times for thinner cuts) for a more budget-friendly option.
- Herbs: If fresh rosemary and thyme aren’t available, you can use a small amount of dried herbs (about 1/2 teaspoon each) in the garlic butter, but fresh is always superior for basting.
- Broth: If you don’t have chicken or beef broth, a good quality vegetable broth can work in a pinch for the sauce, though it may alter the flavor profile slightly.
- Parmesan Cheese: While fresh Parmesan is truly best, if absolutely necessary, you could use Pecorino Romano for a sharper, saltier kick, but be mindful of adding additional salt to the sauce.
Step-by-Step Instructions
Let’s get cooking! Follow these steps closely for a perfectly cooked steak and an unbelievably delicious Parmesan cream sauce.
-
Prepare the Steak: Remove your steaks from the refrigerator about 30-60 minutes before cooking to bring them closer to room temperature. This helps them cook more evenly. Pat them thoroughly dry with paper towels – this is crucial for getting a good sear! Season generously on all sides with salt and freshly ground black pepper.
-
Sear the Steaks: Heat a heavy-bottomed skillet (cast iron works wonderfully) over high heat until it’s smoking lightly. Add about 1-2 tablespoons of olive oil to the hot pan. Carefully place the seasoned steaks in the skillet. Sear for 2-4 minutes per side, depending on thickness and your desired level of doneness, until a beautiful, deep brown crust forms. Do not move the steaks during this initial searing phase.
-
Garlic Butter Baste: Once both sides are seared, reduce the heat to medium. Add the unsalted butter, minced garlic, and fresh rosemary and thyme sprigs to the pan. Once the butter is melted and fragrant, tilt the pan slightly and use a spoon to continuously baste the melted garlic herb butter over the steaks. Continue basting for another 2-4 minutes, flipping occasionally, until the steaks reach your desired internal temperature (e.g., 125-130°F for rare, 130-135°F for medium-rare, 135-140°F for medium). I like to use an instant-read thermometer for accuracy.
-
Rest the Steaks: Transfer the cooked steaks to a cutting board and tent loosely with foil. Let them rest for at least 5-10 minutes. This allows the juices to redistribute throughout the meat, ensuring a tender and juicy steak. Don’t skip this step!
-
Prepare the Parmesan Cream Sauce: While the steaks are resting, we’ll make our glorious sauce in the same skillet (no need to clean it, those browned bits add flavor!). If there’s excessive oil, drain some out, leaving just a tablespoon or two along with the butter and herb remnants. Add another tablespoon of unsalted butter to the pan over medium heat. Add the minced garlic and sauté for about 30 seconds until fragrant, being careful not to burn it.
-
Build the Sauce: Pour in the chicken or beef broth, scraping up any browned bits from the bottom of the pan with a wooden spoon. Let it simmer for a minute to reduce slightly. Then, slowly whisk in the heavy cream. Bring the sauce to a gentle simmer, stirring occasionally. Reduce the heat to low.
-
Add Parmesan: Gradually whisk in the freshly grated Parmesan cheese until it’s completely melted and incorporated, creating a smooth, creamy sauce. Season with salt and freshly ground black pepper to taste. If the sauce is too thick, you can add a splash more broth or cream; if it’s too thin, let it simmer gently for another minute or two, stirring, until it thickens to your desired consistency.
-
Serve: Slice the rested steaks against the grain. Arrange the slices on plates and generously spoon the warm Parmesan cream sauce over the top. Garnish with a little fresh parsley or chives, if desired. Serve immediately!
Tips & Suggestions
To ensure your Garlic Butter Steak with Parmesan Cream Sauce is absolutely perfect every time, here are a few of my top tips:
-
Bring Your Steak to Room Temperature
This is a big one! Taking your steaks out of the fridge 30-60 minutes before cooking helps them cook more evenly from edge to center, preventing a tough, overcooked exterior and a cold, undercooked interior.
-
Pat That Steak Dry!
Moisture is the enemy of a good sear. Use plenty of paper towels to thoroughly pat your steaks dry before seasoning. A dry surface allows for a beautiful, crispy crust to form quickly.
-
Don’t Crowd the Pan
If you’re cooking more than one steak, make sure you’re not overcrowding your skillet. If the pan is too full, the temperature will drop, and the steaks will steam instead of sear, resulting in a lackluster crust. Cook in batches if necessary.
-
Resting is Key
I cannot stress this enough – always, always rest your steak after cooking. This allows the internal juices to redistribute, leading to a much more tender and flavorful result. Cutting into it too soon will cause all those delicious juices to run out onto your cutting board.
-
Fresh Parmesan Makes ALL the Difference
For the Parmesan cream sauce, please use freshly grated Parmesan cheese. The pre-shredded stuff often has anti-caking agents that can make your sauce grainy and prevent it from melting smoothly into that velvety texture we’re aiming for.
-
Adjusting Sauce Consistency
If your sauce is too thick, thin it out with a little extra broth or cream. If it’s too thin, let it simmer on low heat for a few extra minutes, stirring frequently, until it reduces and thickens to your liking.
-
Serving Suggestions
This dish is fantastic on its own, but it pairs wonderfully with simple sides. I love serving it with creamy mashed potatoes (to soak up every drop of that sauce!), roasted asparagus, steamed green beans, or a fresh side salad.
Storage
While this dish is absolutely best enjoyed fresh, I understand sometimes there are leftovers. Here’s how I recommend storing them:
-
Cooked Steak
Store any leftover sliced steak in an airtight container in the refrigerator for up to 2-3 days. Reheat gently to avoid drying it out. I often prefer to eat cold slices in a salad the next day.
-
Parmesan Cream Sauce
The Parmesan cream sauce can be stored separately in an airtight container in the refrigerator for up to 3-4 days. When reheating, do so gently over low heat, stirring frequently. You may need to add a splash of heavy cream or broth to loosen it up as it tends to thicken significantly when cold.
-
Combined Dish
Storing the steak and sauce together is generally not ideal, as the steak can become soggy and the sauce can lose its optimal texture. If you must, combine them in an airtight container and refrigerate for no more than 1-2 days. Reheat very gently and be aware the texture might not be as perfect as fresh.

Final Thoughts
And there you have it! I truly hope you’re as excited as I am to bring this incredible dish to your table. My Garlic Butter Steak With Parmesan Cream Sauce isn’t just a recipe; it’s an experience waiting to happen. The way the tender, perfectly seared beef, rich with fragrant garlic butter, melts in your mouth is just the beginning. Add to that the luscious, velvety Parmesan cream sauce, and you’ve got a symphony of flavors that is both incredibly comforting and undeniably gourmet.
This isn’t just another weeknight meal; it’s a dish that promises to elevate any occasion, making you feel like a master chef with minimal effort. Trust me, once you savor the exquisite blend of savory beef and the decadent, cheesy sauce, you’ll understand why this Garlic Butter Steak With Parmesan Cream Sauce is destined to become a cherished favorite in your culinary repertoire. Go ahead, treat yourself and your loved ones to this spectacular delight – you absolutely deserve it!

Irresistible Garlic Butter Steak with Parmesan Cream Sauce
- Total Time: 50 minutes
- Yield: 2 servings 1x
Description
Elevate your dinner experience with this Garlic Butter Steak with Parmesan Cream Sauce, a symphony of flavors that feels like a five-star restaurant meal. Juicy steak, aromatic garlic butter, and a rich Parmesan cream sauce make this dish utterly irresistible.
Ingredients
- 1 to 1.5 inches thick boneless ribeye or New York strip steak
- Unsalted Butter
- Fresh Garlic, minced
- Fresh Rosemary Sprigs
- Fresh Thyme Sprigs
- Heavy Cream
- Freshly Grated Parmesan Cheese
- Garlic, minced
- Unsalted Butter
- Chicken or Beef Broth
- Salt
- Freshly Ground Black Pepper
- Olive Oil
- Salt
- Freshly Ground Black Pepper
Instructions
- Prepare the Steak: Remove your steaks from the refrigerator about 30-60 minutes before cooking to bring them closer to room temperature. Pat them thoroughly dry with paper towels and season generously on all sides with salt and freshly ground black pepper.
- Sear the Steaks: Heat a heavy-bottomed skillet over high heat until it's smoking lightly. Add about 1-2 tablespoons of olive oil to the hot pan. Carefully place the seasoned steaks in the skillet. Sear for 2-4 minutes per side until a beautiful, deep brown crust forms.
- Garlic Butter Baste: Once both sides are seared, reduce the heat to medium. Add the unsalted butter, minced garlic, and fresh rosemary and thyme sprigs to the pan. Once the butter is melted and fragrant, tilt the pan slightly and use a spoon to continuously baste the melted garlic herb butter over the steaks for another 2-4 minutes.
- Rest the Steaks: Transfer the cooked steaks to a cutting board and tent loosely with foil. Let them rest for at least 5-10 minutes.
- Prepare the Parmesan Cream Sauce: In the same skillet, add another tablespoon of unsalted butter over medium heat. Add the minced garlic and sauté for about 30 seconds until fragrant.
- Build the Sauce: Pour in the chicken or beef broth, scraping up any browned bits from the bottom of the pan. Let it simmer for a minute to reduce slightly. Then, slowly whisk in the heavy cream and bring the sauce to a gentle simmer.
- Add Parmesan: Gradually whisk in the freshly grated Parmesan cheese until it's completely melted and incorporated. Season with salt and freshly ground black pepper to taste.
- Serve: Slice the rested steaks against the grain. Arrange the slices on plates and generously spoon the warm Parmesan cream sauce over the top.
- Prep Time: 30 mins
- Cook Time: 20 mins
- Category: Dinner
- Method: Searing
- Cuisine: American
Nutrition
- Serving Size: 1 steak with sauce
- Calories: 800
- Sugar: 2 g
- Sodium: 900 mg
- Fat: 60 g
- Saturated Fat: 30 g
- Unsaturated Fat: 20 g
- Trans Fat: 0 g
- Carbohydrates: 5 g
- Fiber: 0 g
- Protein: 60 g
- Cholesterol: 180 mg
Keywords: For best results, bring your steak to room temperature before cooking and pat it dry to ensure a good sear. Use freshly grated Parmesan for the sauce for the best texture and flavor.